5
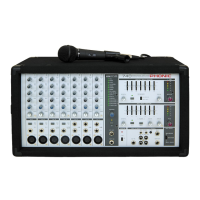
IS16
English
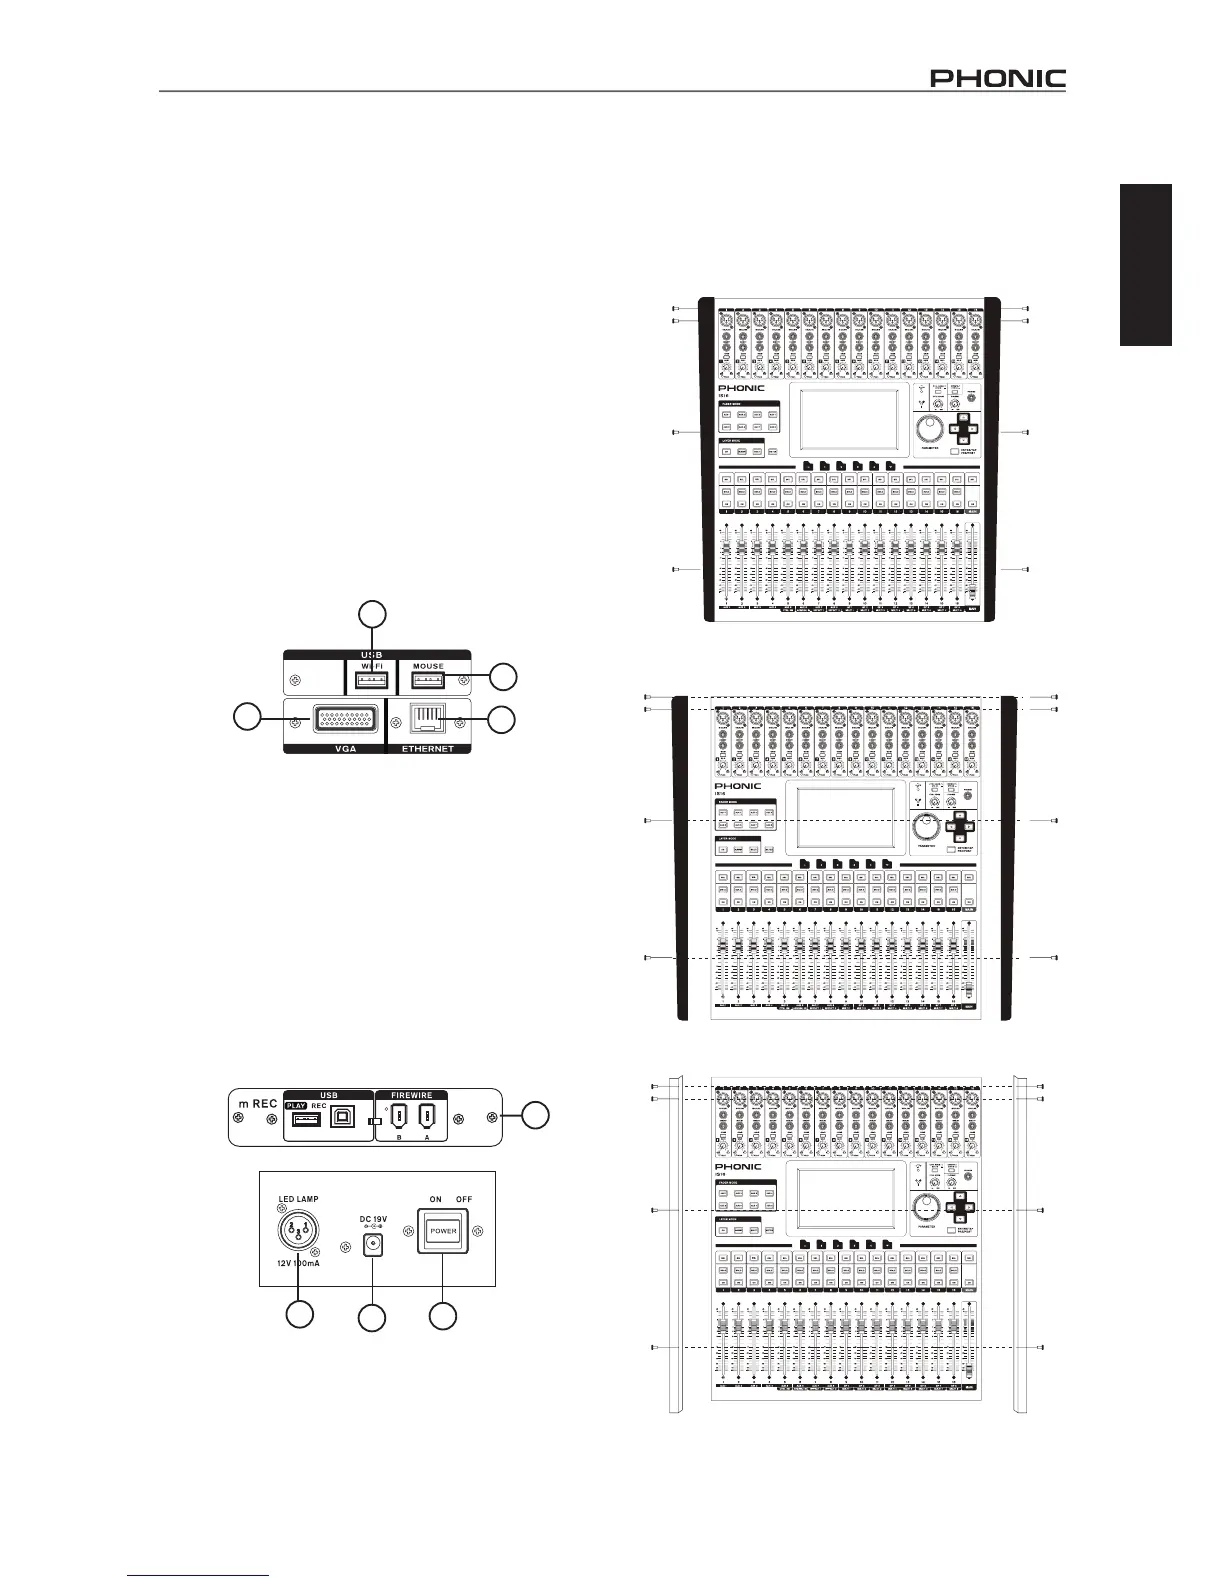
34. VGA Connector
This VGA connector is available for customers to connect external
computer monitors to their IS16. This will allow you to view the
IS16’s user interface on a large screen. Customers can enter
theUtilitymenutoadjusttheaspectratioofthescreen’ssignal.
35. USB Mouse Connector
ConnectanymechanicaloropticalUSBmousetothisconnector,
allowingforadjustmentofGUIpropertieswhenanexternalmonitor
isinuse.Inadditiontopointingandclicking,themousewillallow
youtoadjustthelevelsofvirtualrotarycontrolsbyhoveringthe
curseroverthecontrolandadjustingthescrollwheel.
36. Ethernet Connection
Use this RJ45 connection to connect to your local computer
network.ThiswillallowuserstocontroltheIS16’ssoftwareviaa
HTML5protocolonanyPC,Macortablet.
Inadditiontopointingandclicking,themousewillallowyouto
adjustthelevelsofvirtualrotarycontrolsbyhoveringthecurser
overthecontrolandadjustingthescrollwheel.
37. WiFi
ConnectaWidongletothisUSBporttoaccessanylocalwireless
network.AsisthecasewiththeEthernetconnection,thiswillallow
remote operation of the GUI via the network.
38. Power Button
Use this button to turn the IS16 on and off.
39. DC Power In
Connect the DC head of the included power supply to this port. The
other end of the power supply should be connected to a suitable
AC power source. When connecting the DC head of the power
supplytotheIS16,ensuretolockitintoplaceusingtheretaining
clip to ensure the supply is not inadvertently removed.
40. Expansion Card Slot
This slot is for users to install the optional FireWire + USB
expansion card.
41. 12V Lamp Socket
This XLR socket is for the connection of the included 12V
gooseneck lamp. This allows the illumination of the face of the
mixer when operating in dark areas.
34
35
36
37
38
39
40
41
Rack-mounting Kit
1. RemovetheIS16’sside-panelsbyunscrewing thesix
screws holding them in place.
2. Attach the rack ears and screw them into place.