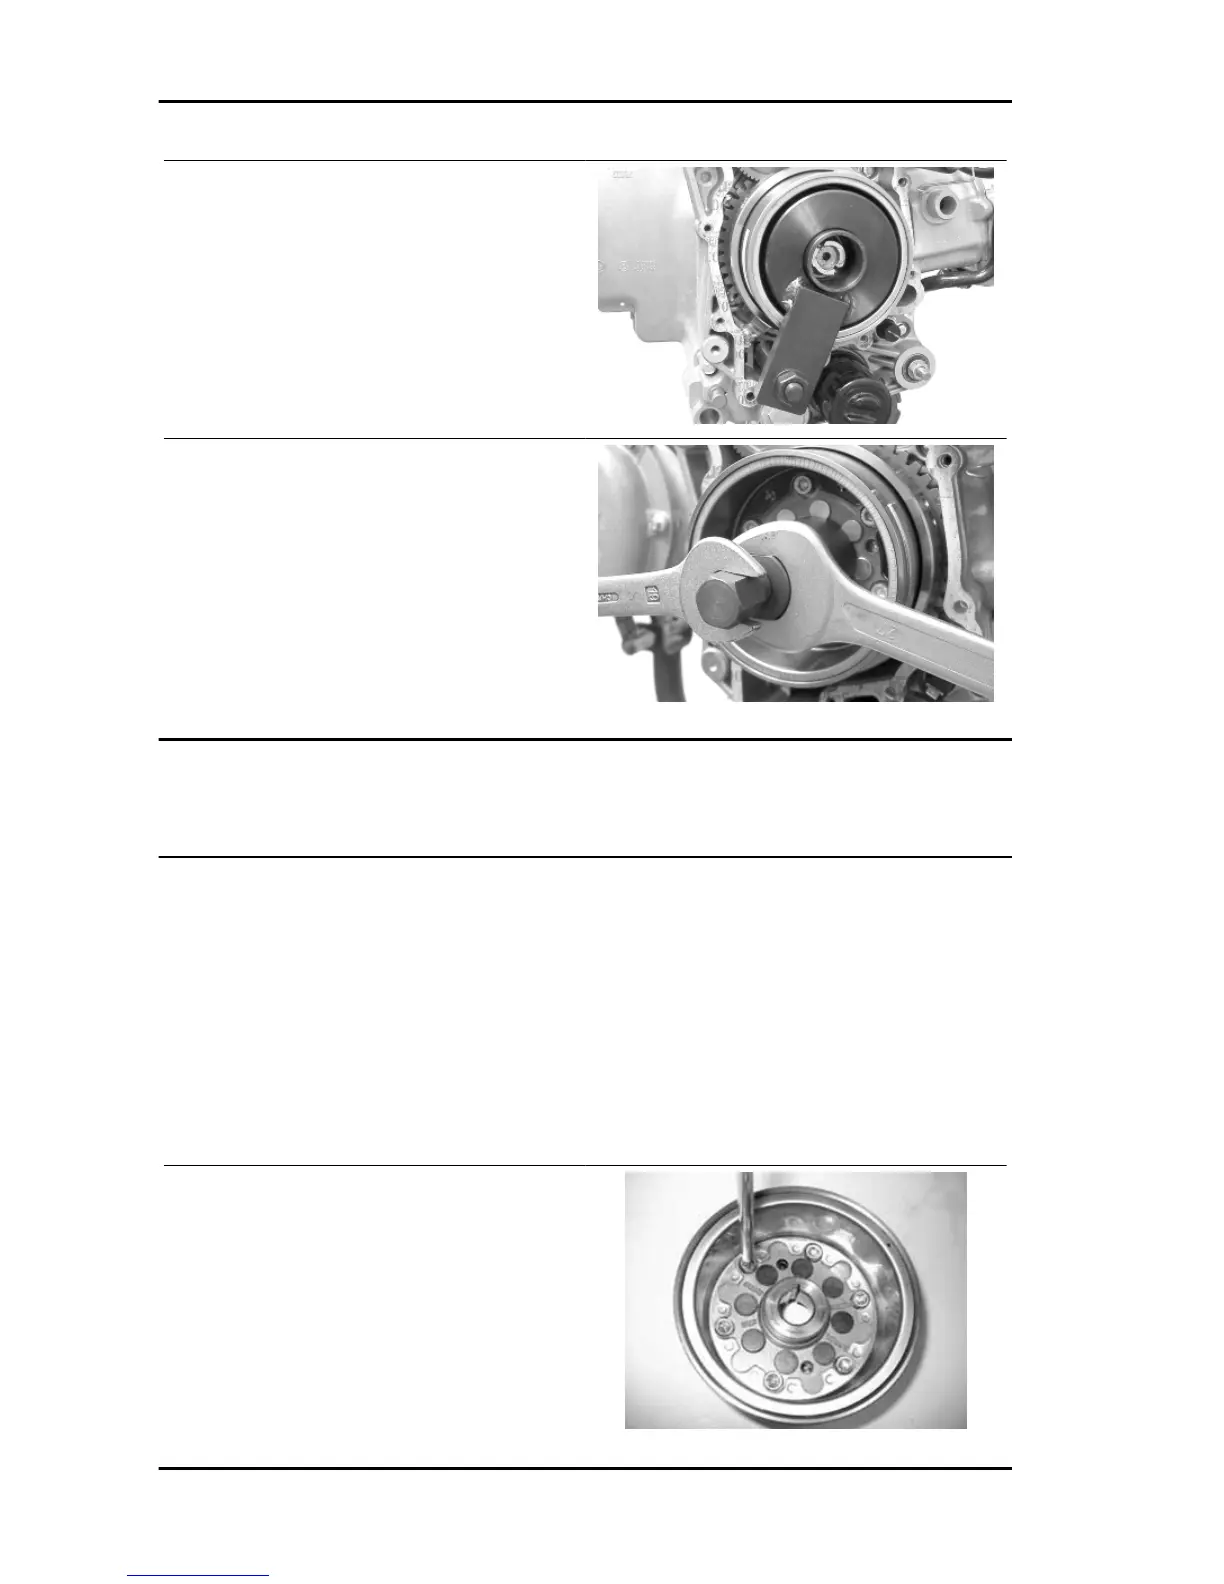
- Insert the special flywheel stop tool on the fly-
wheel as shown in the photo
Specific tooling
020627Y Flywheel lock wrench
- Remove the flywheel nut with its washer
- Do up the flywheel nut by three or four threads
so that the flywheel does not fall accidentally on
extraction
- Screw the extractor onto the flywheel and extract
it as shown in the photograph
Specific tooling
020467Y Flywheel extractor
Inspecting the flywheel components
- Check the integrity of the internal plastic parts of the flywheel and the Pick-Up control plate.
Refitting the free wheel
- Make sure the freewheel faying surfaces are in good condition.
- Thoroughly clean the free wheel to remove LOCTITE residue.
- Degrease the threading of the holes in the free wheel and the clamping screws.
- Apply the recommended product to the end of the screws.
Recommended products
Loctite 243 Medium strength threadlock
Loctite 243 medium-strength threadlock
- Fit the freewheel on the magneto flywheel making
sure that the ground side is in contact with the fly-
wheel itself, i.e. with wheel seeger ring visible.
- Lock the six clamping screws in criss-cross fash-
ion to the prescribed torque.
Locking torques (N*m)
Screw fixing freewheel to flywheel 13 ÷ 15
Engine B 125-250
ENG - 136