171
Normal Operating Mode
5.2 Normal Operation Mode
5.2.1 About normal operation mode
The following controls are possible in the normal operation mode.
1 Switching input
• Pressing the [INPUT1] to [INPUT5] buttons on the remote control changes the input that setting.
• Pressing the [INPUT] button on the main-control panel changes the input each time the button is pressed.
Note
When a PDA-5003 or a PDA-5004 is not installed, the input switches only between INPUT1 and INPUT2.
2 Switching the screen size
• Each time the [SCREEN SIZE] button on the remote control or main-control panel is pressed, the display screen
size changes.
When reproducing a PC signal
When reproducing a video signal (signal other than a PC signal) ★ (Applicable only when a PDA-5003 or a PDA-
5004 is installed.)
Note
• The reproducible screen size changes according to the input signal.
Refer to the section 5.1.3, “List of Input Correspondence Signals” (pg. 146).
• To select ‘Underscan’, set the PRO USE option in the integrator mode.
When this display is to be used for commercial use or for public viewing, such as in a coffee shop or hotel,
reducing or enlarging the screen by using the screen-size-switching function could infringe on the copyright of
the creator according to copyright laws.
2 Display call
A Pressing the [DISPLAY] button on the remote control or main-control panel displays the current input function,
horizontal and vertical frequency of the input signal, the type of signal, and the screen size (DISPLAY CALL 1).
Note
The displayed horizontal and vertical frequencies are measured values. Measurement errors are possible.
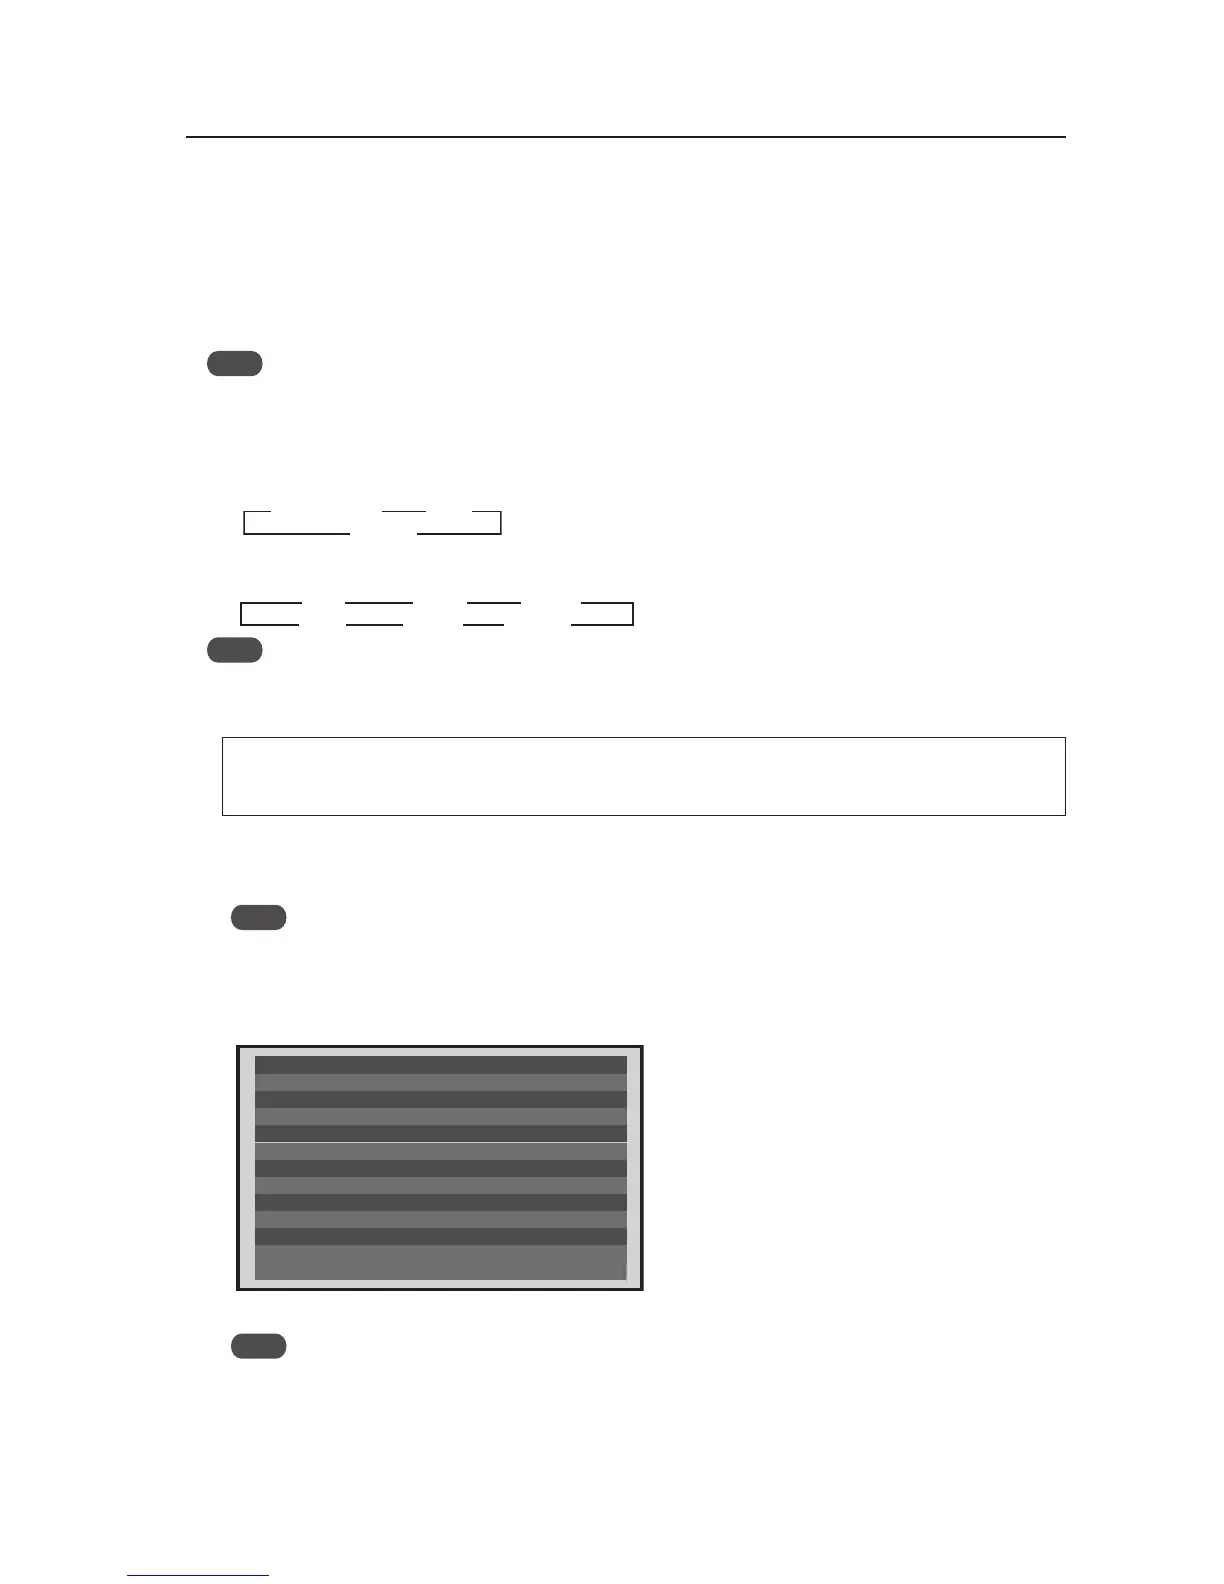
B Pressing the [DISPLAY] button on the remote control or main-control panel again for three seconds or more when
the display described in A above is displayed, cause various settings and internal temperature to be displayed as
shown below (DISPLAY CALL 2).
3 3 4:3
ZOOM 2
2.35:1 2
3
FULL
14:9 2
WIDE
3 3
DOT BY DOT 4: 3
FULL
3
TEMPERATURE
HOUR METER
OSD
BAUD RATE
INFORMATION
:ABCDEFGHIJKLMN
FAN CONTROL
ID NO. SET
COLOR MODE
:+25
:AUTO
:9600BPS
:ON
:ALL
:NORMAL
:00239H
DATE
:001A001X
LOT
:001A001K
SERIAL NO.
:****************
PDP-507CMX
Note
When the displayed temperature is high, the panel shuts down. However, the display itself should always be
used as an indicator.
SERIAL NO.: Displays the serial number of the product
LOT/DATE: Displays the manufacturing control number
HOUR METER: Displays the conduction time for the product
TEMPERATURE: Displays the outside air temperature that is
measured by a temperature sensor located in
the product
Other items: Displays the settings in the integrator mode
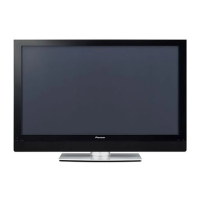
* Illustration depicts PDP-507CMX model.
 Loading...