210
Menu Mode [Applicable only when a PDA-5003/PDA-5004 is installed]
6 Use the [2/3] buttons to adjust the click frequency.
In step 4, the left side was aligned. Here the right side is
aligned.
1. With the [3] button, move the display until the mask
(black portion) protrudes into the right side of the image.
2. With the [2] button, move the display to the point
where the mask on the right side disappears.
7 In the adjustment in steps 5 and 6, the left side of the screen moves. With ‘POSITION’, accurately adjust the left
side of the video display again.
As in step 4, used the [2/3] buttons to align the left side.
8 In the adjustment in step 7, the right side of the screen moves. With ‘CLOCK’, adjust the right side again.
As in step 6, use the [2/3] buttons to align the left side.
Repeat steps 7 and 8 until the adjustment value converges then adjust the ‘PHASE’.
There are vertical lines, so it is easier to adjust the screen if the input signal has edges.
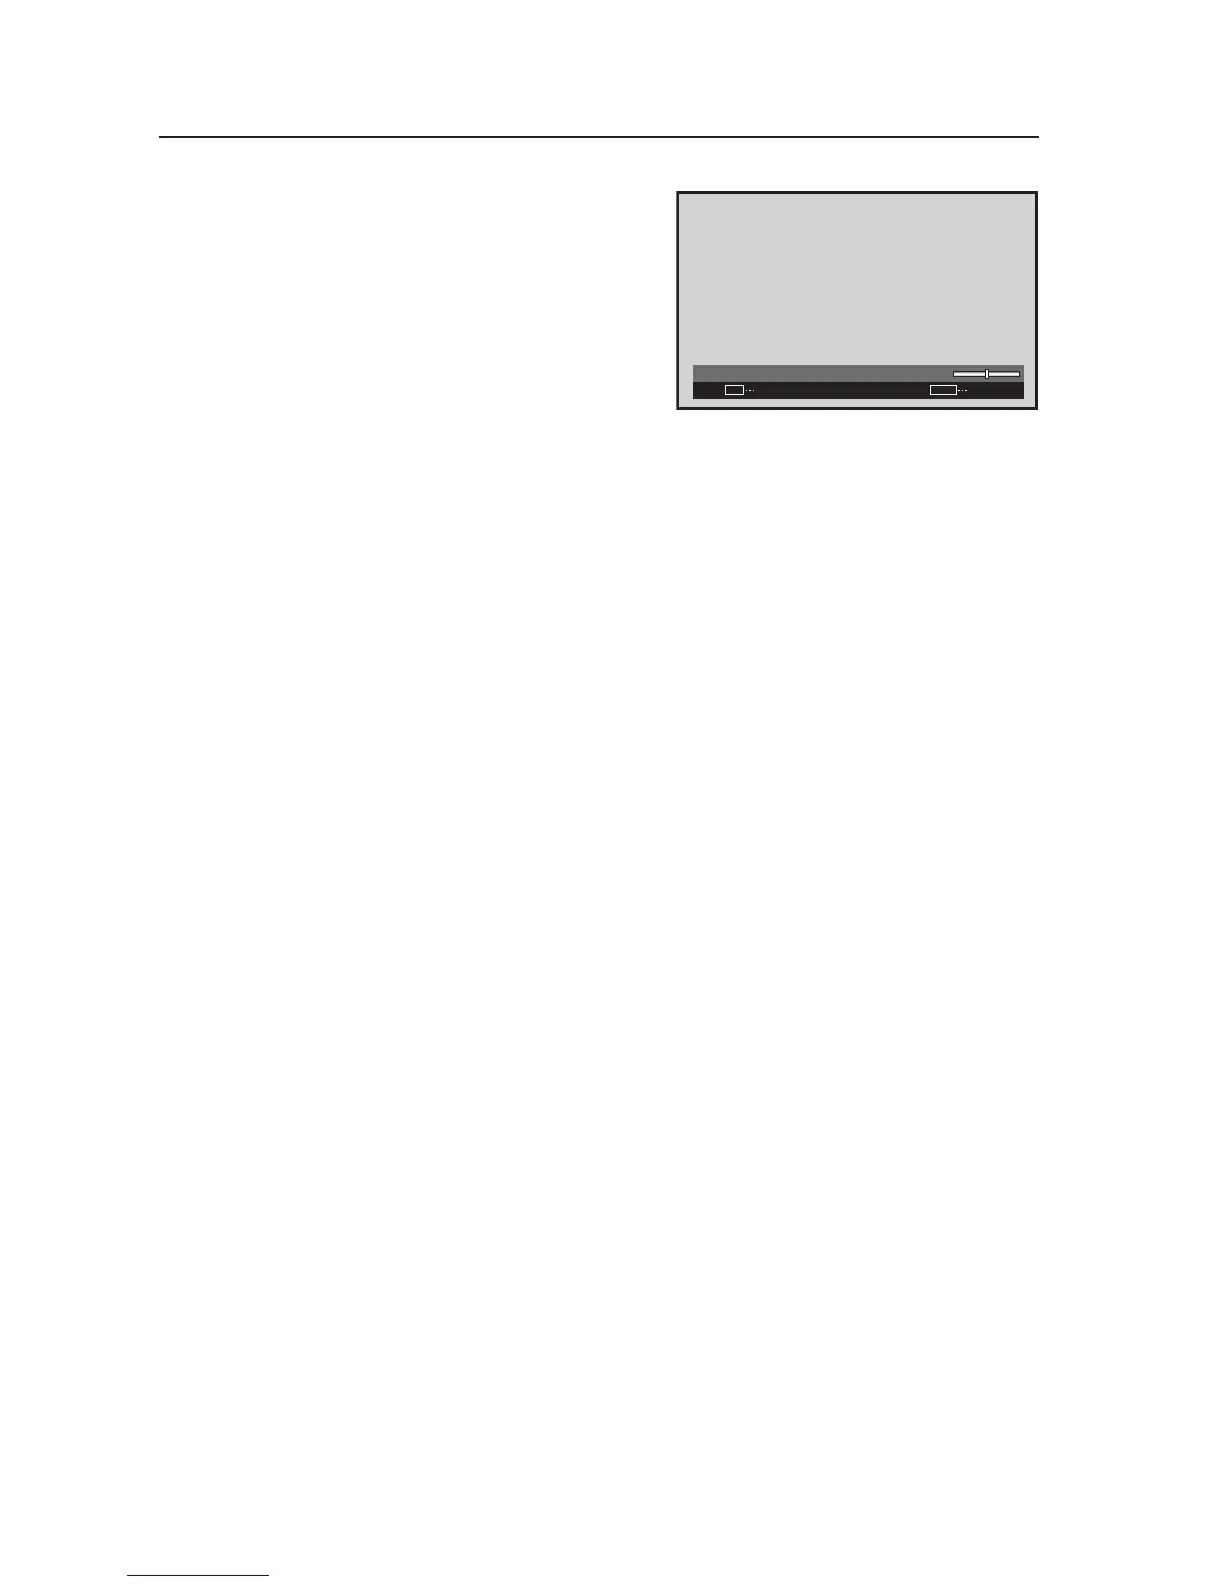
9 Place the cursor on ‘PHASE’ then press the [SET] button.
0 Using the [2/3] buttons to adjust the clock phase.
Move the vertical edge of the image to the point where it becomes bold.
Adjustment is now complete.
:
0
CLOCK
SET
SET
EXIT
MENU
Screen 6
 Loading...