INSTALLING THE DIGITAL SYSTEM
24 Planmeca ProOne
Installation Manual
To change a default value, touch the corresponding field on the
Network settings
display.
The following window will appear. Enter the new value and save the new setting by
touching the
OK
field.
Now connect the other end of the Ethernet cable to the Ethernet network. Note that you
may have to reboot the ProOne X-ray unit.
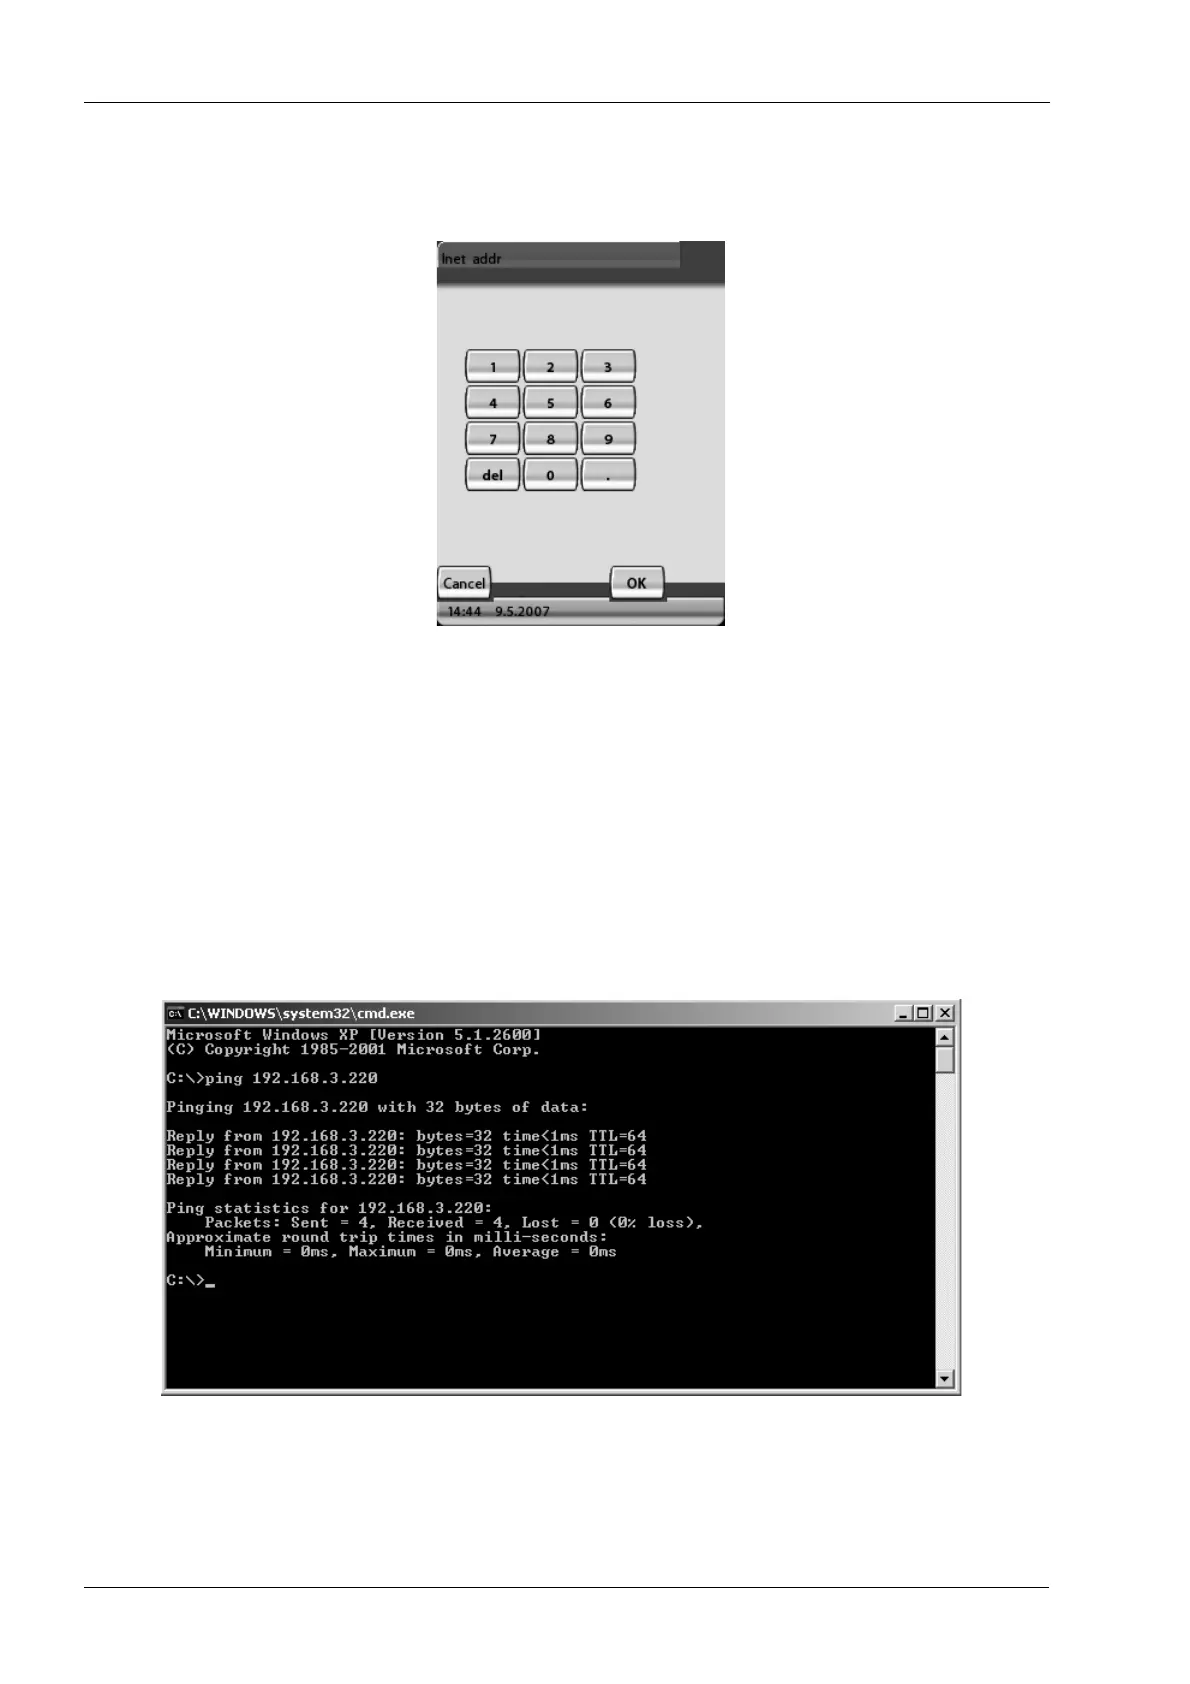
8.3 Checking the Ethernet link communication
The Ethernet link communication from the PC to the ProOne X-ray unit can be checked by
opening the Command Prompt and executing the command “ping <ProOne IP
address>”, e.g. ping 192.168.3.220.
The ProOne X-ray unit will send a reply message (4 packets) if the Ethernet link is up and
running.
NOTE If you do not receive a reply message (e.g. Time-out signal) the Ethernet link is not
working properly.
Printed copies of this document are considered uncontrolled.
7535.13.Rev001 08.07.2018