• The connected computer must conform to EN 55032 (class B) and EN
55024
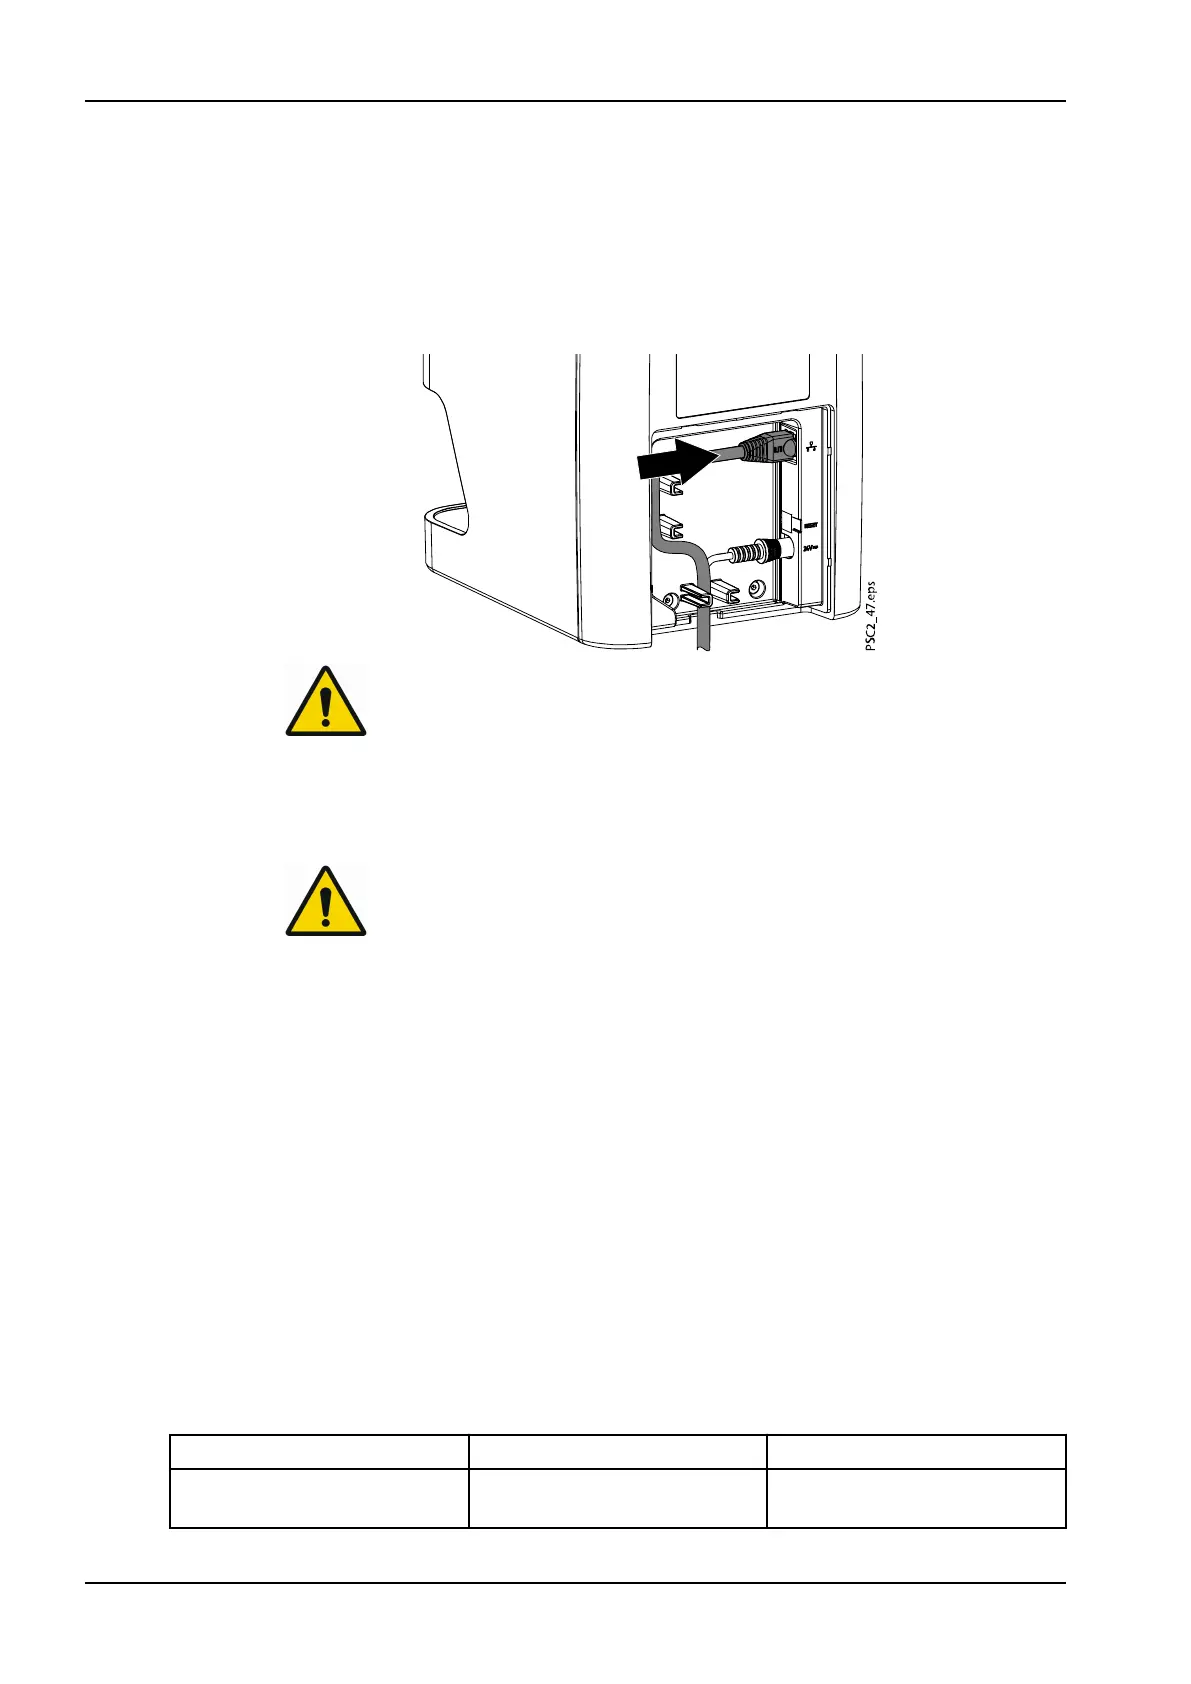
3.2.3.3 Connecting network cable
1. Remove the cover from the rear of the device.
2. Connect the supplied network cable to the network connection of the
device.
NOTE
The cover on the rear must be correctly fitted when the device is
operated within the patient environment.
3. Refit the cover.
3.3 Commissioning
CAUTION
Short circuit can occur due to build up of condensation.
Do not switch on the unit until it has warmed up to room temperature and it
is dry.
The unit supports the following imaging programs:
• Planmeca Romexis
3.3.1 Network configuration
Various options are available for network configuration:
• Automatic configuration via DHCP
• Automatic configuration via Auto-IP for direct connection of unit and
computer
• Manual configuration
Configure the network settings of the unit using the software or, if applicable,
the touch screen.
Check the firewall and release the ports, if applicable.
3.3.2 Network protocols and ports
Port Purpose Service
45123 UDP, 45124 UDP Unit recognition and
configuration
3 Assembly
28 Planmeca ProScanner 2.0 User's manual