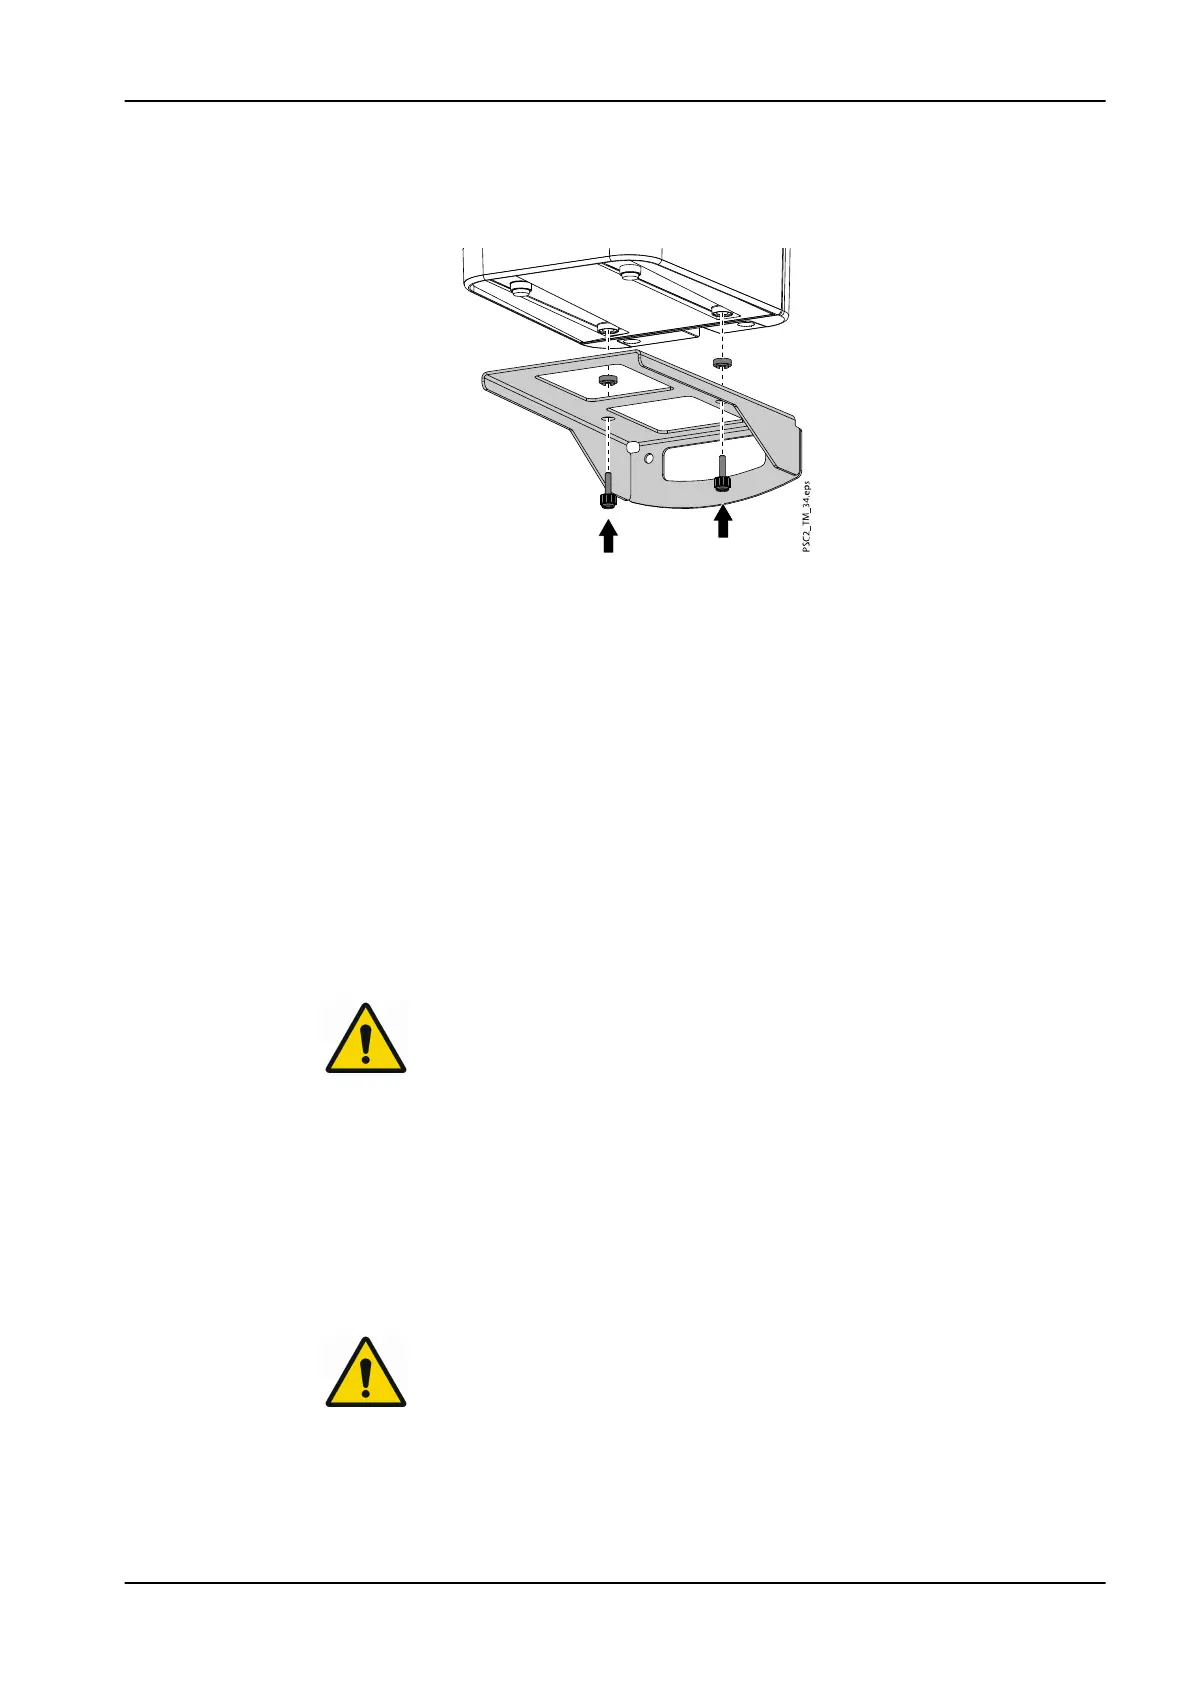
7. Put spacers into the holes of the wall brackets.
Place the device onto the wall bracket and line up with the spacers.
Use the knurled screws to secure the device onto the wall bracket.
3.2.2 Electrical connections
3.2.2.1 Safety when making electrical connections
• The device must only be connected to a correctly installed power outlet
• Do not place non-fixed multi-socket units on the floor; follow the
requirements in section 16 of IEC 60601-1 (EN 60601-1)
• Do not operate any other systems using the same multiple socket
• Make sure that none of the electrical cables leading to the unit are under
any mechanical tension
• Before initial start-up check that the mains supply voltage and the
voltage stated on the type plate match (for more information, see section
"Technical data" on page 10).
3.2.2.2 Connecting to mains supply
NOTE
The unit has no main power switch. For this reason it is important that the
unit is be set up in such a way that the plug can be easily accessed and
unplugged if required.
Requirements
• Properly installed power outlet close to the unit (observe the max. mains
cable length)
• Easily accessible power outlet
• Mains voltage must match the information shown on the type plate of the
power supply unit
NOTE
Only the supplied power supply unit may be used.
Connection
1. Attach the matching country-specific adapter to the power supply unit.
3 Assembly
User's manual Planmeca ProScanner 2.0 25