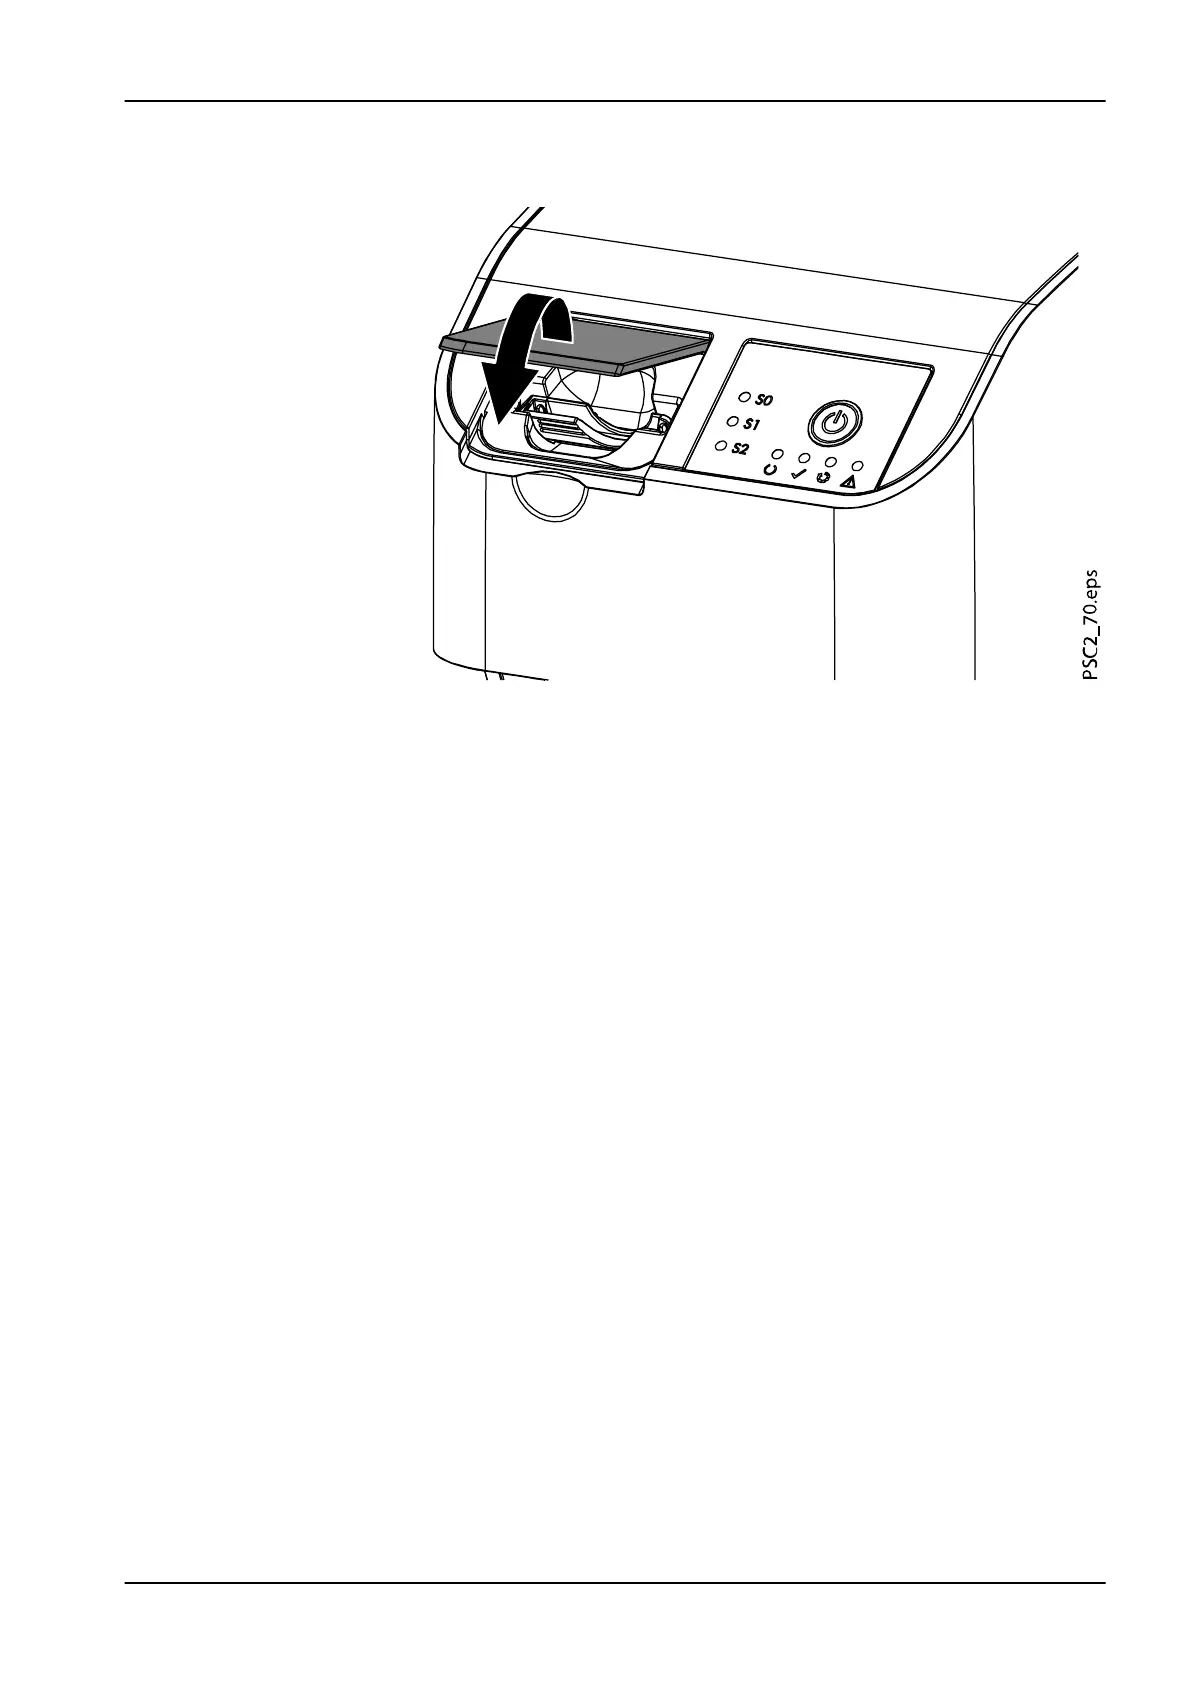
5. Once the image plate has been inserted into the unit, close the cover
and leave it closed throughout the entire scanning process.
The blue status LED lights up.
The image data is automatically transmitted to the imaging software. The
progress of the scanning process is displayed in the preview window on
the monitor.
After it has been scanned, the image plate is erased and drops into the
collection tray.
1. When the green status LED lights up, the image is saved to Planmeca
Romexis.
4 Usage
User's manual Planmeca ProScanner 2.0 47