The clock of the copyboard should be set correctly because the date and time (timestamp) is printed on the
printer paper, and it is also recorded in the file information when saving.
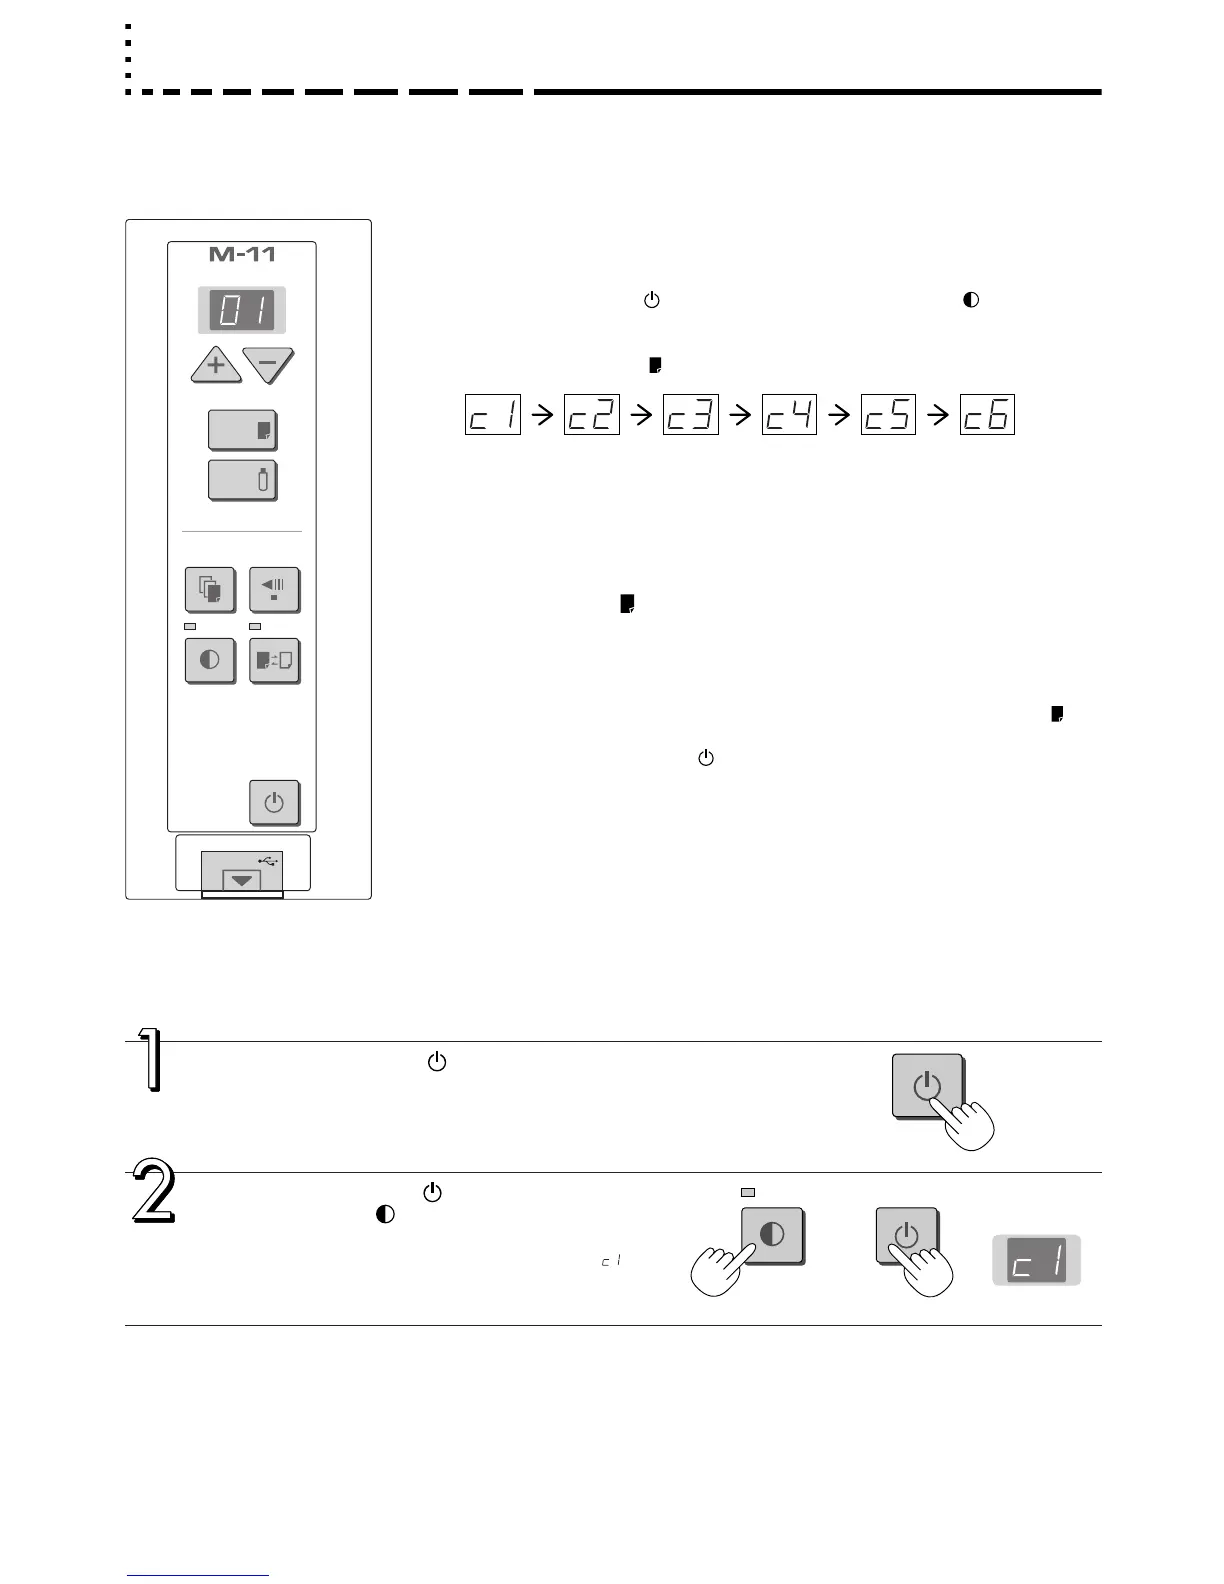
Press the ON/Standby button to switch on
the power.
The LED of the display window will light and the power will
be switched on.
Press the ON/Standby button while holding
down the Density button to switch to “Time
setting”
The LED of the display window will light and display “ ”.
Preparation:
Connect the AC power adapter to the copyboard. See Page E-13.
Example: Set the time to 2:16 pm, November 8, 2006 (2006.11.08 14:16).
Overview of the Operation
1 Switch to “Time setting”
Press the ON/Standby button while holding down the Density button.
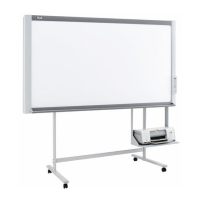
2 Display the day and hour setting mode
Each press of the Print button switches the setting mode as illustrated below.
(First 2 digits) (Last 2 digits)
Year Month Day Hour Minute
3 Adjust the date and time of the selected setting mode
One press of the + or the − button will enable the settings to be made.
Press the + or − button and make the adjustment.
4 Press the Print button to finalize
There is a change to the next setting mode.
Perform operation 2, or 3 and 4 to set the current time.
5 Completion
Change over to the minutes setting mode (c6 display) and press the Print but-
ton to complete the “Time setting.”
• Pressing the ON/Standby button during operations 2 to 4 will cancel the
incomplete settings and return to the time prior to starting the settings.