8. If the room requires further authentication, the system display shows a collection of shapes. Select the
sequence of shapes on the Poly TC10 that matches the sequence of shapes on the system display and
select Confirm.
9. Depending on the system configuration, the Poly TC10 displays some of the following screens.
● Poly Lens registration
● Provider selection
● Option to update software if a software update is available
The Poly TC10 and the system both restart into the chosen partner application.
Configuring your system
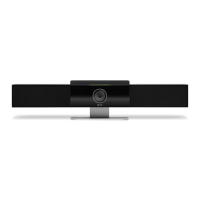
You can configure your Poly Studio X72 system using multiple options.
After you set up the system, you can configure camera, audio, network, and security settings.
To configure the system use one of the following methods:
● Access the system web interface
● Onboard your system to Poly Lens Cloud
For advanced configuration information including network setup and security settings, see the
Poly Video Mode
Administrator Guide
and the
Poly Partner Mode Administrator Guide
on the Poly Documentation Library.
Access the System Web Interface
Access the system web interface to perform administrative tasks.
IMPORTANT: If not prompted to do so during setup, Poly recommends changing the administrator password
in the system web interface.
1. Open a web browser and enter the system IP address.
When setting up your system, the onscreen instructions display the IP address to use.
2. Enter the username (the default is admin).
3. Enter the password (the default is the last six characters of your system’s serial number).
The user name and password are case sensitive.
Registering the System with Poly Lens
Poly Lens provides cloud-based management and insights for your system.
You can register your system with Poly Lens during system setup or on the Poly Lens registration page. For
more information, see Poly Lens Help.
Configuring your system
13