2. Set the HDMI splitter to Scaler.
3. Connect one end of an HDMI cable to the splitter.
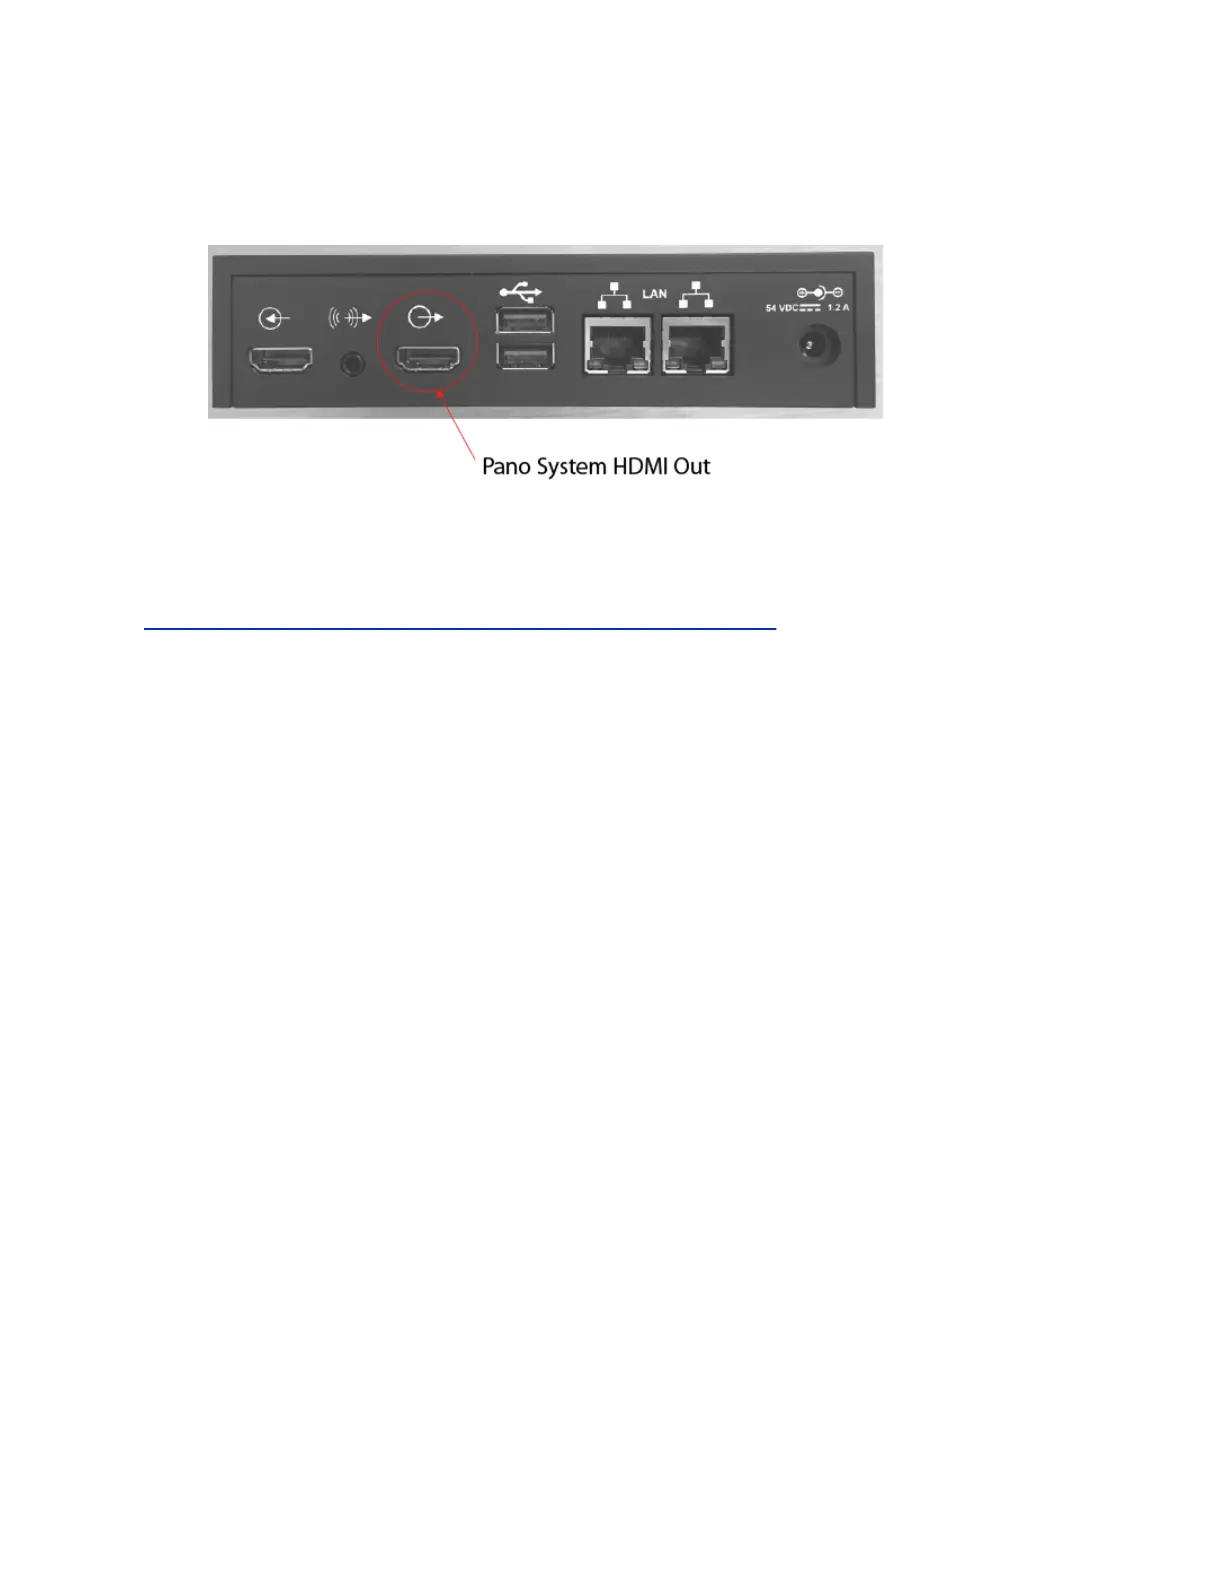
4. Connect the other end of the HDMI cable to the HDMI Output port on the Pano system, shown in
the following figure:
5. Connect one end of an HDMI cable to HDMI 1 on the splitter.
6. Connect the other end of the HDMI cable to the HDMI Input port on the Pano system monitor.
7. Complete the rest of the setup.
Related Links
Complete the Two-Monitor Setup (HDMI Splitter or HDMI USB Adapter) on page 26
HDMI USB Adapter Setup
With an HDMI USB adapter, you can connect a Pano system to a Polycom video system using two
monitors.
Remember the following about this setup:
▪ Monitor 1 shows near and far video.
▪ Monitor 2 shows near and far content (only if the Pano system is in a session).
▪ Annotations made to far content can be seen by all participants.
▪ Users cannot directly connect their device to the Pano system using HDMI.
▪ To share content during a meeting, you must first place a call on the Polycom video system and
then start content.
▪ You need two HDMI cables and an HDMI USB adapter.
The following diagram illustrates how the components for this setup are connected:
Integrating with a Polycom Video System
Polycom, Inc. 24