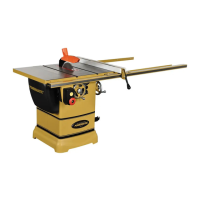
24
6. Always push the workpiece completely past the
blade at the end of a cut to minimize the possibility of
a kickback.
7. In ripping long boards, use a support at the front
of the table and a support or “tailman” at the rear.
8. For work shorter than 12" or narrower than 6",
use a push stick, or block, to push it through between
the fence and the saw blade. (See pg. 27 for a filler
piece designed to add to the safety of ripping narrow
boards).
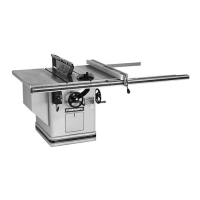
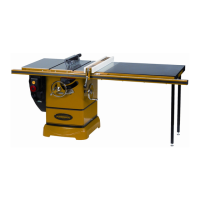
9. NEVER use the rip fence beyond the point where
the carriage is flush with the end of the rails.
10. Have the blade extend about 1/8" above the top
of the workpiece. Raising the blade above this point
increases the risk of injury.
RESAWING:
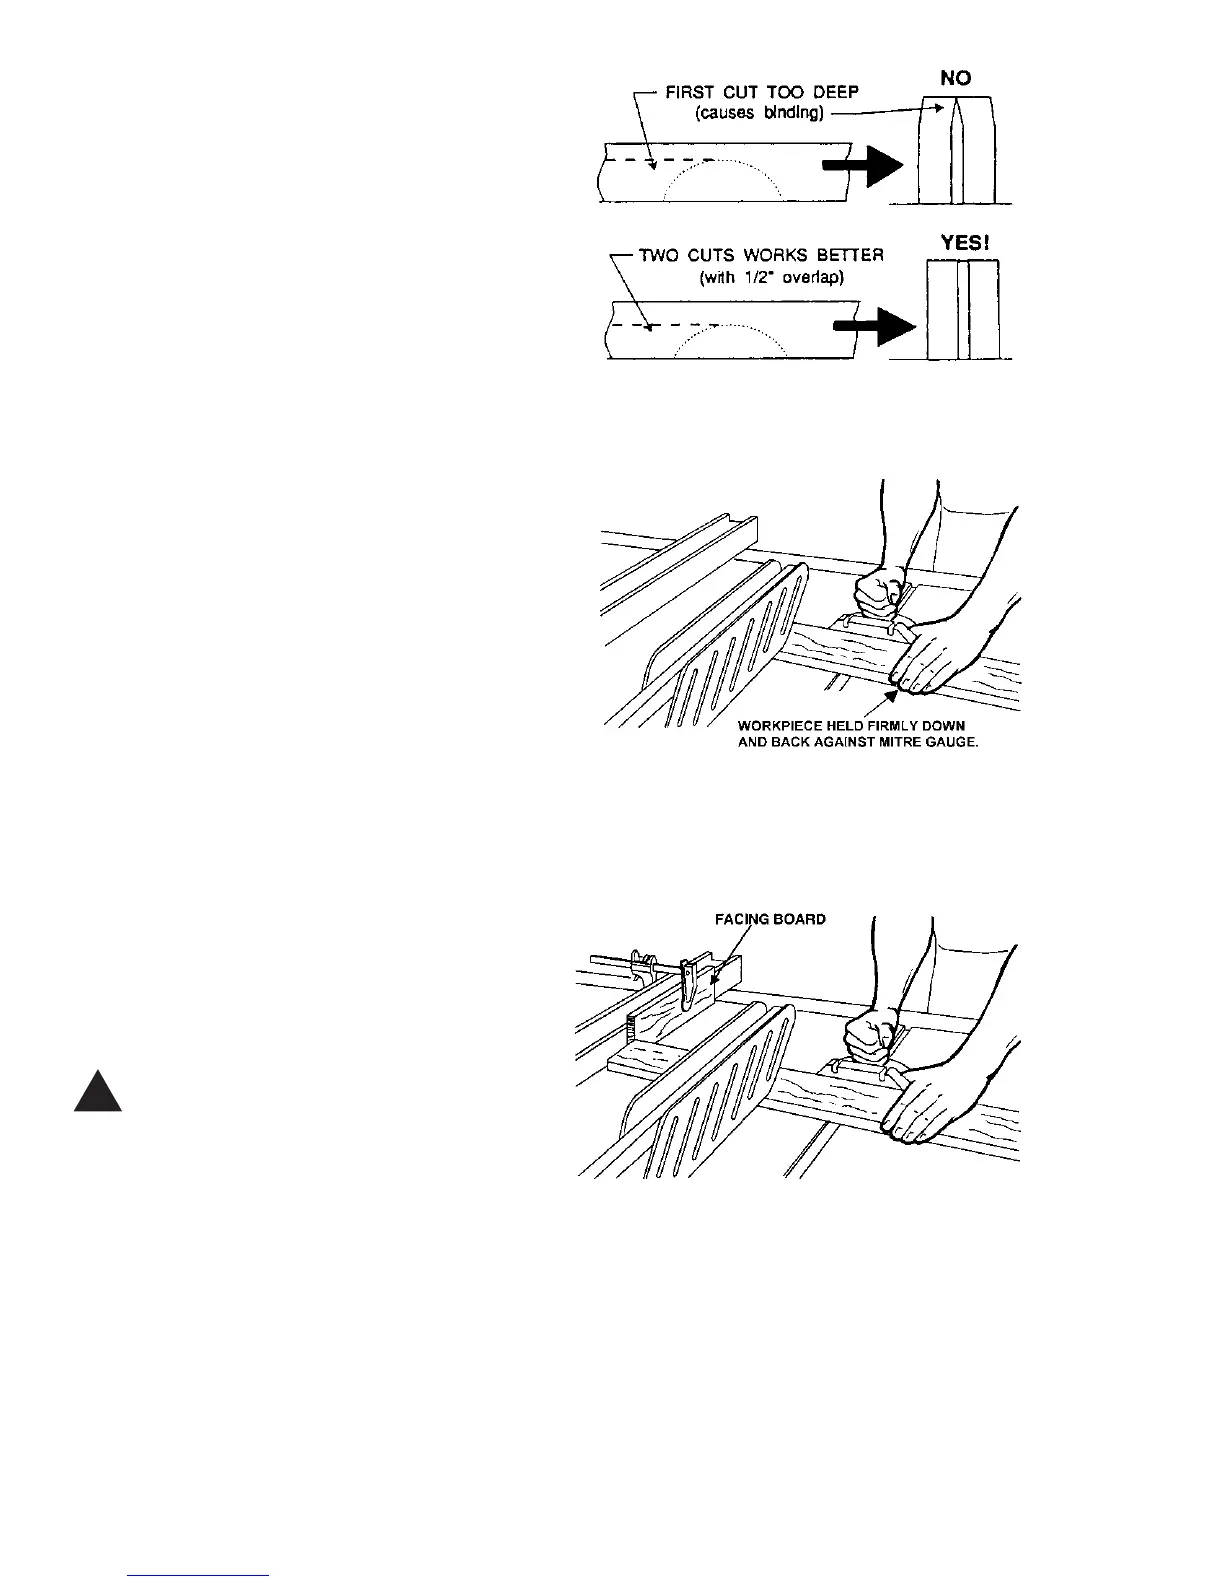
1. Resawing is a ripping operation in which thick
boards are cut into thinner ones. Narrow boards up to
3" can be resawed in one pass. Wider boards up to
6" must be resawed in two passes.
2. In resawing wider boards, adjust the blade height
so as to overlap the two cuts by 1/2" (Figure 36). Too
deep a first cut can result in binding and kickbacks on
the second cut. Always use the same side of the
board against the fence for both cuts.
CROSSCUTTING:
1. The sawing process where the workpiece is fed
cross grain into the saw blade using the mitre gauge
to support and position the workpiece is called cross-
cutting.
CAUTION: Do not crosscut workpieces
shorter than 6".
2. Before starting a cut, be sure that the mitre gauge
is securely clamped at the desired angle. Hold the
workpiece firmly against the table and back against
the mitre gauge as shown in Figure 37. Always use
the saw guard and splitter and make sure the splitter
is properly aligned.
3. Crosscutting should never be done freehand nor
should the fence be used as an end stop unless an
auxiliary block is clamped to the front of the blade
area such that the cutoff piece comes free of the block
before cutting starts (Figure 38). Length stops should
not be used on the free end of the workpiece in the
cutoff area.
FIGURE 36
FIGURE 37
FIGURE 38
!