Operation
EGM-4 Operator's Manual – Version 4.19
- 19 -
Main Menu
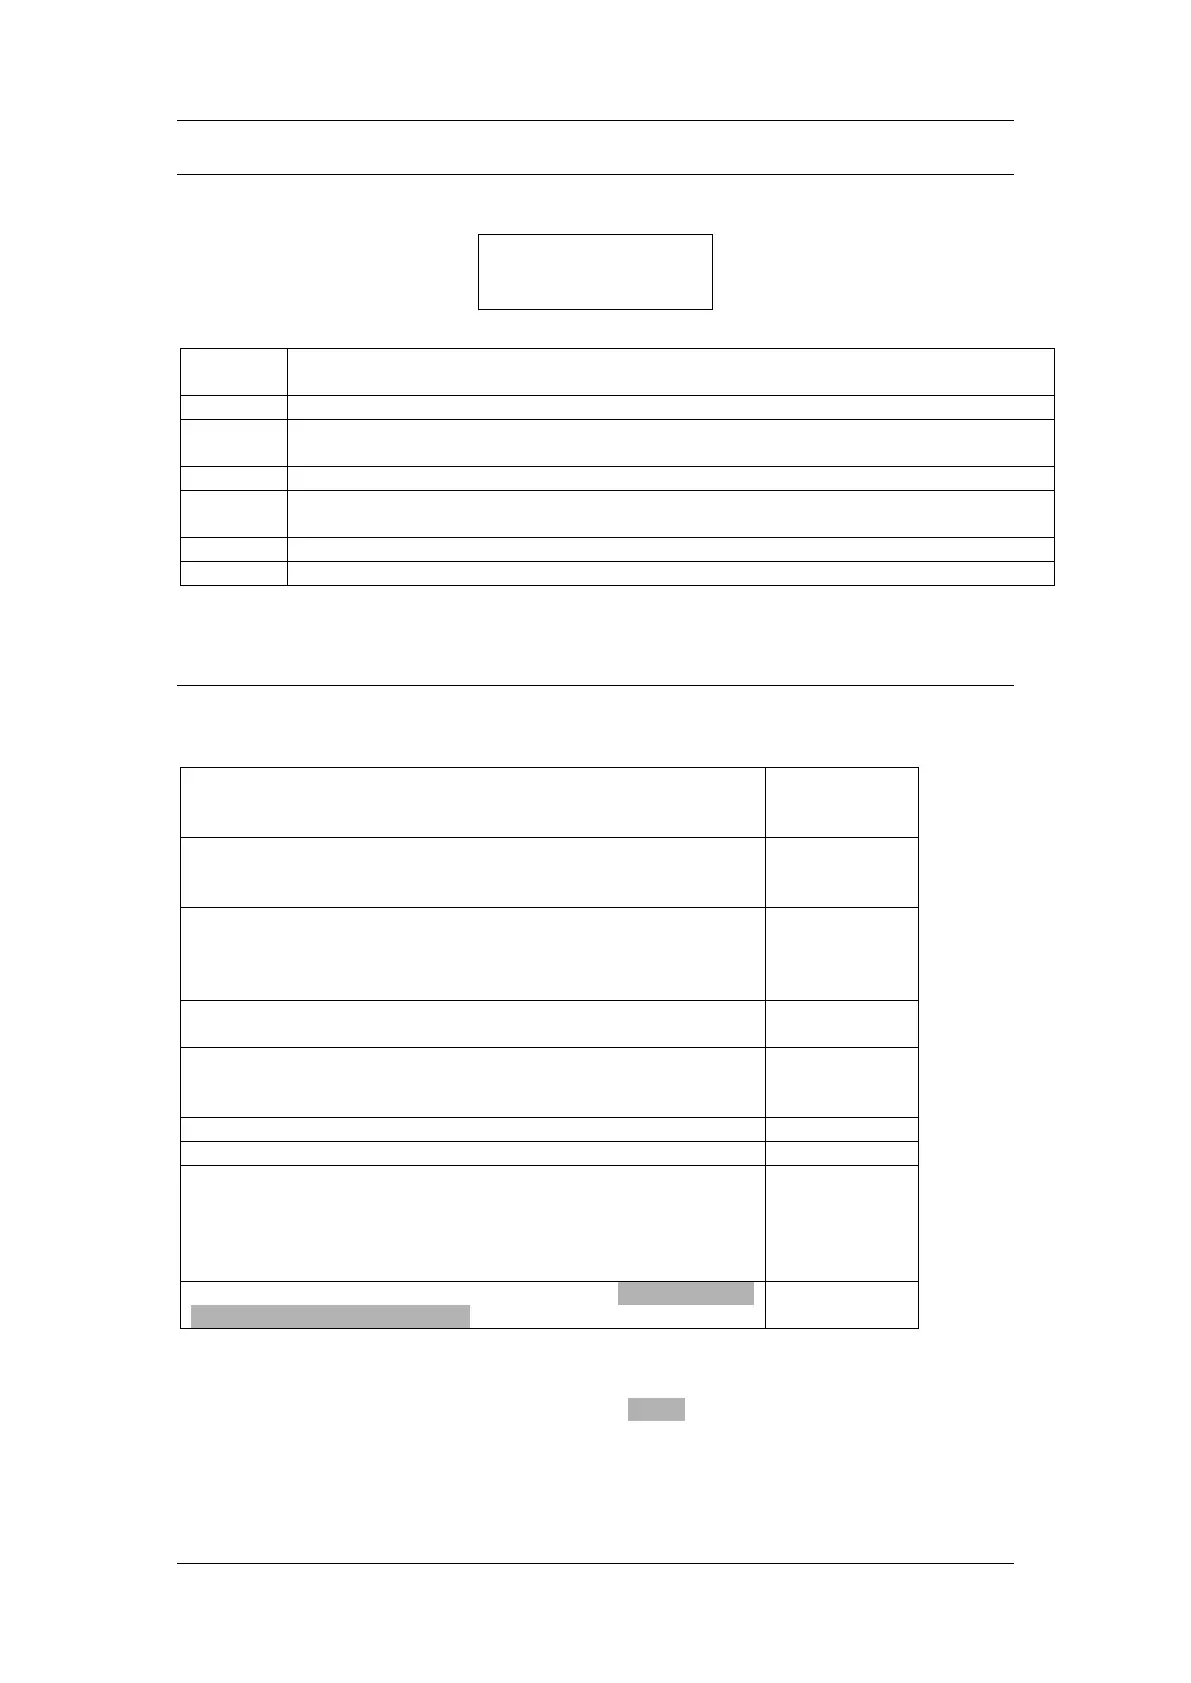
There are 6 options available to the user when the Main Menu is displayed as follows:
Where:
Go Into Measurement Mode. See 1REC on page 19.
Change system settings (i.e. zero type and time interval, recording type, alarm
settings, etc.). See 2SET on page 30.
To calibrate the Analyzer. See 3CAL on page 35.
To dump stored data to a PC or to view data on the LCD display. See 4DMP on
page 36.
Clear system memory. See 5CLR on page 41.
Set/check the system clock (date and time). See 6CLK on page 42.
Each option is discussed in further detail below.
1REC
To begin recording, press key 1. Please note, the EGM-4 display is dependent upon which
probe type is connected to it. The following table illustrates the Probe Types:
If the EGM-4 is used as a:
Probe Type is
2
Analyzer (including optional humidity sensor
is fitted). See Stand Alone CO2 Analyzer (Probe Type 0) on
Environmental Monitor
(With one of our Environmental Sensors such as %RH,
temperature, PAR, O
2
, etc.). See
Environmental Monitor
(Probe Types 1-6 and 10) on page 22.
Steady State Porometer. See Steady State Porometer (Probe
Type 7) on page 23.
Closed System Soil Respiration
(i.e. SRC-1 Soil Respiration Chamber). See Closed System
Soil Respiration (Probe Type 8) on page 24.
(i.e. CFX-1 Soil Respiration Chamber, CPY-3 Chamber). See
Open System Soil Respiration (Probe Type 11) on page 27.
Closed System operation with the CPY-4. See Closed System
Soil Respiration (Probe Type 8) on page 24.
Important Note. Most instruments are supplied with the probe type already set if a sensor is
supplied with the EGM-4. If an existing EGM-4 user purchases an environmental sensor from
us, it may be necessary to set the probe type (see 1EGM on page 30).
In the followng sections, some displays will vary slightly to what is discussed
depending on firmware and sensors connected to the EGM-4.
4DMP 5CLR 6CLK