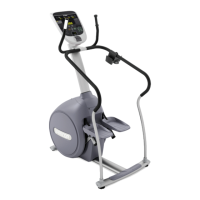
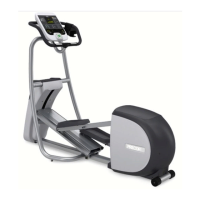
C556, C556i Navy Self Powered Elliptical Fitness
Page 58
Procedure 7.16 - Replacing Handlebar Linkage (C556i Navy,
only)
WARNING
Before continuing with this procedure, review the Warning and Caution statements listed in
Section One, Things You Should Know.
1. Remove the plastic cap from the stairarm end of the handlebar linkage with a flat bladed
screwdriver. Remove the bolt that fastens the handlebar linkage to the stairarm. Refer to
Diagram 7.7. There are two washers and a spacer in the handlebar linkage as similar to
those shown in Diagram 7.10
2. Remove the plastic cap from the inside lower end of the handlebar. Refer to Diagram 7.10.
Remove the bolt that fastens the handlebar to the handlebar linkage. There are two washers
and a spacer in the handlebar linkage as shown in Diagram 7.10.
3. Remove the handlebar linkage.
4. Slide the spacer into the bushing in the rear of the handlebar linkage and place a washer on
each side of the spacer. Set the handlebar linkage at its mounting position and fasten it with
the bolt removed in step 3. Torque the handlebar linkage bolt to 200 inch pounds. Snap the
plastic cap removed in step 3 into the handlebar linkage.
5. Slide the spacer into the bushing in the front of the handlebar linkage (refer to Diagram 7.10)
and place a washer on each side of the spacer. Position the handlebar and handlebar
linkage at their mounting positions and hand start the mounting bolt.
6. Torque the handlebar to handlebar linkage bolt to 200 inch pounds. Replace the plastic cap
on the handlebar linkage.