Do you have a question about the Precor S3.25 and is the answer not in the manual?
Guidance on safe practices and requirements for assembling the Leg Press Option.
Information on how to get product operation or service assistance from Precor.
Instructions for carefully unpacking the Leg Press Option components.
Key requirements for setup, including space and necessary tools.
Helpful advice and guidance for a successful assembly process.
Recommendation to use professional installers due to equipment size and weight.
Important notes regarding assembly sequence, component alignment, and fastener tightening.
Procedure for removing the equipment's shroud using bolts and washers.
Instructions for aligning and securing the cross brace to the S3.25 unit.
Steps for lifting and securing the seat frame and attaching the backpad support.
Procedure for assembling the footrest, pivot arm, and handle components.
Instructions for attaching the seat pads to the seat bracket support and seat frame.
Detailed steps for routing the cable through pulleys and securing fasteners.
Instructions for attaching the cable to the lower pulley bracket and removing surgical tubes.
Procedure for reattaching surgical tubes and securing the cable to the U-clip.
Instructions for realigning and reattaching the equipment's shroud.
Identifying signs of incorrect cable tension and the importance of proper tension.
Procedure to stretch the new cable by moving the weight stack and chest press arms.
How to rotate the cam washer to adjust cable tension and ensure proper weight stack seating.
Final adjustment of the rubber bumper to fine-tune cable tension and check weights.
Terms and conditions governing the validity and coverage of the Precor product warranty.
Exclusions from the Precor limited warranty, including cosmetic items and misuse.
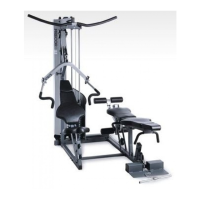
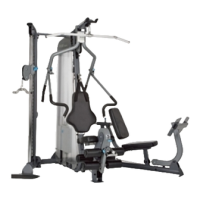
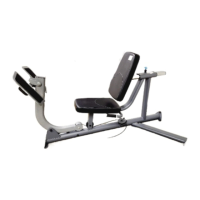
Physical dimensions and shipping weight of the Leg Press Option.
Contact details and website for Precor Incorporated, including warranty registration.
| length | 60 inches (152 cm) |
|---|---|
| height | 33 inches (84 cm) |
| width | 30 inches (76 cm) |
| shipping weight | 125 lb (57 kg) |