Complete the assembly
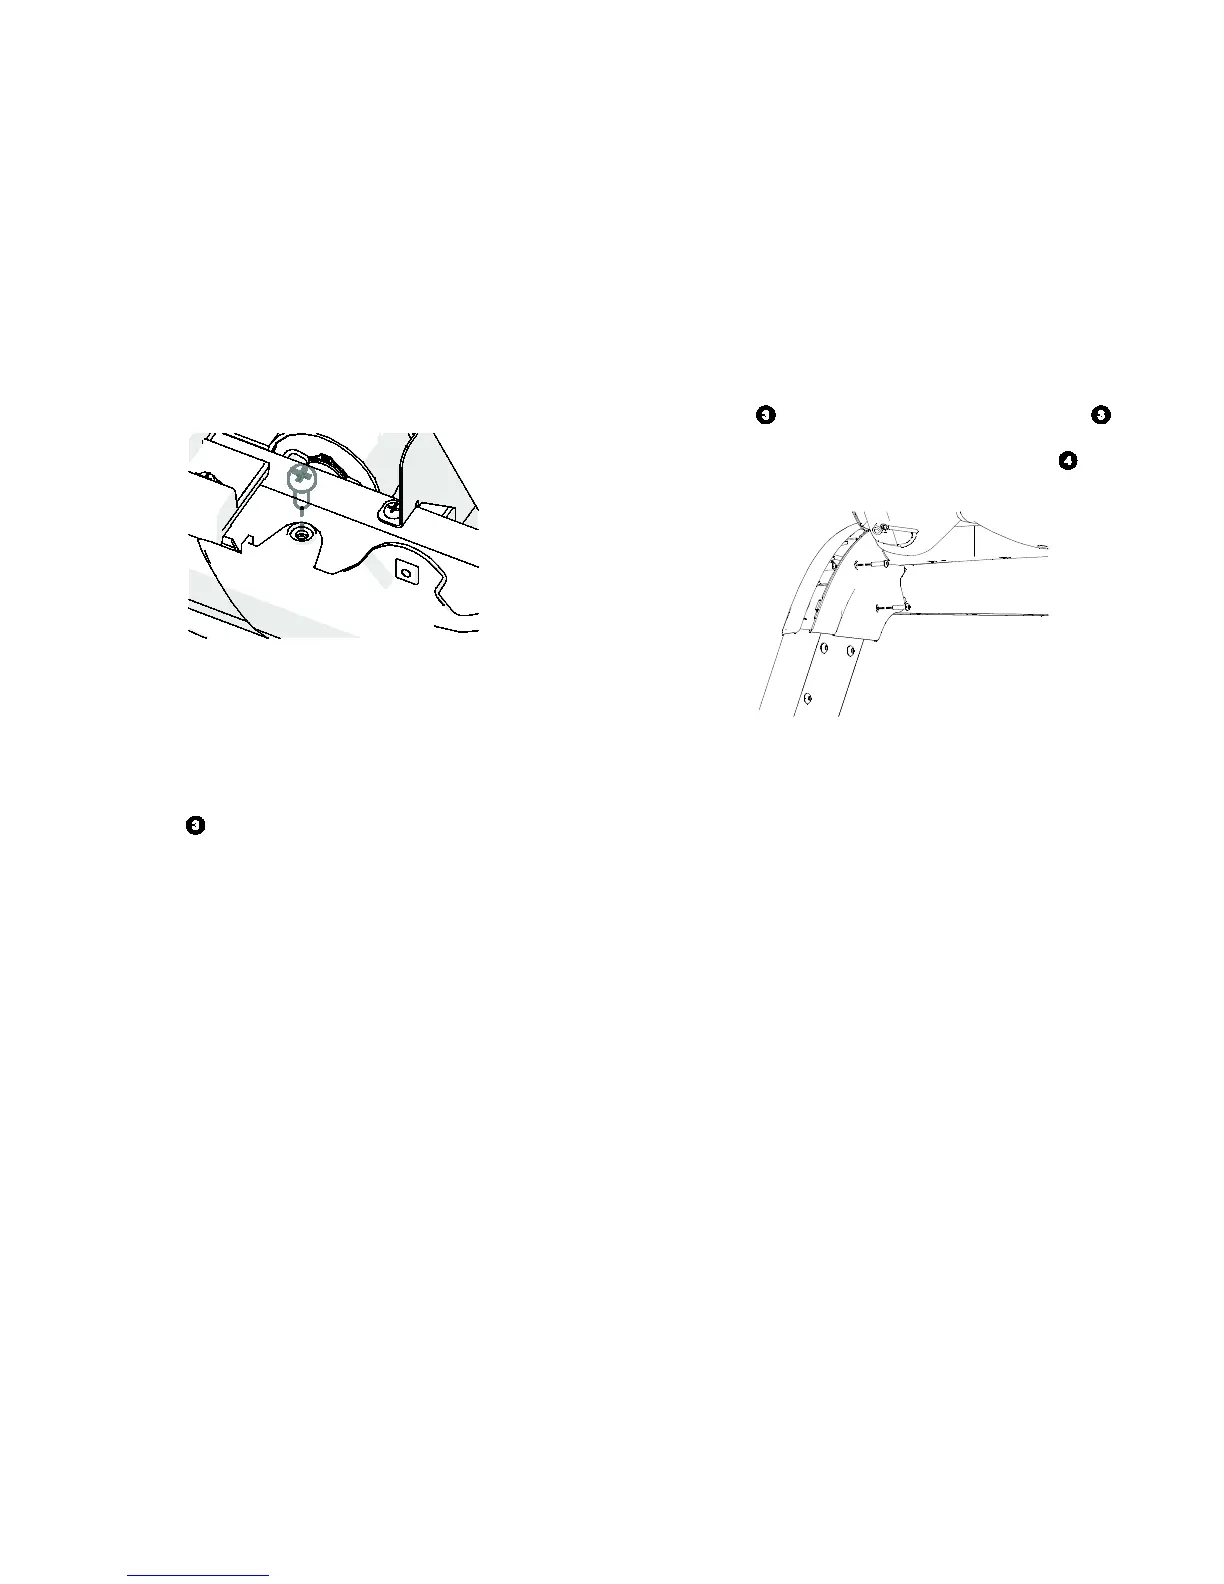
1. Attach both corner covers and secure each with one screw (see Figure 10).
Fig
ure 10
2. Refer to the console Installation Guide (either online or in the console box) for
instructions on how to install the console, including replacing the power harness.
Once you’re done, come back to this page and complete the treadmill assembly
from the next step onward.
3. To position the hood, gently flex the bottom edge of the hood around the bracke
t
a
t the front of the treadmill.
4. Insert a scre
w int
o each of the two side holes. Partially tighten both screws.
5. Insert a screw into each of the two outer holes and one screw into the
two inner holes on the front of the hood. Partially tighten all six screws.
6. Attach the access covers onto each upright using four screws (see
Figure 11).
Fig
ure 11
7. After completing the console assembly, reattach the back cover (see Figure 2).
8. Fully tighten all screws used in the preceding procedures to 23 ft-lbs of torque, i
n
the
following order:
• The four screws that secure the side of the upright supports to the treadmill
base (see Figure 5).
• The two screws that secure the edges of the upright supports to the
treadmill base.
• The six screws that secure the console to the upright supports.