10
PROMISE Technology
iNStalliNg youR DiSk DRiveS
Theinstructionsbelowapplytoalltypesofdrivecarriersintendedforusewiththe
VessA2200orVessA2200s.
1. Removeadiskdrivecarrier.
2. Carefullylaythediskdriveintothedrivecarrieratthefront,sothatthescrew
holesonthesideslineup.
3. Insertthescrewsthroughtheholesinthedrivecarrierandintothesidesof
thediskdrive.
Installonlythecounter-sinkscrewssuppliedwiththedrive.
• Installfourscrewsperdrive.
• Snugeachscrew.Becarefulnottoover-tighten.
4. Reinstallthedrivecarrierintotheenclosure.
Repeatsteps1through3untilallofyourdiskdrivesareinstalled.
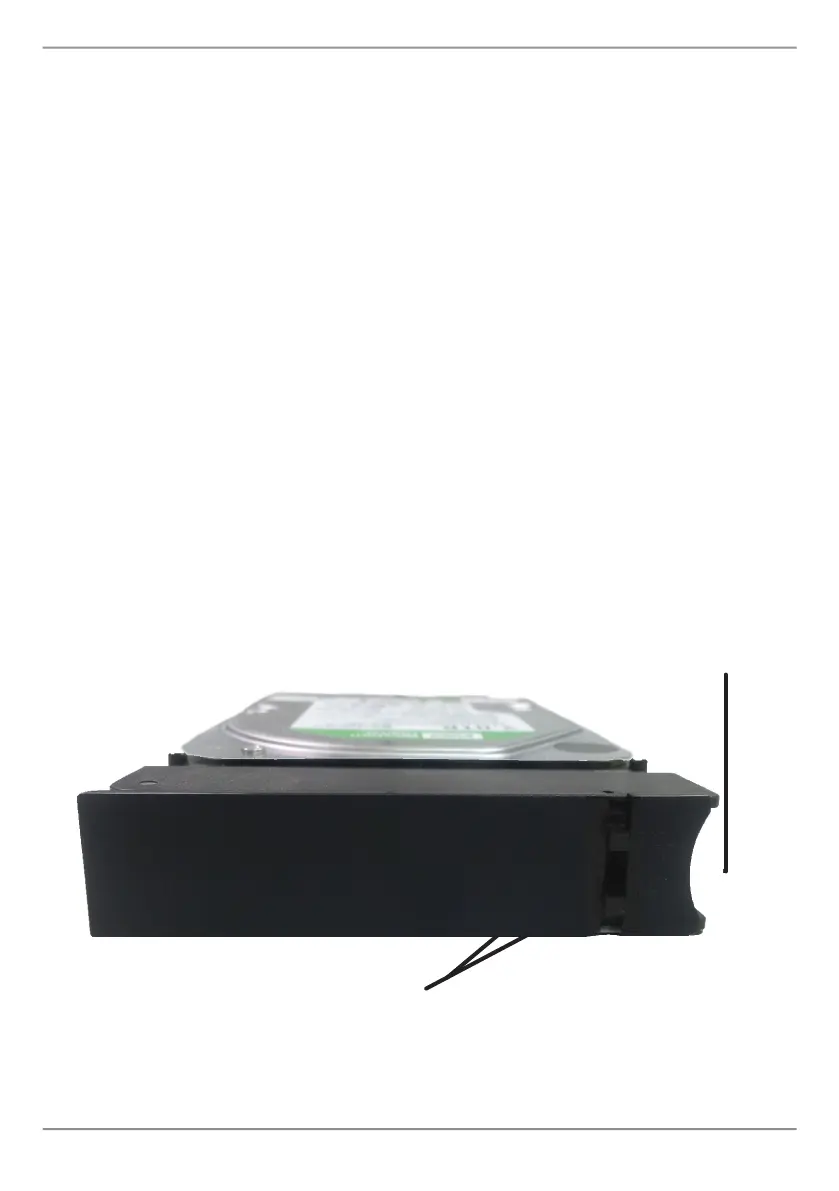
Figure 12: Disk carrier with HDD installed - front view
Push here when
returning or replacing
the carrier into an empty
drive bay.
Pull here to release the carrier handle latch.
Then pull the carrier straight out by the handle.
Place your free hand under the carrier.
Do not drop the disk carrier, even if it is empty.
Tabs for locking mechanism insert. This piece
must be removed to unlatch the carrier. To remove,
squeeze the tabs together and pull out. To reinsert,
squeeze the tabs together and replace in position.
Do not discard the locking mechanisms.
 Loading...