61
MARK76V3002 Rev 3
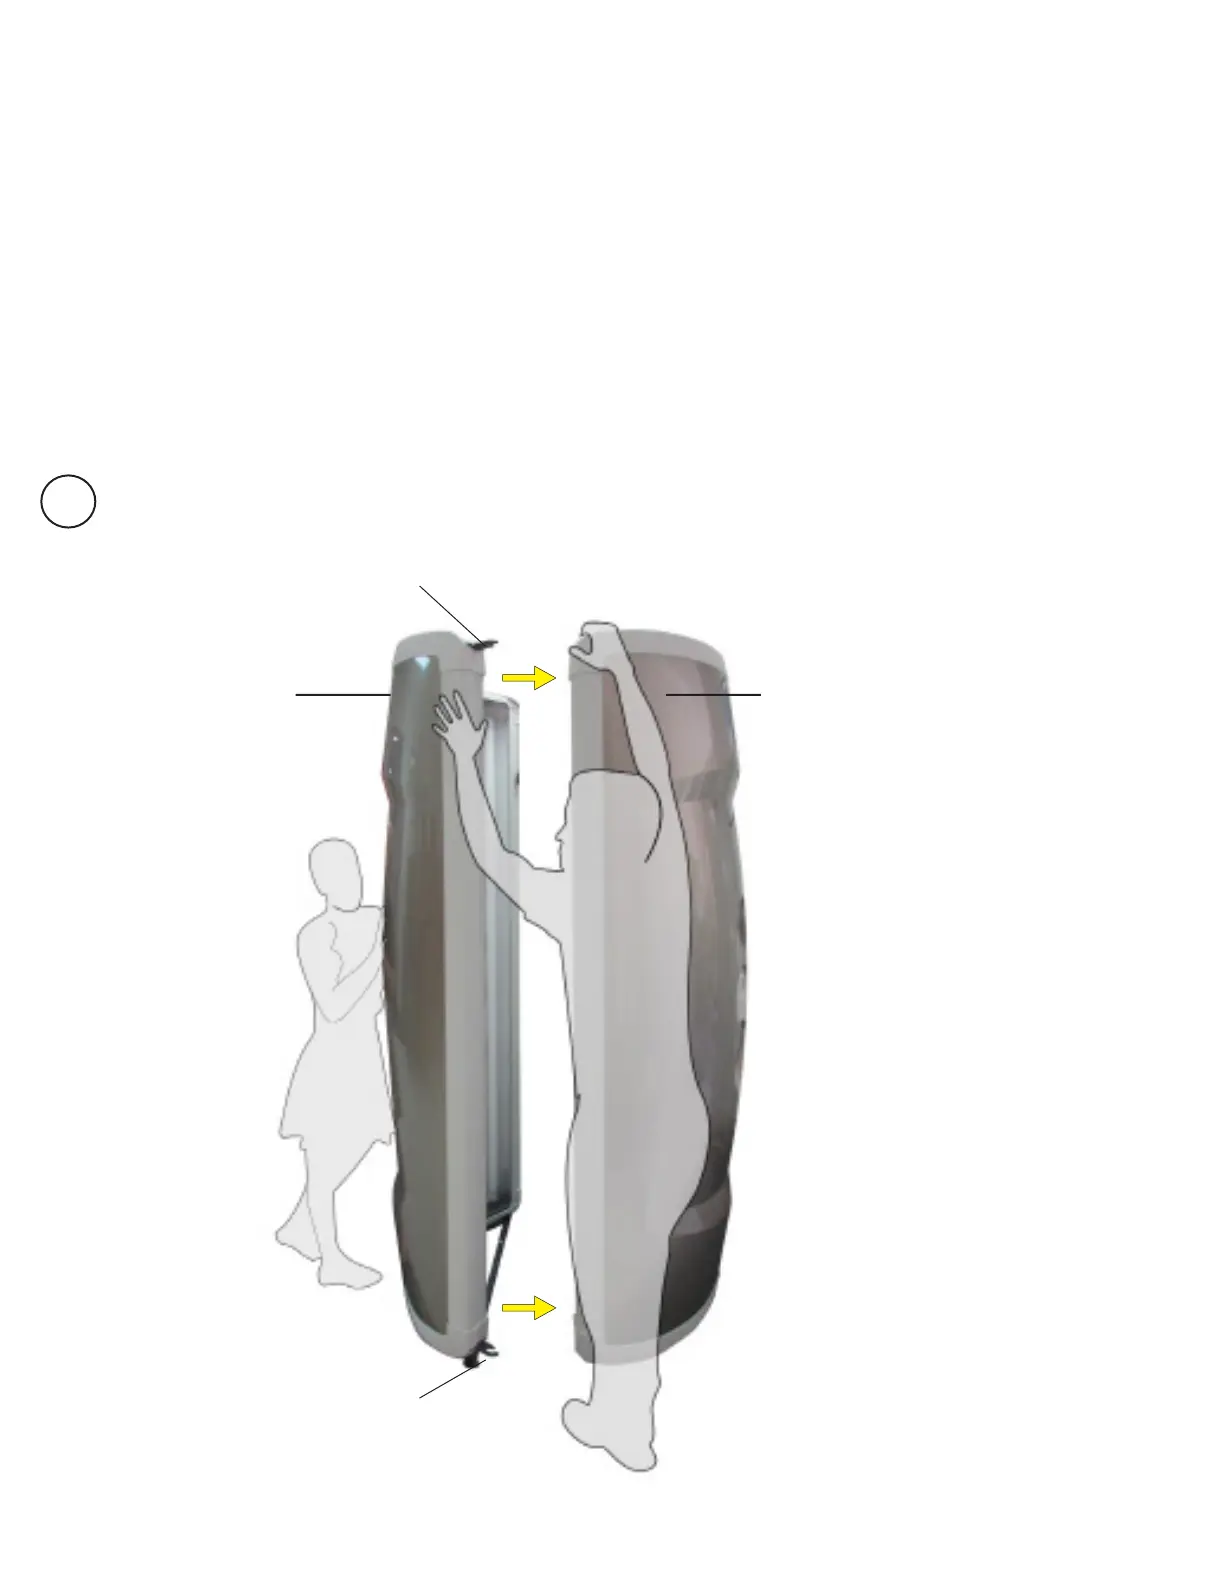
Remove the Control and Door Panels. Remove security plates and screws using
Alan wrench.
*It is important to keep the panels in an upright position. Laying on ground may
damage the exterior, as well as, interior components.
Insert the Control Panel into the Door Panel (you will notice hooks on the top and
bottom of the control panel). The door is NOT secured at this point.
Control Panel
Security Plate and screws
Security Plate and screws
Door Panel
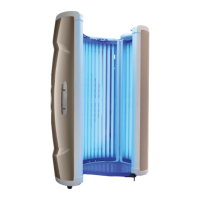
1
Assembly
*Make sure to set up
the unit in the correct
location within the
room as it is heavy and
diculttomoveonce
assembled.