28
RLY2
============
1*DISABLED
2 SETPOINT
3 WATER METER
4 PERCENT BLOWDOWN
5 PERCENT OF TIME
6 CALENDAR TIMER
7 ALARM RELAY
8 CHANGE MY NAME
9 SCHEDULED LOCKOUT?
13.7.1 Disabled
Relays 2, 3, and 4 can be disabled. When a relay is disabled, it will not energize automatically.
From the RELAY OPTIONS screen press ―1‖ Disabled to disable the relay
13.8 By Setpoint
Relays 2, 3, and 4 can be configured to operate based on a ORP or conductivity setpoint.
To set up the relay to operate based on a setpoint, select SETPOINT in the RELAY OPTIONS screen.
A screen asking WHICH PROCESS? will appear. Select ORP or conductivity. If conductivity is selected
the following screen will appear.
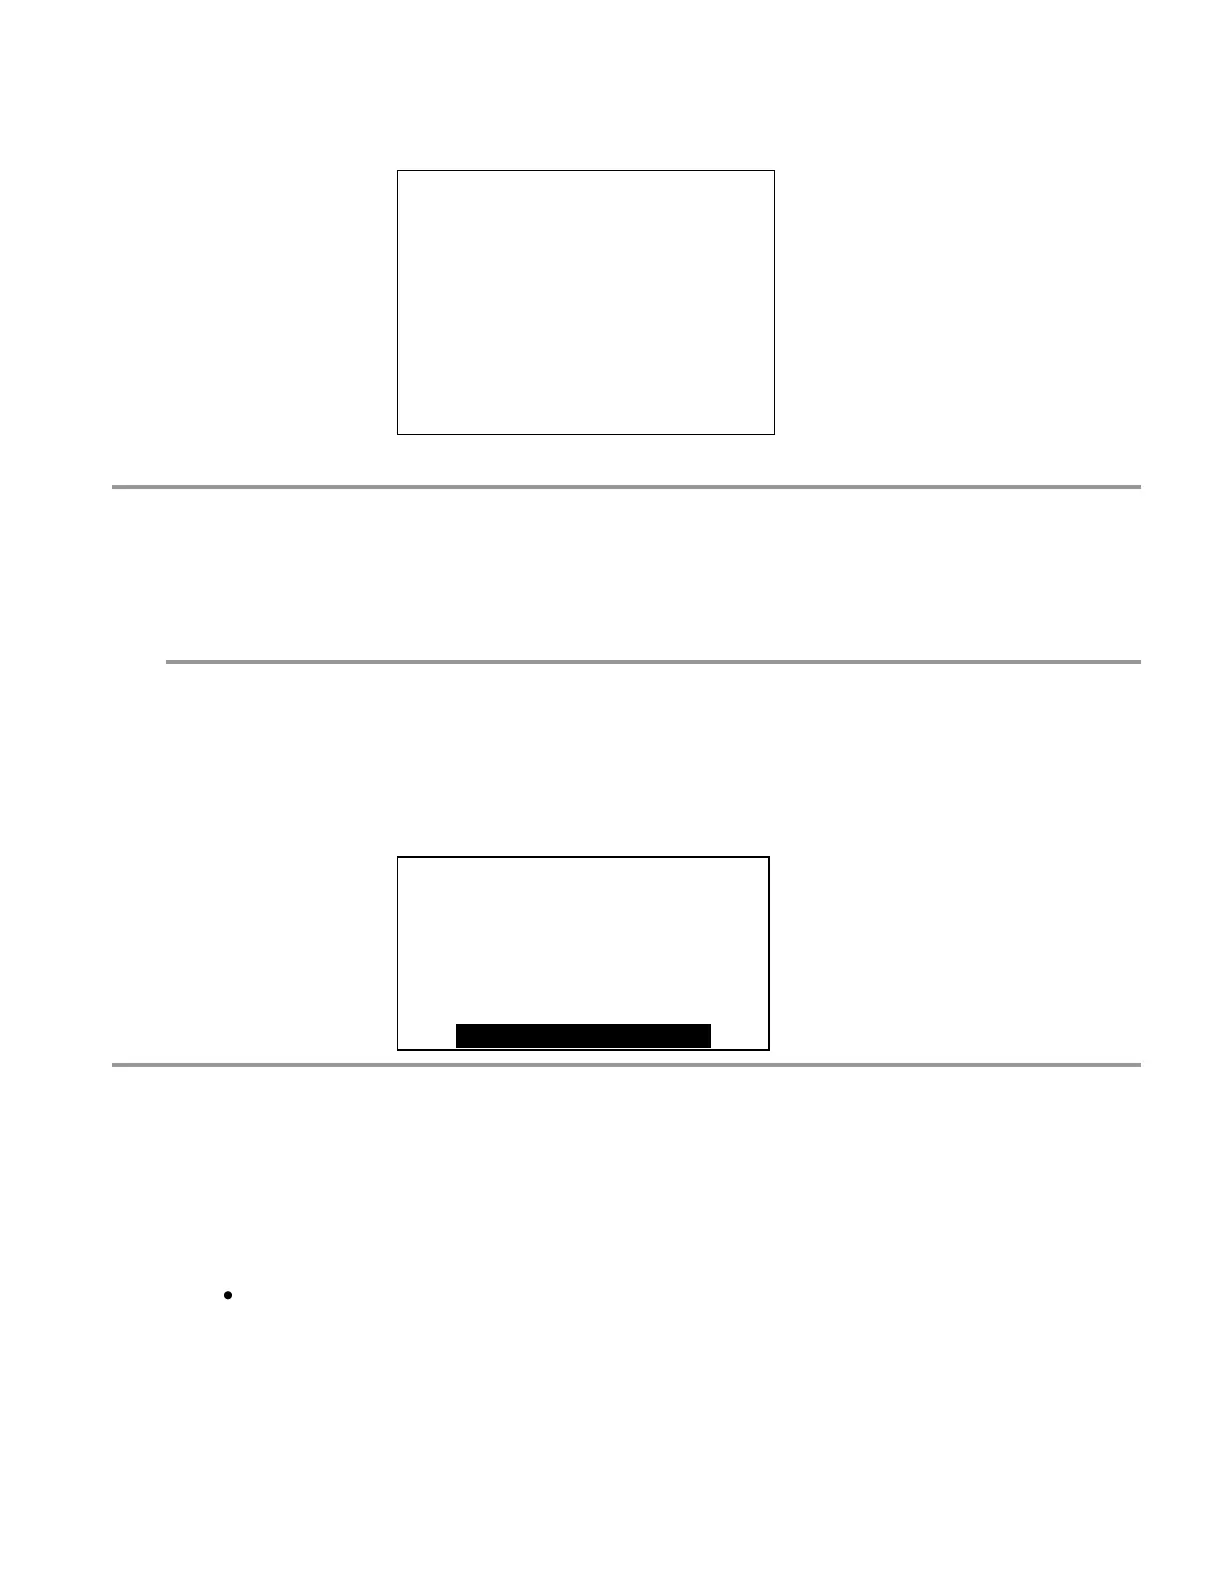
SETPOINT=
1000 µs
DEADBAND=
20 µs
CAL: +/- ENT: ACCEPT
13.8.1 Setpoint
In the SETPOINT screen you will set the SETPOINT, the DEADBAND and the OVERFEED TIME alarm.
The SETPOINT is the conductivity or ORP value that you are trying to maintain. Check with your water
treatment engineer to determine the conductivity and ORP setpoints for your system needs.
Follow these instructions to establish the controller's setpoint:
Use the keypad numbers to enter the proper ORP or conductivity setpoint and press
‖ENT‖. When finished, you will automatically be moved down to the deadband.
 Loading...