37
If the AUTOTROL TURB 2 IN. is selected:
The controller will confirm that the AUTOTROL TURB 2 IN. has been selected and you will be asked if
you want to reset the total count for that meter to zero. Press ‖1‖ for YES or press ‖2‖ for NO.
17 Set-up the 4-20mA Output
If the 4-20mA option is ordered the controller will have two channels of 4-20 mA outputs. The 4-20mA is
an option card that can be added in the field.
17.1 Set Up of the 4-20mA Output
To set up the 4-20 mA output:
From the Main Menu, press ‖6‖ 4-20 mA OUTPUTS
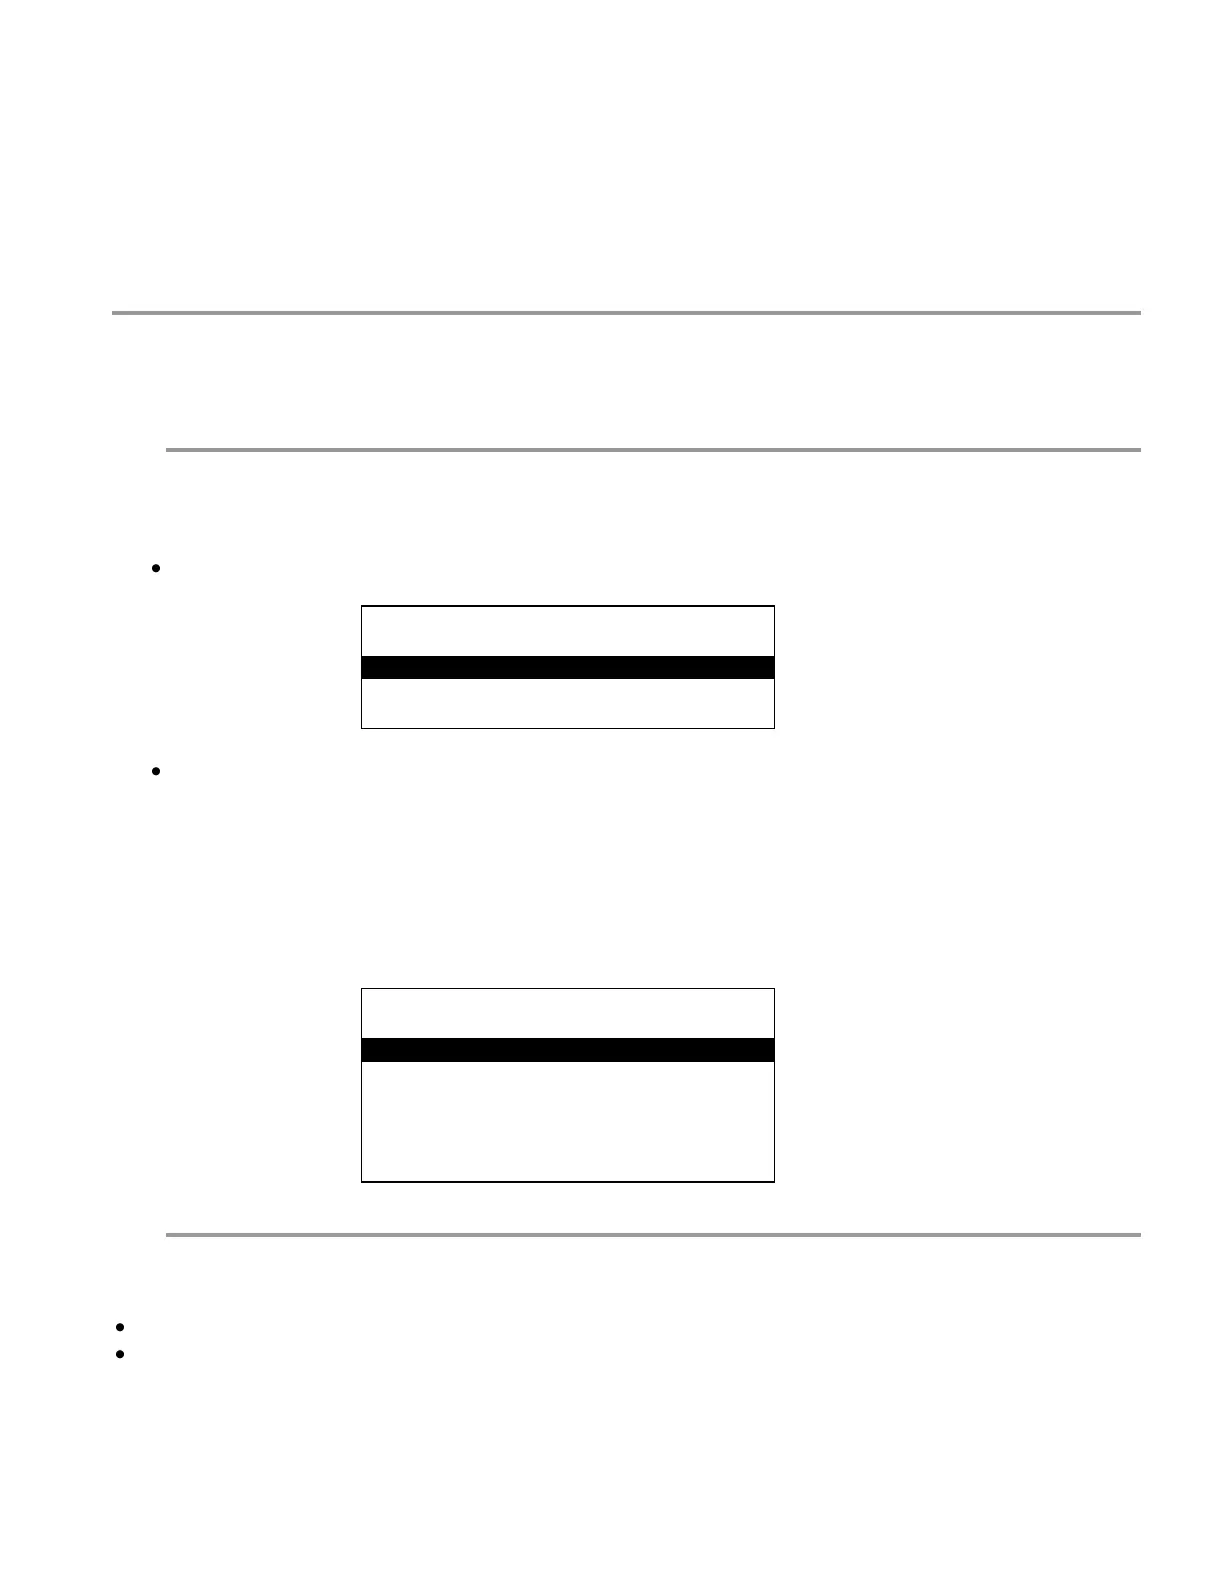
4-20 MA OUTPUT
====================
1 420A
2 420B
Press ‖1‖ For channel A 4-20 mA OUT SETUP. Press ‖2‖ For channel B 4-20 mA OUT SETUP
The 4-20 mA Out Setup screen allows the user to set the 4-20 mA range, calibrate the 4-20 mA
output, select which process the 4-20 mA channel will respond to, take manual control of the 4-20
mA output, and change the name of the output. Below is the 4-20 mA Setup screen.
4-20 MA OUTPUT
====================
1 SET 4-20 MA RANGE
2 CALIBRATE 4-20 mA
3 WHICH PROCESS?
4 MANUAL CONTROL
5 CHANGE MY NAME
17.2 Set the 4-20mA Range
The 4-20 mA output range must be set for the output to be useful.
From the 4-20 mA OUTPUT screen, press ‖1‖ Set the 4-20 mA RANGE.
Use the keypad to enter a conductivity or ORP value for the 4-mA point. Press ‖ENT‖.
Use the keypad to enter a conductivity or ORP value for the 20-mA point. Press ‖ENT‖.
 Loading...