32
9 ANALOG INPUTS (4)
10 ANALOG INPUTS (4)
11 DIGITAL INPUTS (4)
12 DIGITAL INPUTS (4)
Select the alarms from this menu that will activate the relay.
13.8.10 Change Relay Name
The name of each individual relay can be changed to any 4-character name. This is useful to designate
the chemical name for each relay. Use the arrow keys to change the character and the ENT key to
move to the next character.
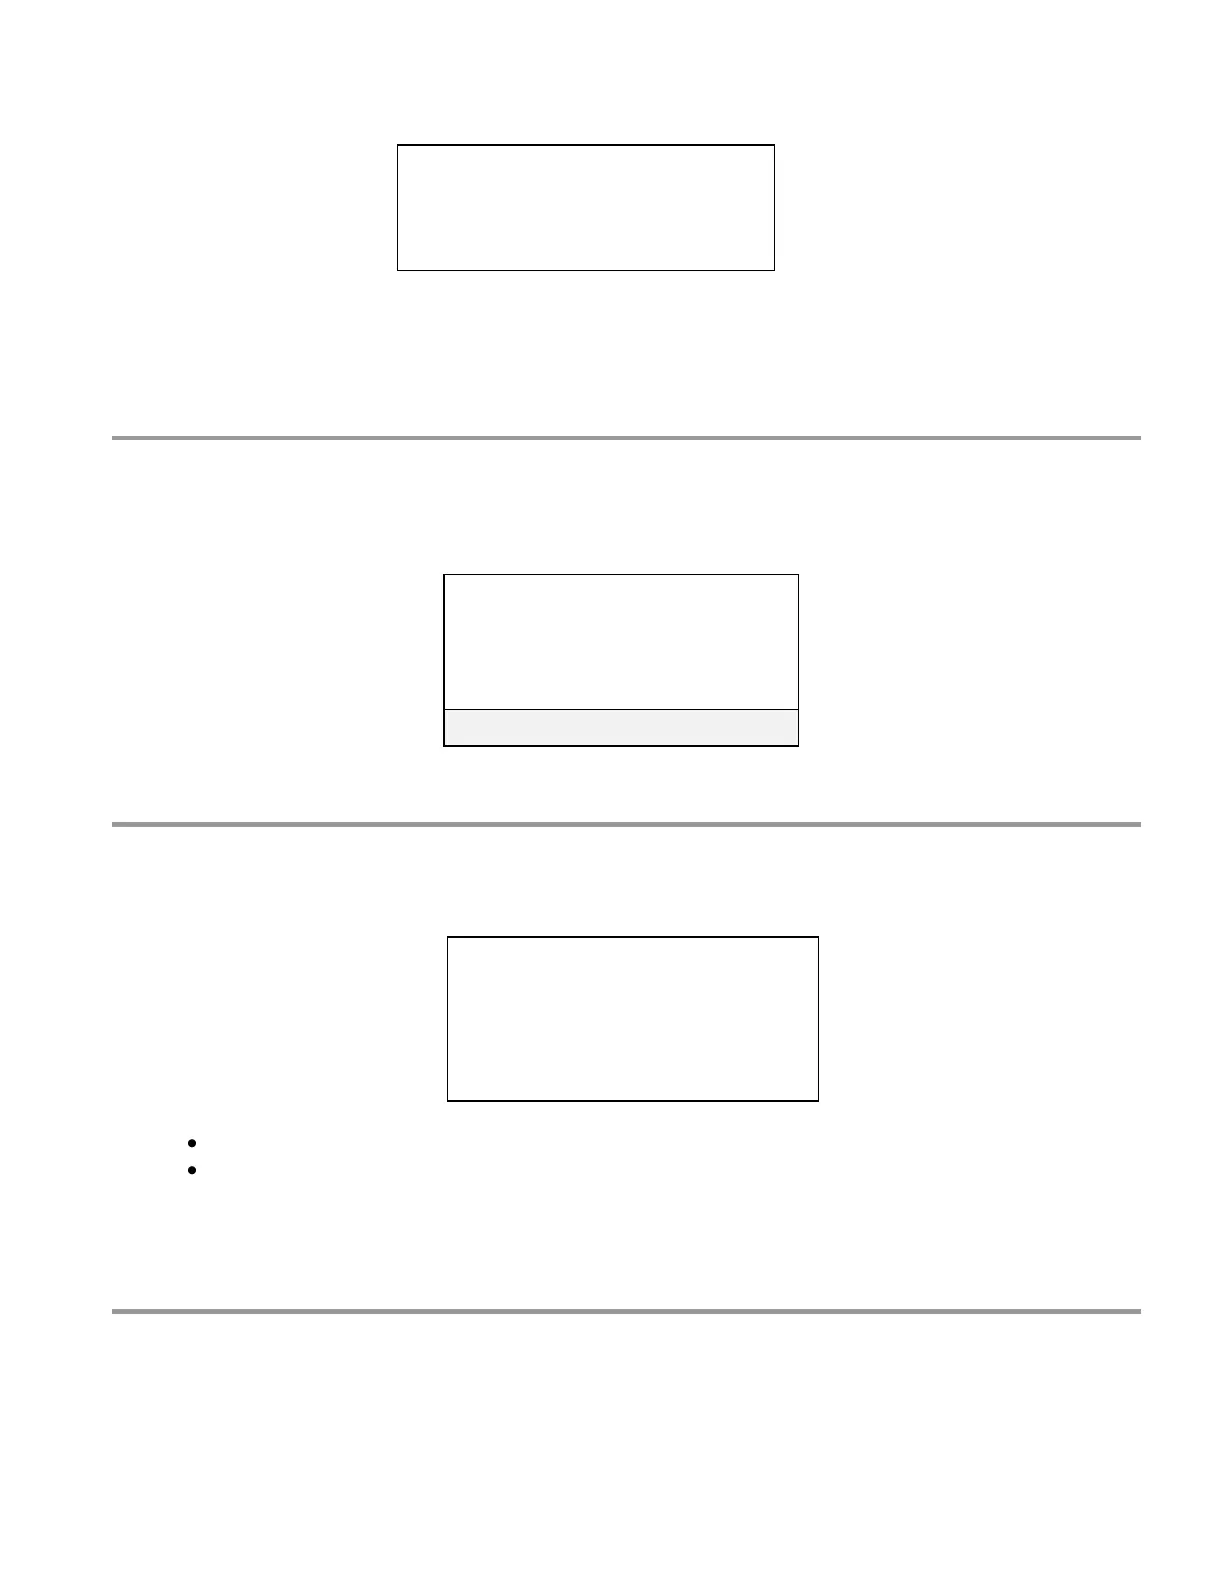
From the RELAY OPTIONS screen press‖7‖ CHANGE MY NAME.
13.8.11 Scheduled Lockout
This setting allows the user the choice of whether to lock out a relay during a scheduled feed sequence
or not. If you do not want to lock out this relay during a scheduled feed sequence select NO.
From the RELAY OPTIONS screen press‖9‖ SCHEDULED LOCKOUT?.
Press ―1‖ YES to lock out the relay during a scheduled feed or press ―2‖ NO to allow the relay
to operate normally during a Calendar Timer.
Note: This setting is only available and visible when the relay is set to operate based on
SETPOINT, WATER METER, PERCENT OF BLOWDOWN, or PERCENT of TIME
14 Setting up The Calendar Timer
Refer to section 13.7 to configure a relay to feed based on the Calendar Timer before continuing
with this section.
To get to the Calendar Timer menu:
OLD NAME=
RLY2
NEW NAME=
OXID
<UP><DOWN>ENT: ACCEPT
LOCK OUT RELAY DURING
SCHEDULED FEED?
=========================
1 * YES
2 NO
 Loading...