2. Align the protrusions on the adapter (13) with the grooves of the mount
assembly (18) of the thermal imaging module and turn the thermal imaging
module counterclockwise as far as it will go.
Step 2. Adjust the display position of the thermal imaging module
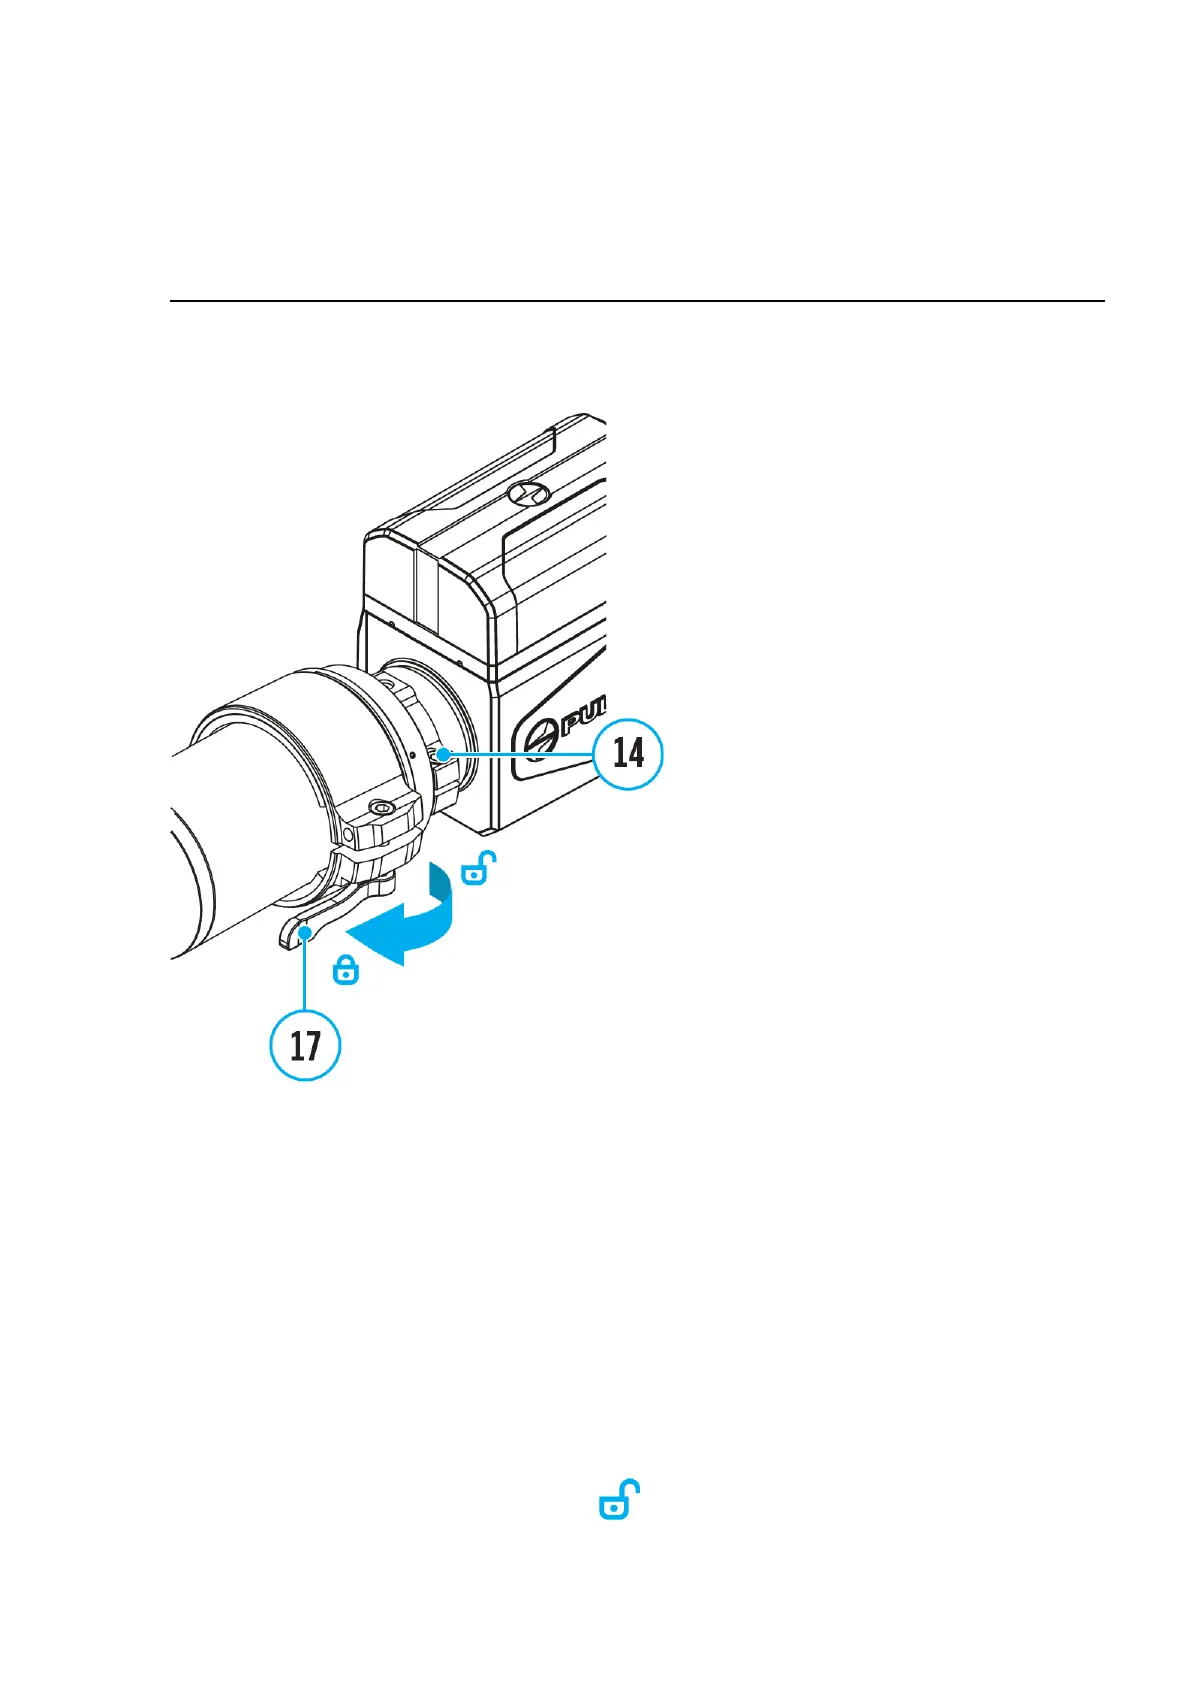
1. Loosen the screw (14) with an Allen key (S = 4mm).
2. Turn on the thermal imaging module by briefly pressing
the ON/OFF (8) button.
3. Align the image center on the display with the image center of the optical
device by tilting the thermal imaging module.
4. Tighten the screw (14) until they stop. The clamping force should be 5 N·m
(44.3 in-lbs) (use the torque screwdriver to check).
5. Move the lever (17) to the OPEN position.
 Loading...


