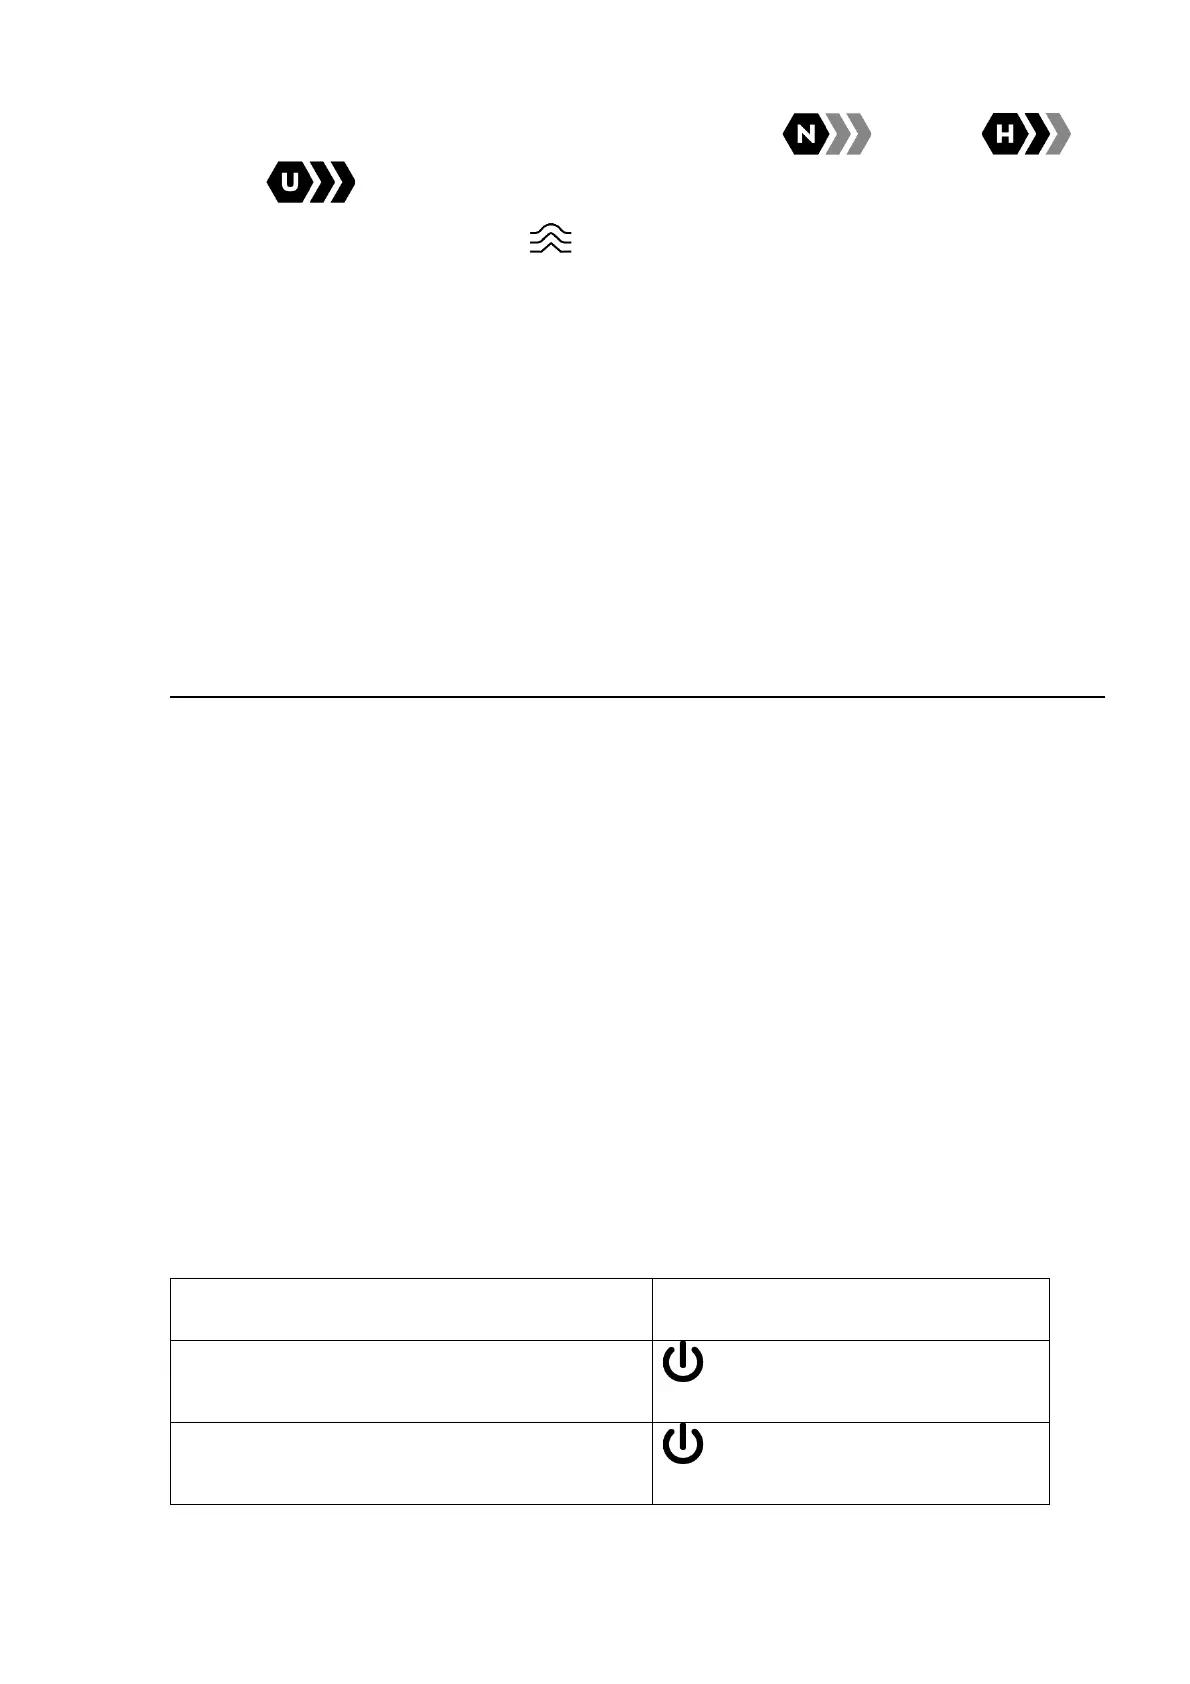
7. Select the required amplification level (“Normal” , “High” ,
“Ultra” ) by briefly pressing the MODE (7) button.
8. Activate the smoothing filter in the main menu to improve the image as
the amplification level increases.
9. Select one of the colour palettes in the main menu.
10. Activate the quick menu by briefly pressing the MENU (6) button to
adjust the brightness and contrast of the display (for more details, see
the Quick Menu section).
11. At high optical magnification, interface elements may be partially or
completely invisible. To change the size of the interface, press and hold
the DOWN/MODE (7) button.
12. Upon completion of use turn the device off by a long press of
the ON/OFF (8) button.
Observation conditions: time of day, weather, type of observation objects
affect the image quality. Custom settings for brightness, display contrast as
well as the function of adjusting the microbolometer sensitivity level will help to
achieve the desired quality in a particular situation.
Warning! Never point the lens at intensive energy sources such as laser
radiation emitting devices or the sun. It can damage electronic components in
the device. The warranty does not cover damage arising from failure to
comply with operating instructions.
Button Operation
 Loading...


