Annex 3: Installation and System Turn ON Progress List
The environment is meeting all technical requirements.
3.3.1 Cleaning
3.3.2 Temperature
3.3.3 Radiating System
3.3.4 Heating System
3.3.5 Fire-extinguisher System
3.3.6 Grounding System
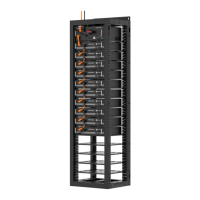
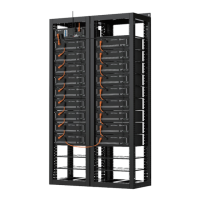
Battery rack is installed follow the technical
requirements.
Control Module (BMS) and Battery Module are installed
well. And install the rack metal strip.
The MBMS are installed well. (If configured.)
The Ethernet Switch is installed well. (If configured.)
Connect the AC power cables from BMS, MBMS and
Ethernet Switch to the AC “OUT PUT” socket of the UPS.
(If configured.)
Refer to chapter
3.6.2.1 or 3.6.2.2.
Connect External Power Cable +/- between each BMS
to the PCS or confluence cabinet.
Refer to chapter
3.6.2.1 or 3.6.2.2.
Connect power cables of each battery string.
Refer to chapter
3.6.2.1 or 3.6.2.2.
Connect communication cables of each battery string.
Refer to chapter
3.6.2.1 or 3.6.2.2.
Set up ADD switch of every BMS and the MBMS (Address
Assignment).
Connect external communication cables from BMS to
Ethernet Switch, MBMS or another
Refer to chapter
3.6.2.1 or 3.6.2.2.
Connect the communication cable from MBMS to the
PCS.
Refer to chapter
3.6.2.1 or 3.6.2.2.
Double check every power cables, communication
cables installed well. And ADD Switches are setting right.
Refer to chapter
3.6.2.1 or 3.6.2.2
and 3.6.3.



 To Next Page