Jive Up / QM-710 Stand Up 47
Rev.2.0
14.1.3 Drive wheel tyre repair
To remove the wheel/tyre:
Please see below and next page for photographs.
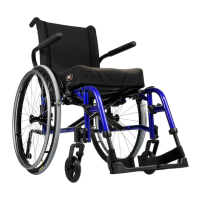
• Use a 8.0 mm hex key to loosen the 3-Socket studs,
(Fig. 14.2).
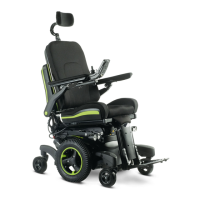
• Jack the wheel up and support it using blocks,
• (Fig. 14.3).
• Remove the 3 studs and pull the wheel away from
the hub.
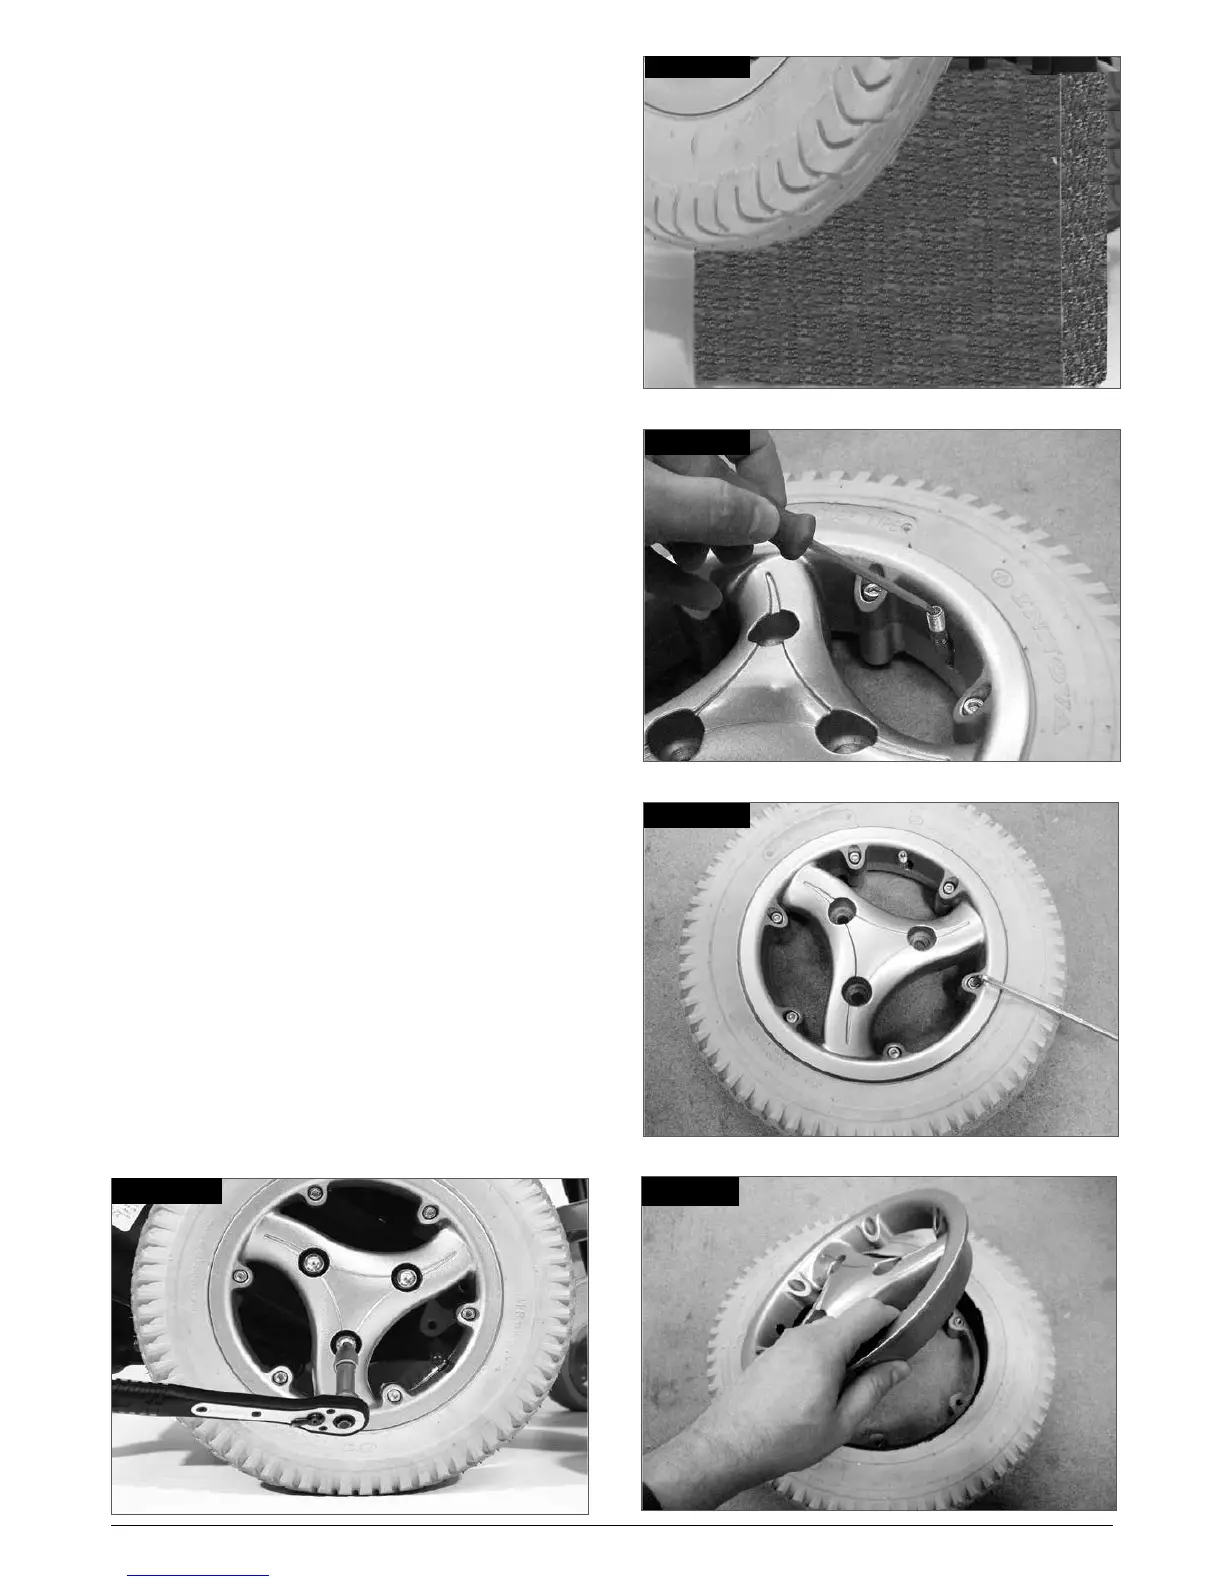
• Remove the valve cap and let the air out of the tyre
by gently pressing the valve stem with a small screw
driver, (Fig. 14.4).
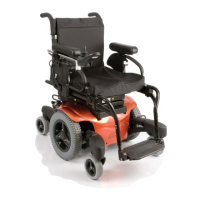
• There are 6 rim studs that must be loosened/
tightened in the number order shown, (Fig.14.5).
• Use a 5.0 mm Allen key to release/tighten the studs.
(Fig. 14.5) .
• Lift the inner rim off the tyre wall (Fig. 14.6).
• Lift the tyre and tube off the outer rim, (Fig.14.7).
• Gently get a hold of the inner tube just behind the
valve.
• Carefully feed the tube out of the tyre, (fig.14.8).
• Ensure all parts are clean before reassembling,
(Fig.14.9).
To refit
• Place the tube inside the tyre and rest the tyre on
the outer rim.
• Align the valve stem with the cut out in the rim.
• Face the valve stem outward.
• Place the inner rim over the tyre, tube and outer rim.
• Align the cut out to fit over the valve stem and match
it up to the cut out in the outer rim, (Fig.14.10).
• Make sure the stud mounts are in line on both rims.
• Tighten the studs in the sequence shown in Fig.14.5,
taking care not to pinch the tube.
• Slowly inflate to the pressures quoted in section
14.1.1 .
• Refit the wheel back onto the motor shaft and fix it
safely with the 3 studs to a torque of 47Nm.
For solid tyres the sequence is the same, just discount
the references to the inner tube and valve.
Fig. 14.2
Fig. 14.6
Fig. 14.4
Fig. 14.5
1
2
3
5
4
6
Fig. 14.3