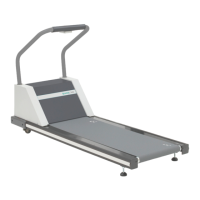
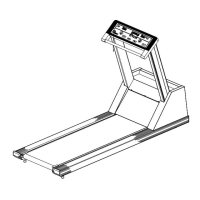
4-26 Repair/Replacement and Calibration Cardiac Stress Treadmills Service Manual
3. Disconnect the two wires attached to the switch.
4. Loosen, but do not remove, the two screws that hold the switch
housing and the button assembly together.
5. Twist and separate the button assembly from the switch housing.
6. Reassemble using steps 2 through 5 in reverse order.
♦ You can run the cable on the outside of the handrail.
7. Restore power and test operation.
Replacing the Emergency Stop Cable
1. Turn off the treadmill circuit breaker and unplug the power cords.
2. Remove the handrail cover.
3. Remove the seven screws from the switchbox beneath the emergency
stop button.
4. Disconnect the cable from the switch and pass it through the hole in
the handrail.
5. Remove the strain relief located at the elbow of the handrail, grab the
cable where it extends from the rail, and pull it out.
6. Disconnect the cable from the configuration plate.
7. Place a strain relief on the handrail, then pass the new cable through
it, directing it up through the hole in the handrail.
8. Attach the cable wires to the emergency switch: the wires are
interchangeable.
9. Replace the switchbox cover and the handrail cover.
10. Connect the cable to the configuration plate.
11. Restore the power and test operation.
Calibration Procedures
Grade Potentiometer (Pot) Calibration
Calibrate the grade pot whenever specified in the procedures in this
chapter.
1. Remove the treadmill hood and power as described in “Removing the
Treadmill Hood” on page 4-3.
2. Restore power to the treadmill.
3. Measure from the bottom of the siderail to the floor at both the front
and rear of the treadmill. Adjust the grade until both measurements
are identical.
4. Lower the grade until the treadmill is level.