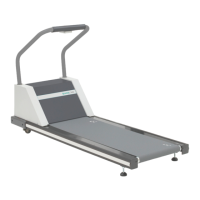
Cardiac Stress Treadmills Service Manual Repair/Replacement and Calibration 4-9
♦ When replacing the belt, be sure to center it on the pulleys.
14. Assemble the treadmill following steps 3-10 in reverse order.
15. Tension the walking belt as described in “Belt Tension” on page 4-23.
16. Set the tracking as described in “Walking Belt Tracking” on page 4-
24.
17. Adjust the roller guard as described in “Rear Roller Guard
Adjustment” on page 4-25.
18. If no other service is required, replace the treadmill hood as described
in step 9 on page 4-3.
Replacing the Drive Motor
Replace the drive motor when the motor is inoperative: see Drive Motor
flow chart on page 3-7.
1. Remove the treadmill hood and power as described in “Removing the
Treadmill Hood” on page 4-3.
2. Release the drive belt tensioner and remove the poly V-belt from the
motor drive pulley as previously described on page 4-8.
3. Cut the wire ties that hold the drive motor cable to the headframe and
disconnect the motor cable at the AC Drive Module.
4. Remove the configuration plate (see “Replacing the Configuration
Plate” on page 4-4).
5. Remove the four hex nuts that hold the motor on the headframe. Note
the arrangement of the isolation mounts. (You may need to use a ½-
inch clawfoot.)