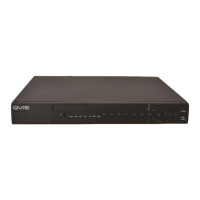
1.3 Installation
1.3.1 Unpacking Inspection
When you receive the product, check according to the packing list in the box.
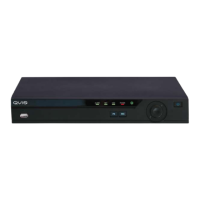
1.3.2 Wiring Installation
Preparing for installation
Prepare a camera, a display, video lines, network cables, a mouse, and kinds of power
cord.
Installation Steps:
1. Place the DVR on a flat horizontal position and connect the camera to the video
input interface in the rear panel.
2. Connect the displayer to the video output.
3. Connect the network to the RJ45 interface.
4. Connect the Mouse to the USB interface found in either the front or rear panels.
5. Connect the power.
Caution
For an external alarm device or a PTZ, please refer to the relevant instructions.
Connect the power line after all lines connected correctly.
1.4 The Mouse
In addition to front the panel keys and remote control menu, the user can use a mouse
to operate DVR. Insert the mouse interface into the USB interface.
Left Click
Left click to enter the right menu or the main interface.
Left click to access the menu option.
Perform the operational instructions of the control interface.
Change the state of the checkbox or dynamic detection blocks.
Pop up a drop-down list when left click.
When using the PTZ 3D control, left drag the area to achieve regional enlarging
or reducing.