Double Click
Double click to play video.
Double click to make the screen full or exit.
Right Click
Right click to pop up the right menu in the real-time monitoring screen.
Exit the current interface without saving.
Turning Wheel
Turn the mouse wheel to change the value in the digital box.
Switch the option of the combination box.
Scroll back and forth to achieve the zoom function of channels and PTZ 3D.
Mouse Move
Select controls of the current coordinates to move.
Mouse Drag
Select area to detect.
Select area to shelter.
Select zooming function of PTZ control.
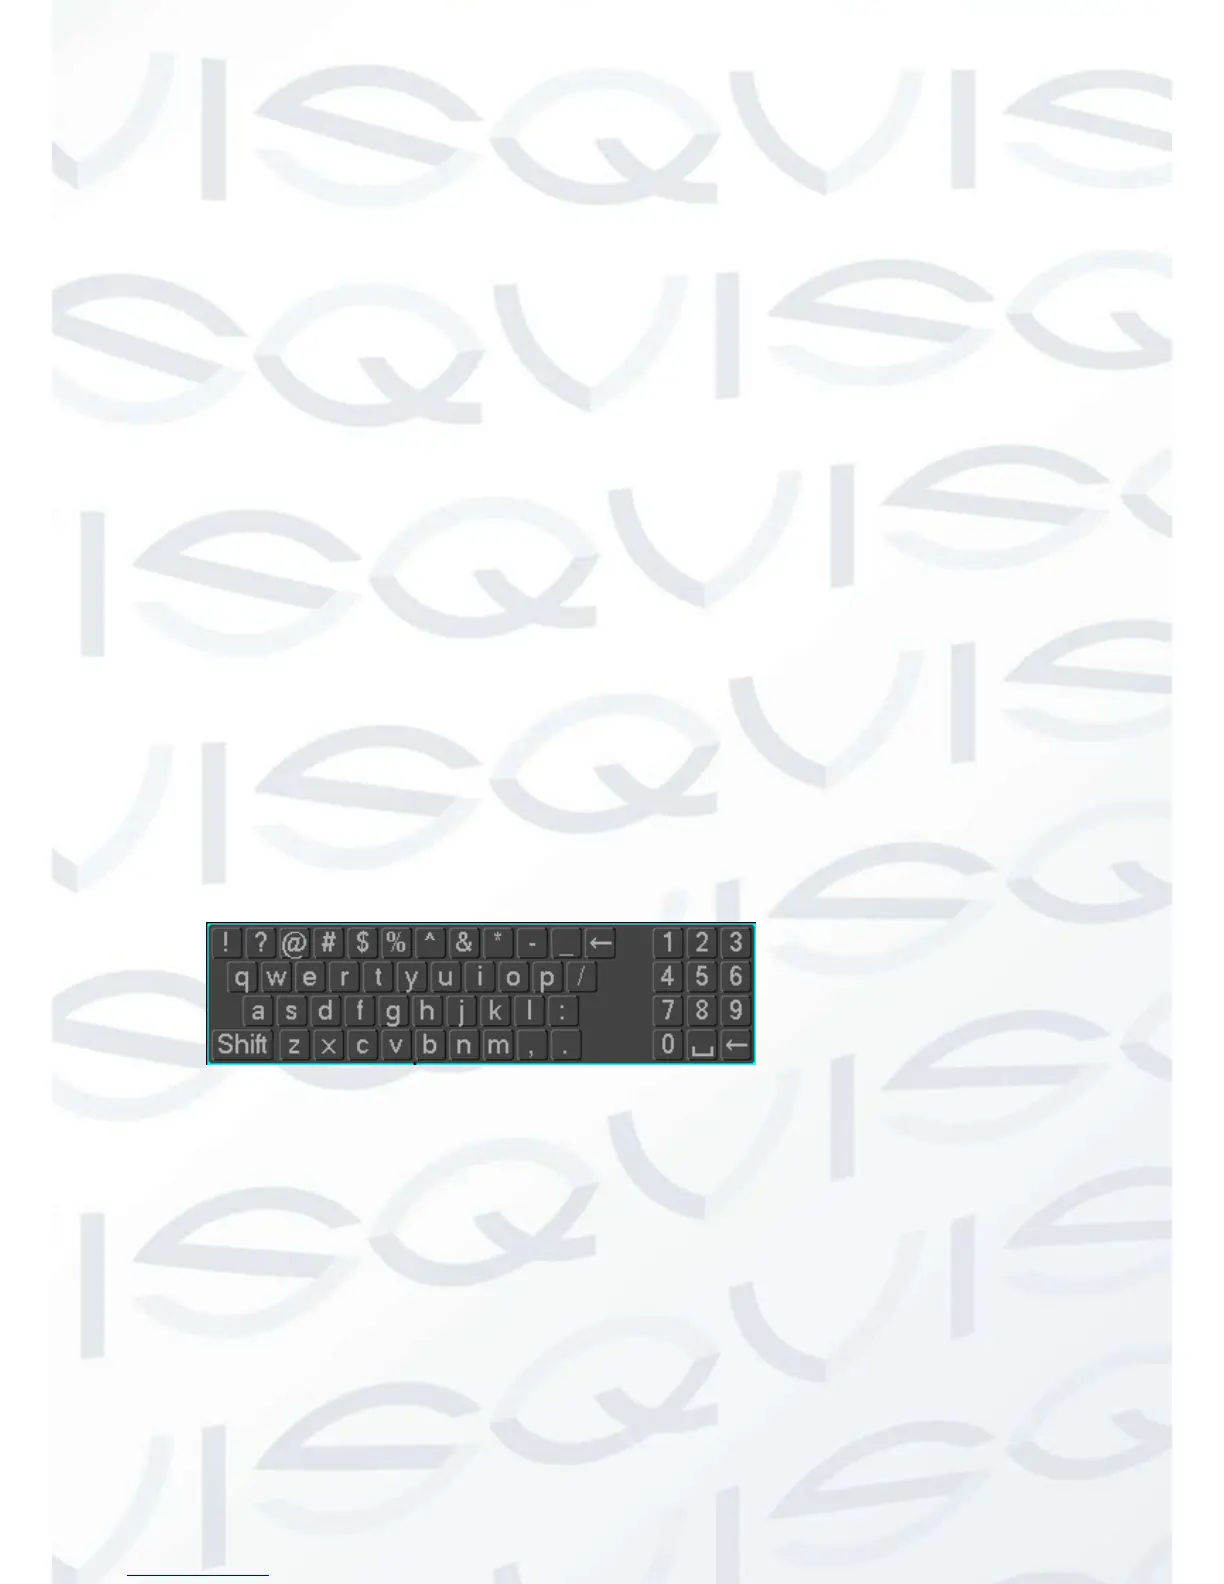
1.5 The Input Method
In the input box, you can select figures, symbols, English capitalization and the input of
Chinese. Click the mouse to complete the input.”← “represents the backspace and “_
“represents a space.
1.6 Power On/Off
1.6.1 Power On
Install the DVR correctly and the connect power. When the light comes on, the DVR will
boot automatically.
DVRs will detect the hardware when power on and the process will last about 20
Seconds. After the detection, the DVR will make a “Buzzing” sound and enter a multi-
screen real-time video surveillance status mode.