9
PREPARATION
ATTACHING THE
MICROPHONE HOLDER
Follow these steps to attach the
microphone holder to your vehicle.
1. Using the holder as a tem-
plate, mark the position for the
mounting screw holes at the
desired location.
2. At each marked position, drill
a hole slightly smaller than the
supplied mounting screw.
Caution:
Be careful not to drill
into anything behind the
mounting surface.
3. Use a Phillips screwdriver to attach the holder to the mount-
ing location with the supplied small self-tapping sheet metal
screws and lock-washers.
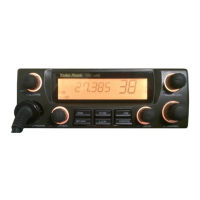
MOUNTING THE TRANSCEIVER
The most common mounting location for this transceiver is under
a vehicle’s dashboard. However, if you plan to use the transceiver
as a base station, you can place it on a desk, shelf, or table (see
“Using the Transceiver as a Base Station” on Page 13).
If you are mounting the transceiver in a vehicle, choose a loca-
tion where:
• you can easily reach the transceiver
• wires and cables are clear of the vehicle’s pedals or other
moving parts
• the transceiver is not directly in front of heating vents
• all wires and cables can reach their connection points