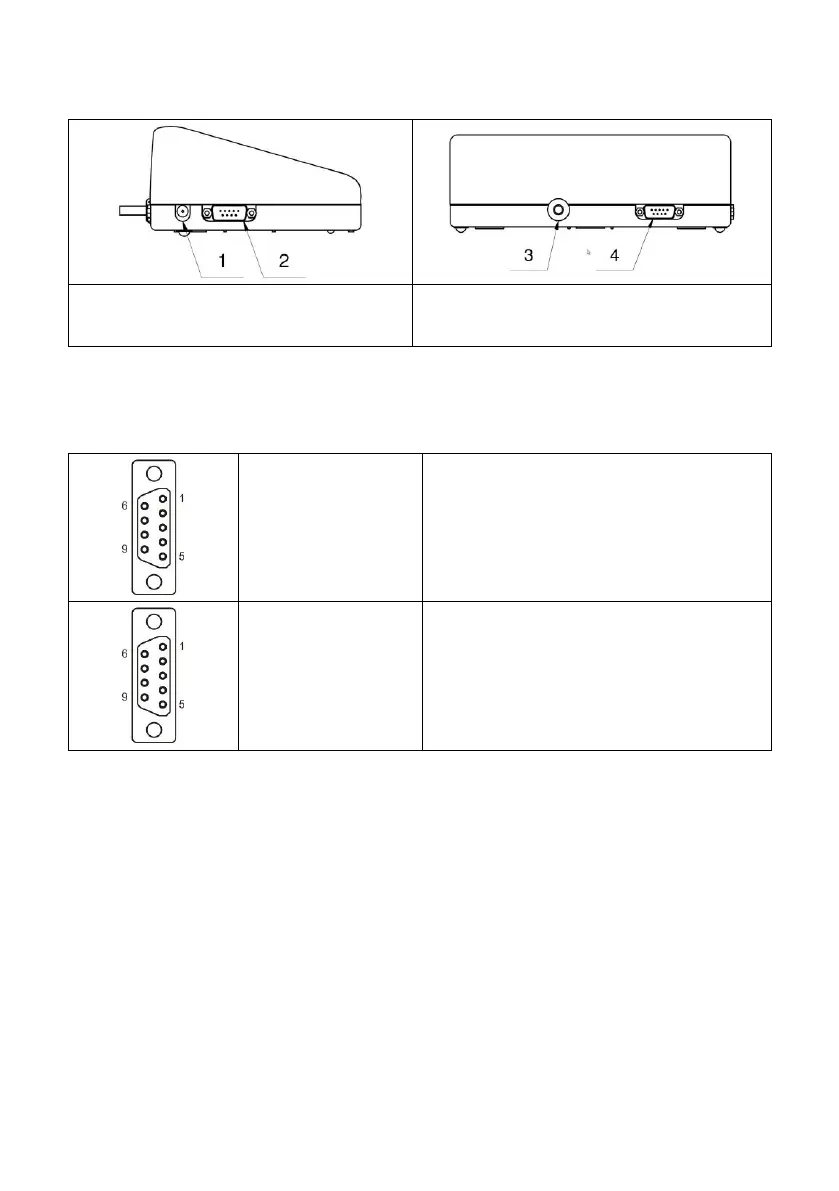
4.2. Connectors Arrangement
1 – power supply socket
2 – RS232 (1) connector
3 – weighing platform cable inlet
4 – RS232 (2) connector *
*) - option.
4.3. Pins Overview
Pin2 – RxD
Pin3 – TxD
Pin4 – 5VDC
Pin5 – GND
RS232 (1) connector, DB9/M (male)
Pin2 – RxD
Pin3 – TxD
Pin4 – 5VDC
Pin5 – GND
RS232 (2) connector, DB9/M (male)
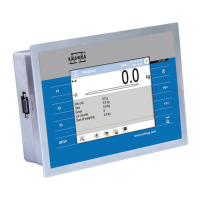
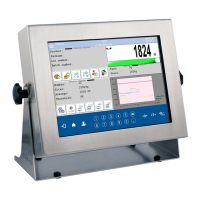
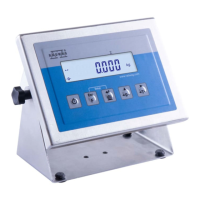
5. UNPACKING AND INSTALLATION
A. Take the indicator out of the packaging.
B. Connect the indicator and the platform and place the set on a flat and
even surface. Keep it far away from any sources of heat.
6. START-UP AND OPERATION
6.1. Levelling
To level the weighing instrument turn its feet. Keep turning the feet until the air
bubble takes central position:

 Loading...