6 | Electrical connection
80.06.083_iCombi Pro-iCombi Classic_IM_V01_en-US 53 / 84
>> The electrical compartment is closed.
Device size 6 half size GN to 10 full size GN
1. Insert the left side wall under the top frame of the housing.
2. Push the side wall upward.
3. Push the side wall inwards in the lower area.
> The front edge is behind the plastic part and the rear sheet edge is placed
over the grounding plate.
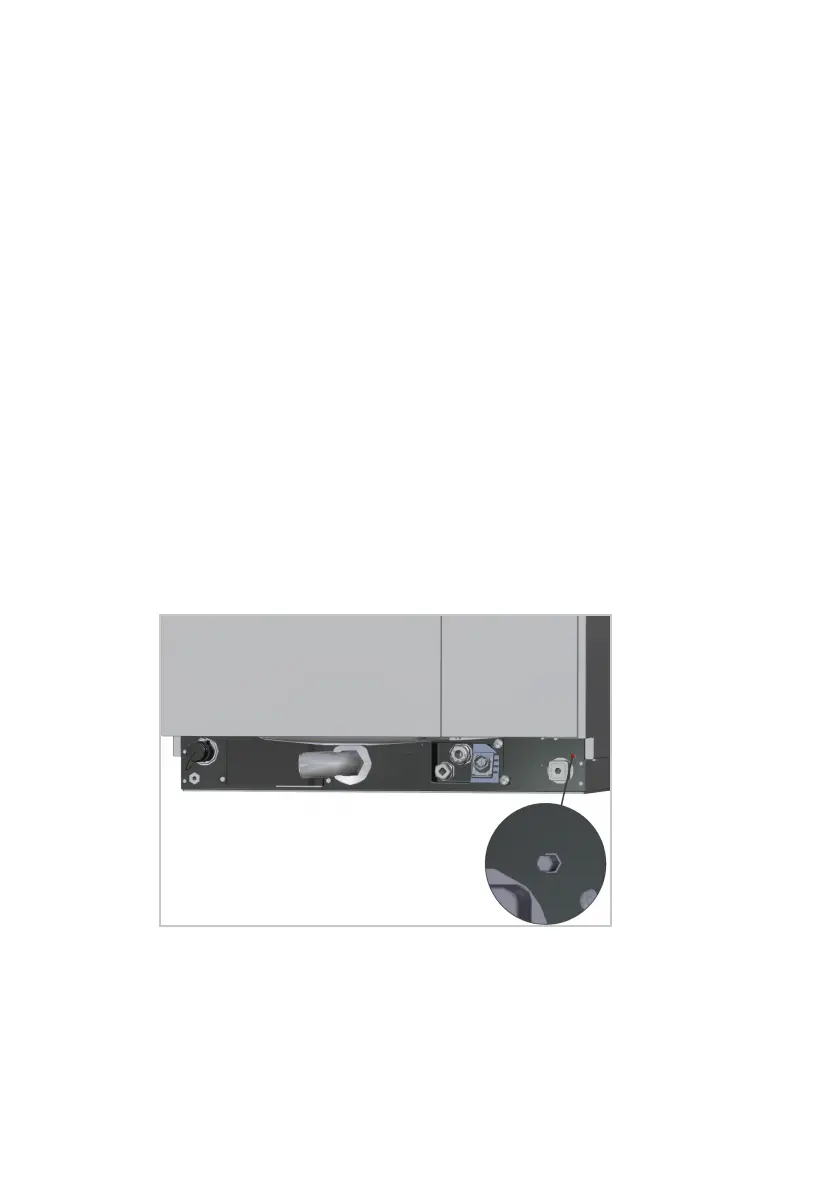
4. Tighten two screws on the back of the device.
5. Turn the blind rivets on the front in the lower left corner and tighten.
6. Insert the grille and press it firmly.
7. Check that the floor seal is fitted correctly.
>> The electrical compartment is closed.
Device size 20 half size GN - 20 full size GN
1. Insert the left side wall under the top frame of the housing.
2. Push the side wall upward.
3. Tighten two screws on the underside of the side wall.
>> The electrical compartment is closed.
6.8 Connecting the equipotential bonding
The connection for equipotential bonding is located on the bottom or rear of
the devices.
Device size XS GN