Chapter 5: Installation
55
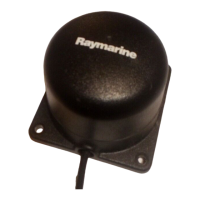
Mounting the drive unit
When siting the drive unit, please consider the following points:
• The bracket can be attached to any horizontal or vertical surface
• The drive unit can, if required, be installed upside down
• The ball end fitting allows up to 5° of misalignment between the
pushrod and the tiller arms plane of rotation
• Accurate angular alignment is extremely important and, therefore,
under no circumstances must this limit be exceeded
• The drive unit must be at right angles to the tiller arm when the
rudder is amidships
• The drive unit should be clear of bilge water
• The mounting bracket should be bolted to a substantial frame
member – always over-engineer to ensure reliability and
maintenance of the correct alignment
Lock
washer
Tiller
arm
Fixing
bolt flange
Hole dia.
0.52in (13mm)
D761-2
1. Using the adaptor pin supplied, make sure the pushrod ball is
attached to the tiller arm with its flange positioned between the ball
end and the tiller arm.
2. Make sure that the supplied lock washer is used and the nut is
tightened fully.
3. Attach the mounting bracket using four stainless steel 3/8 in bolts
and lock nuts/washers.
4. Having installed the drive unit, turn the steering wheel from
hardover to hardover to check that:
• No part of the drive units fouls on the yacht’s structure
• The mechanical limit stop on yacht’s steering system is
reached before the drive unit reaches its mechanical limit
• Angular movement of the ball end fitting is less than 5°
136_3c05.p65 14/06/99, 10:1755