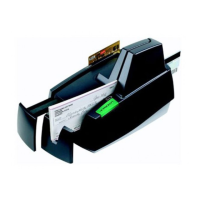
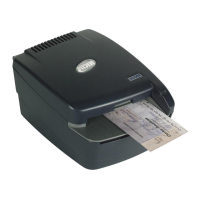
EC9000i / 9100i / 9600i Series Scanner User Guide Maintaining your scanner
Replacing the franker cartridge
1. Disconnect the power cord.
2. Remove the front cover of the scanner.
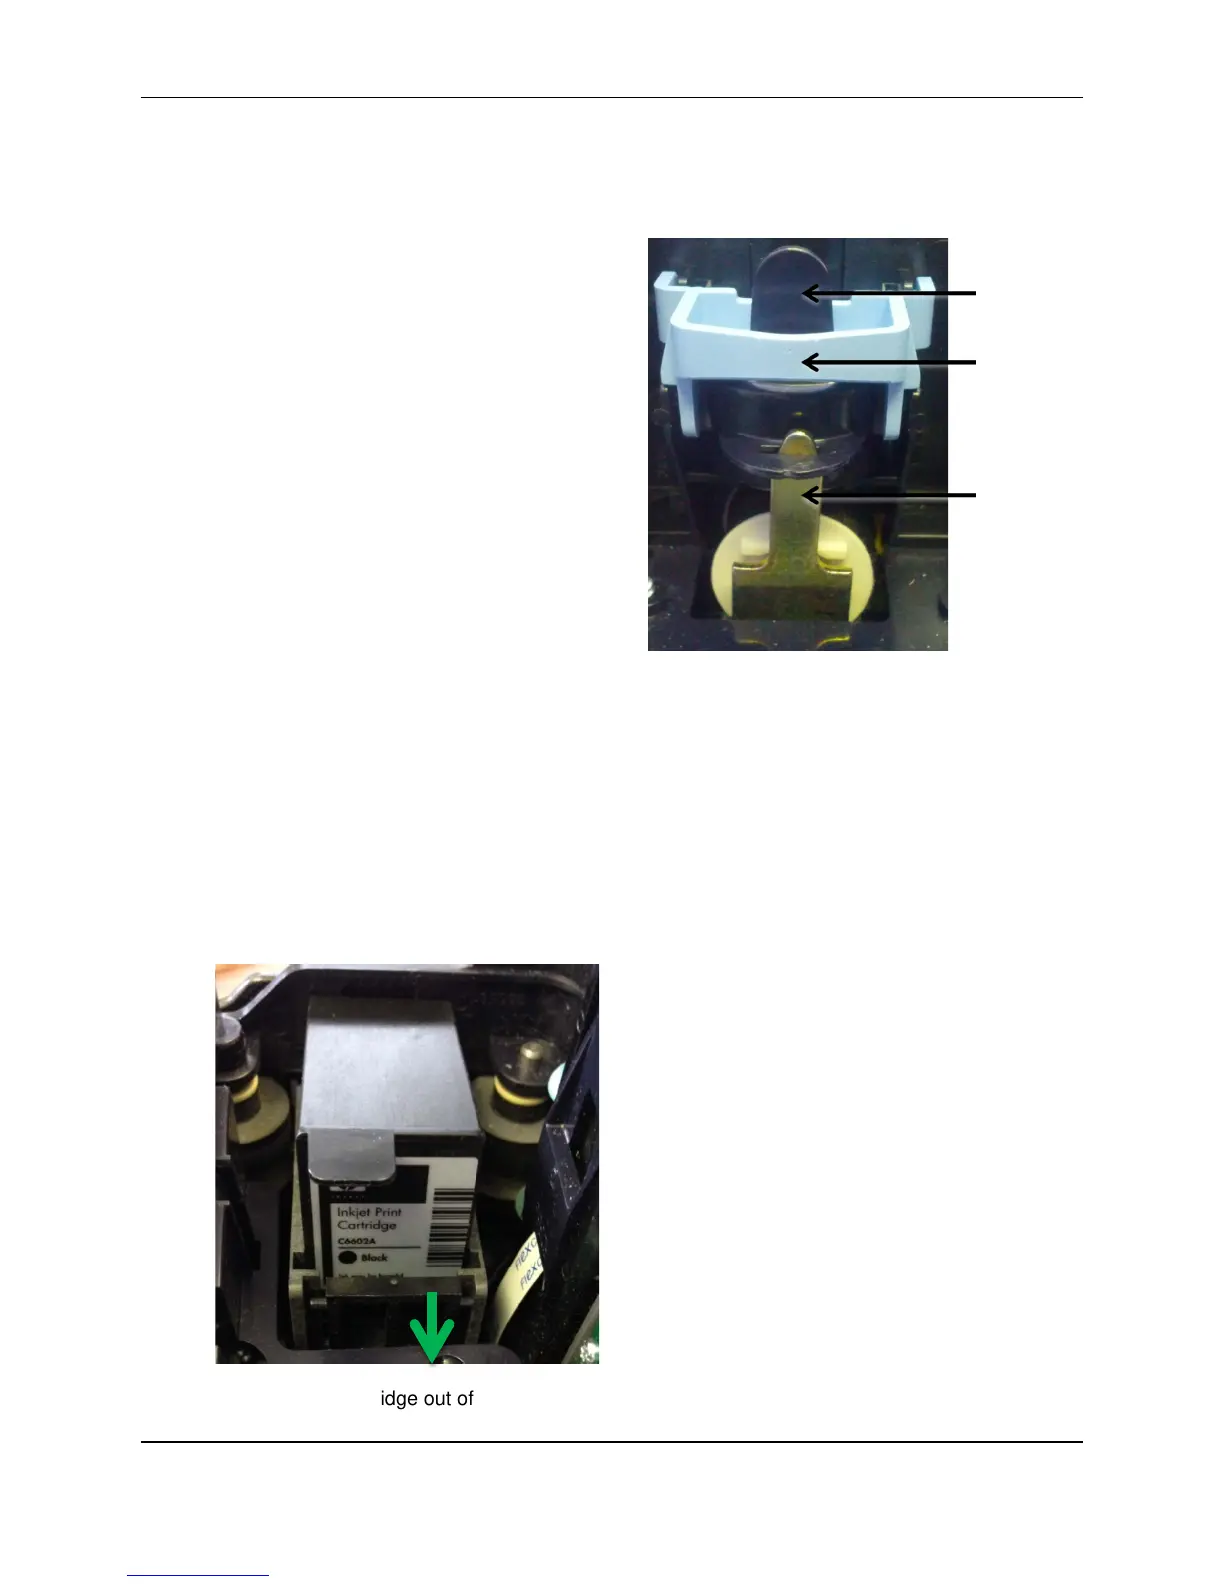
At the back of the scanner, the franker
cartridge is held in place by a blue franker
latch and a metal plate.
3. Lift the blue franker latch.
4. Pull the franker cartridge out of the scanner by
the franker tab.
5. Insert the new franker cartridge. Make sure
the top of the metal plate fits into the slot in
franker cartridge (as pictured).
6. Secure the franker cartridge:
a. Push the metal plate towards the body of
the scanner (pushing in the franker
cartridge).
b. Lowering the blue latch over the franker
cartridge until it snaps closed.
7. Replace the scanner cover.
Replacing the endorser inkjet cartridge
When you place the new inkjet cartridge into the holder, make sure that you insert it at the angle
described in the following steps. If you do not insert the cartridge properly, it might not make contact with
the document when it is scanned.
1. Disconnect the power cord.
2. Remove the endorsement printer cover.
3. Pull the inkjet latch away from the inkjet cartridge (as pictured).
4. Pull the inkjet cartridge out of the scanner.
©2015 RDM Corporation Page 27