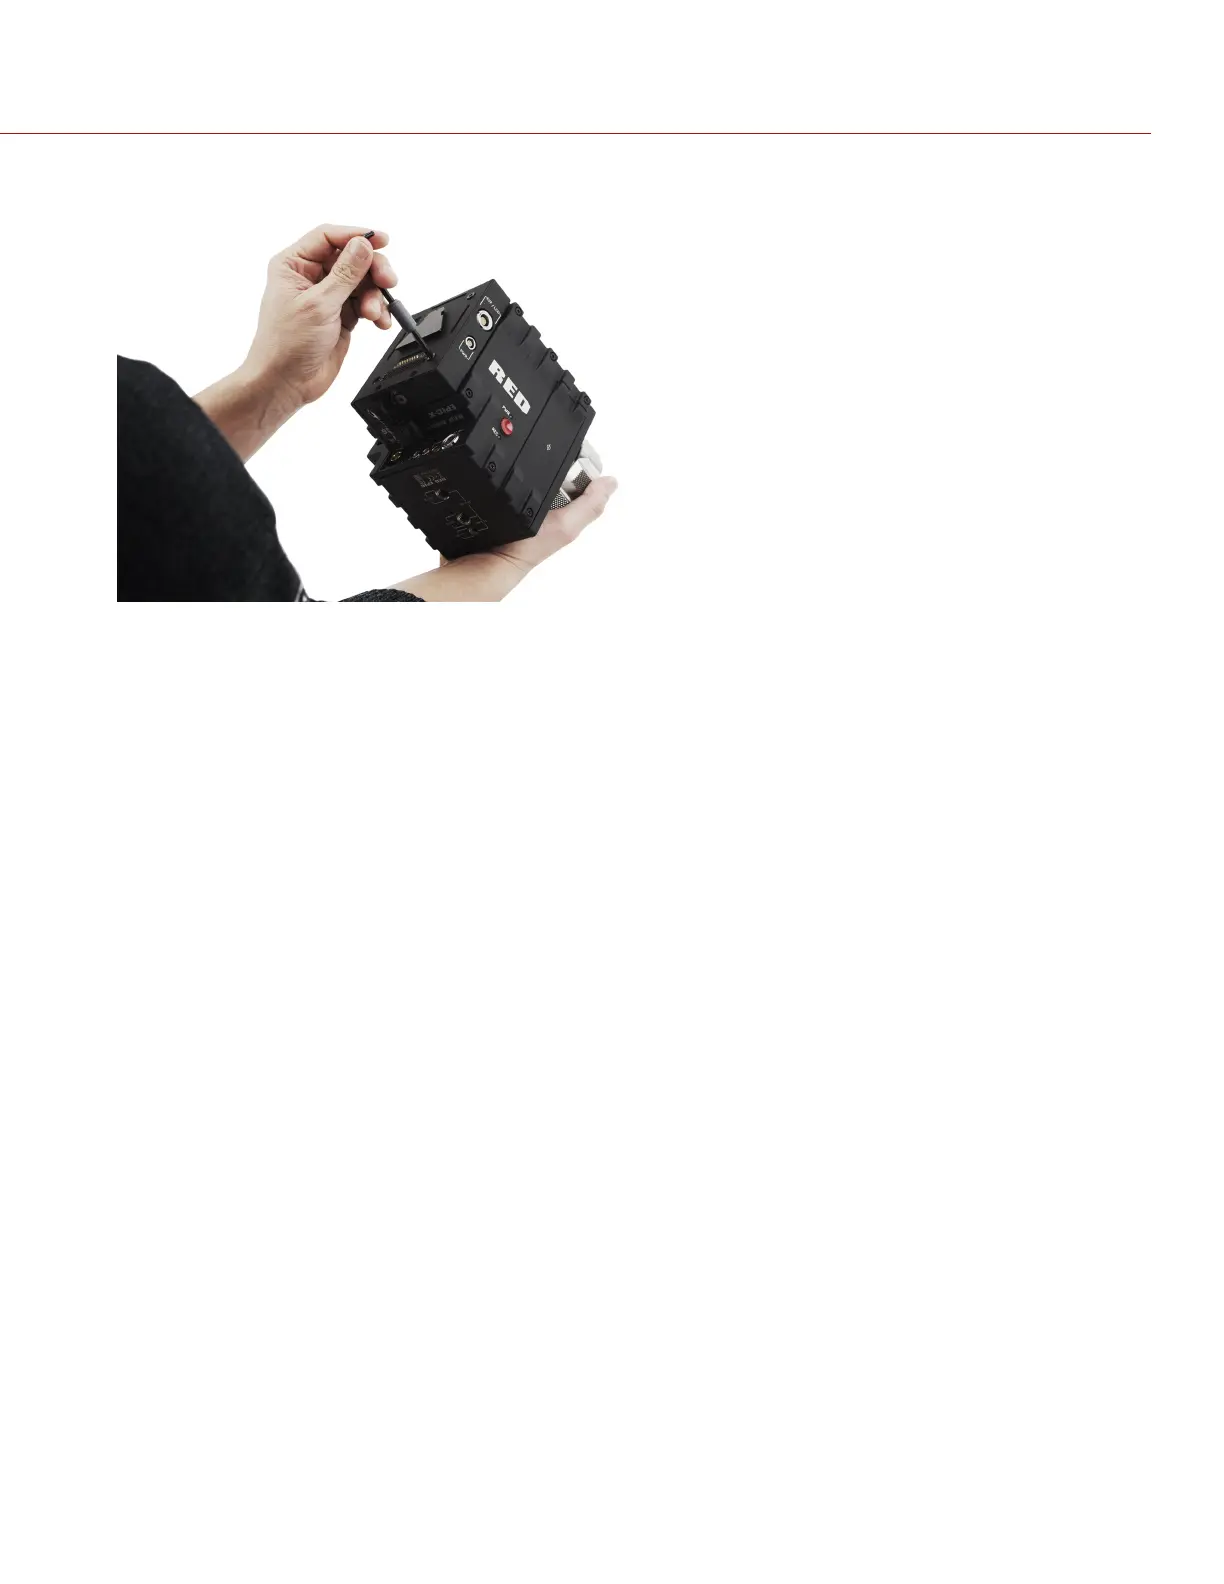
5. Apply pressure and tighten the four (4) captive screws in a cross pattern (“X” pattern) approximately two (2) turns
each using a T20 TORX driver. DO NOT FULLY TIGHTEN.
Figure: Install Screws
6. Fully tighten the four (4) screws in a cross pattern (“X” pattern).
WARNING: DO NOT OVERTIGHTEN.
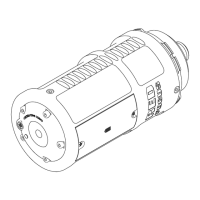
REMOVE THE +1 ADAPTOR MODULE
REQUIRED TOOL(S): T20 TORX driver
1. Turn off the camera.
2. Loosen the four (4) captive mounting screws in a cross pattern (“X” pattern) using a T20 TORX driver.
3. Disconnect the HDMI connector from the BRAIN.
4. Remove the +1 Adaptor Module from the BRAIN.
C OPYRI G HT © 2017 RED.C OM , LLC 955- 0038, REV-AD| 30
RED DSMC POWER OPERATION GUIDE