ADJUSTMENTS
13
10. Adjust P2 (L. LED) and P3 (L. SENSOR), on the PC Board, to obtain the lowest
voltage value. This is normally fully counter-clockwise; however, depending on the
potentiometer manufacturer, this could be fully clockwise or fully counter-clockwise.
11. Advance the tab stock until a tab is aligned with the sensor (tab should just start
peeling from the backing paper).
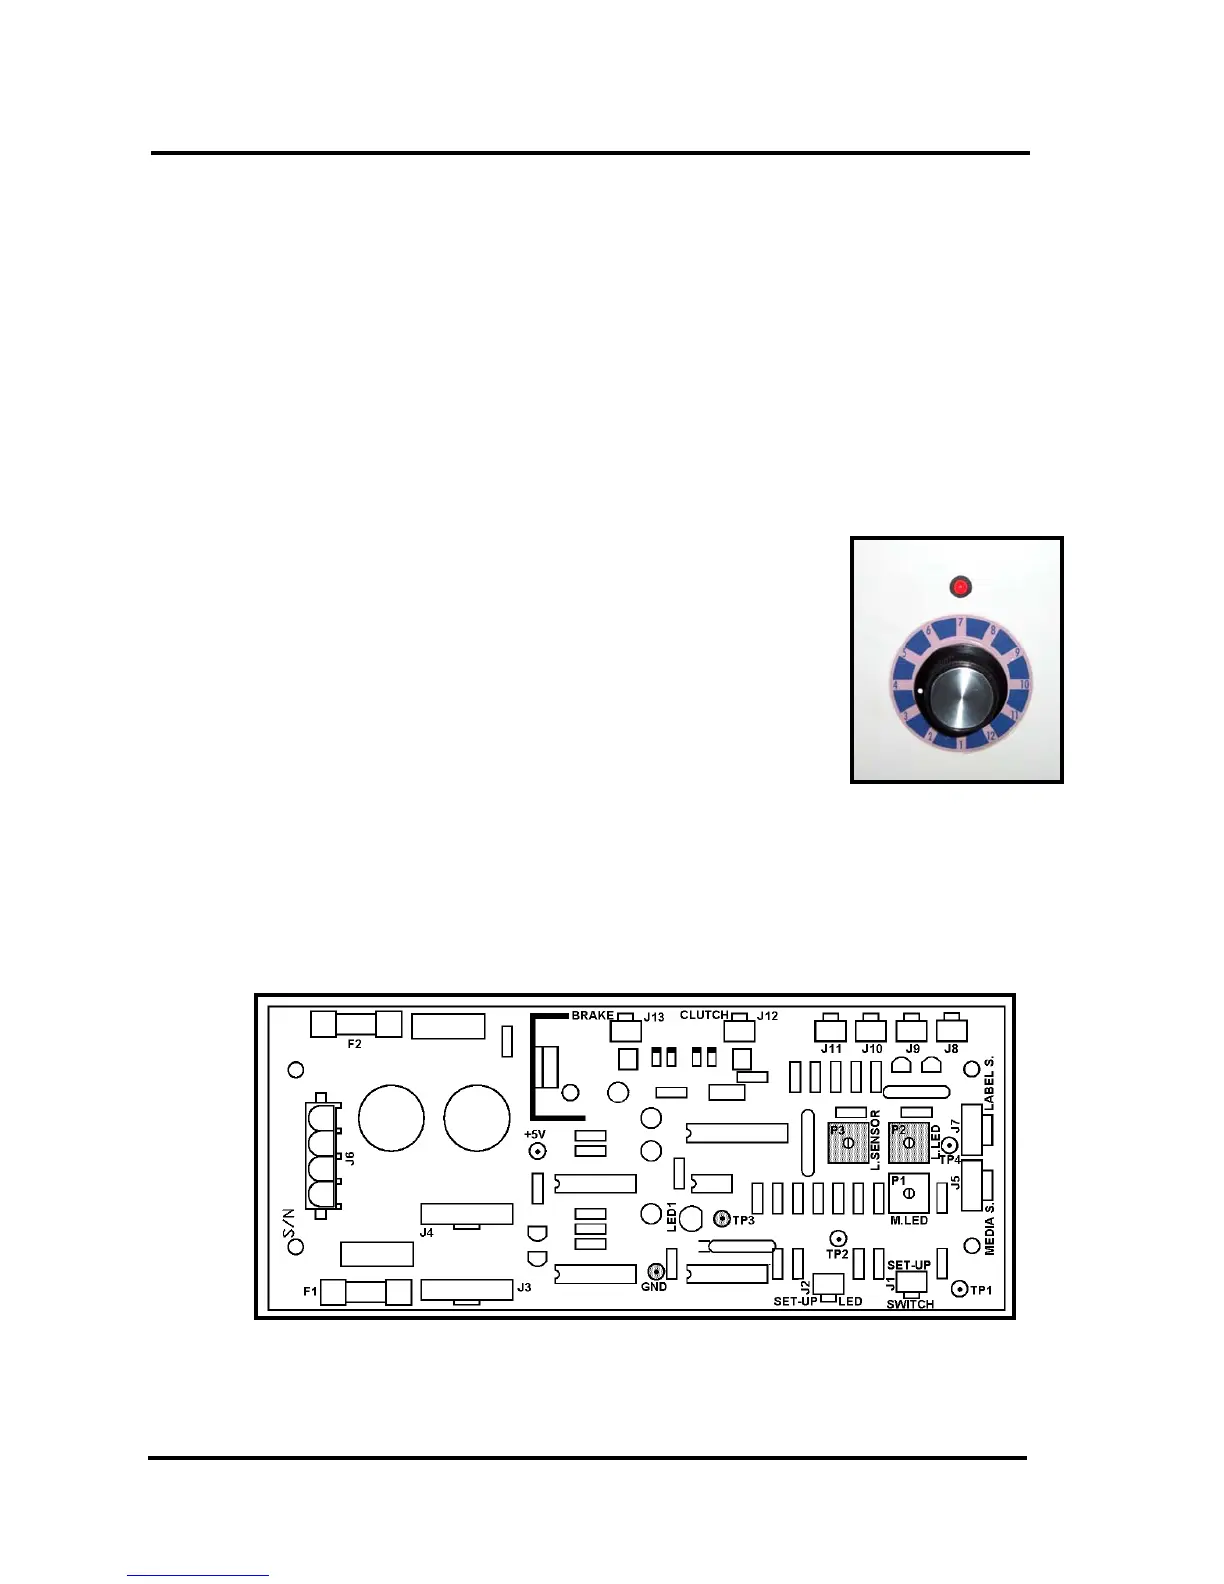
12. Adjust P3 (L. SENSOR), on the PC Board, until the red LED above the Tab
Sensitivity Dial just goes ON.
13. Position the tab stock so only the backing paper (or white space between tabs) is
aligned with the sensor. Fine tune this alignment with the sensor by slowly moving the
tab/backing position while watching the voltmeter. The optimal alignment position has
been achieved when you have obtained the lowest voltage reading on your meter.
Keep the tab stock tight.
The red LED above the Tab Sensitivity Dial should go OFF.
14. Follow the “Tab Sensitivity Adjustment” procedure described
in this manual.
15. To check the adjustment; position the tab stock so a tab is in
the sensor and verify that the red LED, above the Tab
Sensitivity Dial, goes ON.
Position the tab stock so only backing (or the white space
between tabs) is aligned with the tab sensor and this LED
should go OFF.
16. Unplug the T-250 and replace the splash guard and covers.
Make sure to reconnect the Tab Sensitivity Adjustment knob (switch), before
installing the right side cover.
 Loading...