ADJUSTMENTS
14
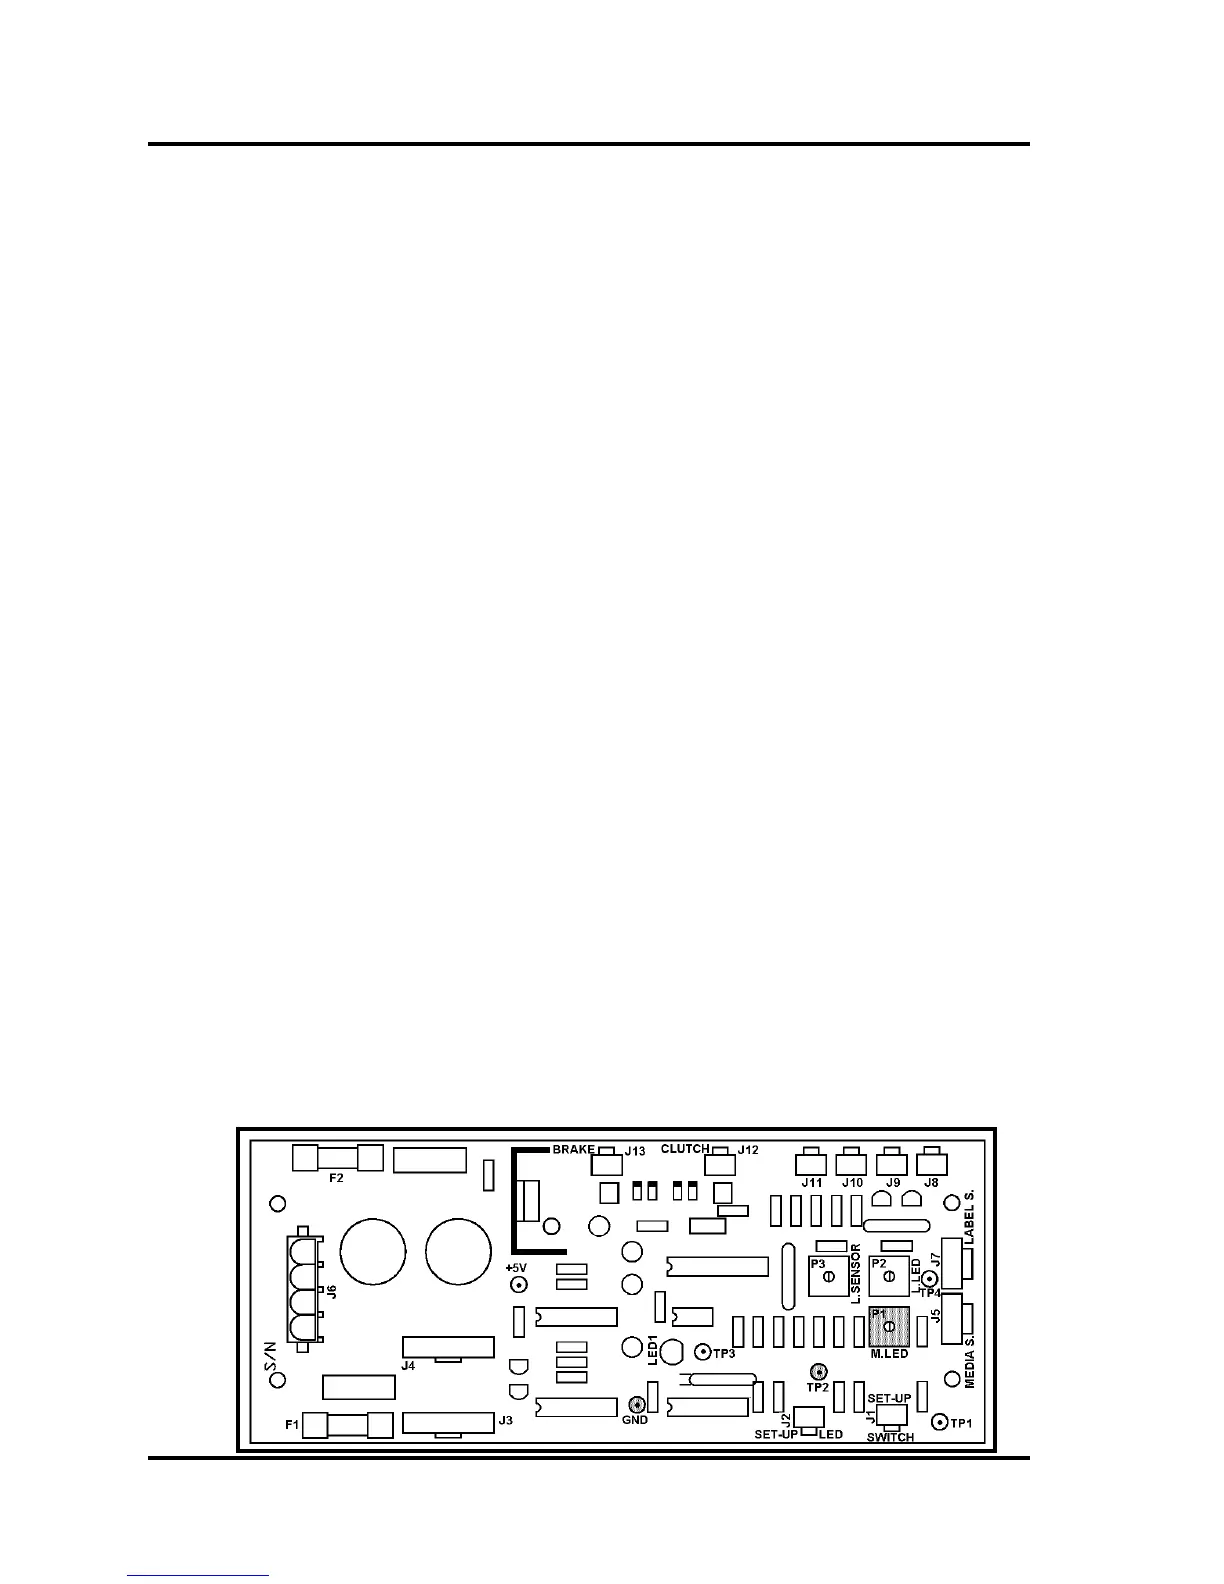
Media Sensor Adjustment
Requirement:
To adjust the Media Sensor so that it detects the media.
Adjustment:
1. Unplug the T-250.
2. Make sure the media sensor is clean (free of dust).
3. Remove the left and right side covers.
Caution: When removing the right side cover; be careful not to damage the
connections to the Tab Sensitivity Adjustment knob/switch. The connection to this
switch should be temporarily disconnected, to avoid damage.
4. Remove the entrance cover (stainless steel cover that media support guides attach to),
by removing the two Philips head screws, located at the left and right side of tabber.
5. Remove plastic splash guard, which is located over PC Board.
6. Plug the machine in and turn it on.
7. Connect a DC voltmeter to GND and TP2.
8. Insert a black test media under the media sensor and verify that LED1, located on the
main pc board, goes ON.
If not, adjust P1 (M. LED) on the PC Board to obtain 1.0 VDC or less.
If you can’t obtain this reading then the sensor may be damaged or dirty.
9. Remove the test media from under the sensor. The voltage level at TP2 should read
3.0 Volts or higher and LED1 on the main PC board should go ON.
Tip: LED1 should go ON when media is present, below the media sensor, and should
go OFF when media is not present.
10. Replace the covers.
Make sure to reconnect the Tab Sensitivity Adjustment knob (switch), before
installing the right side cover.
 Loading...