ASSEMBLY, INSTALLATION AND OPERATION
4
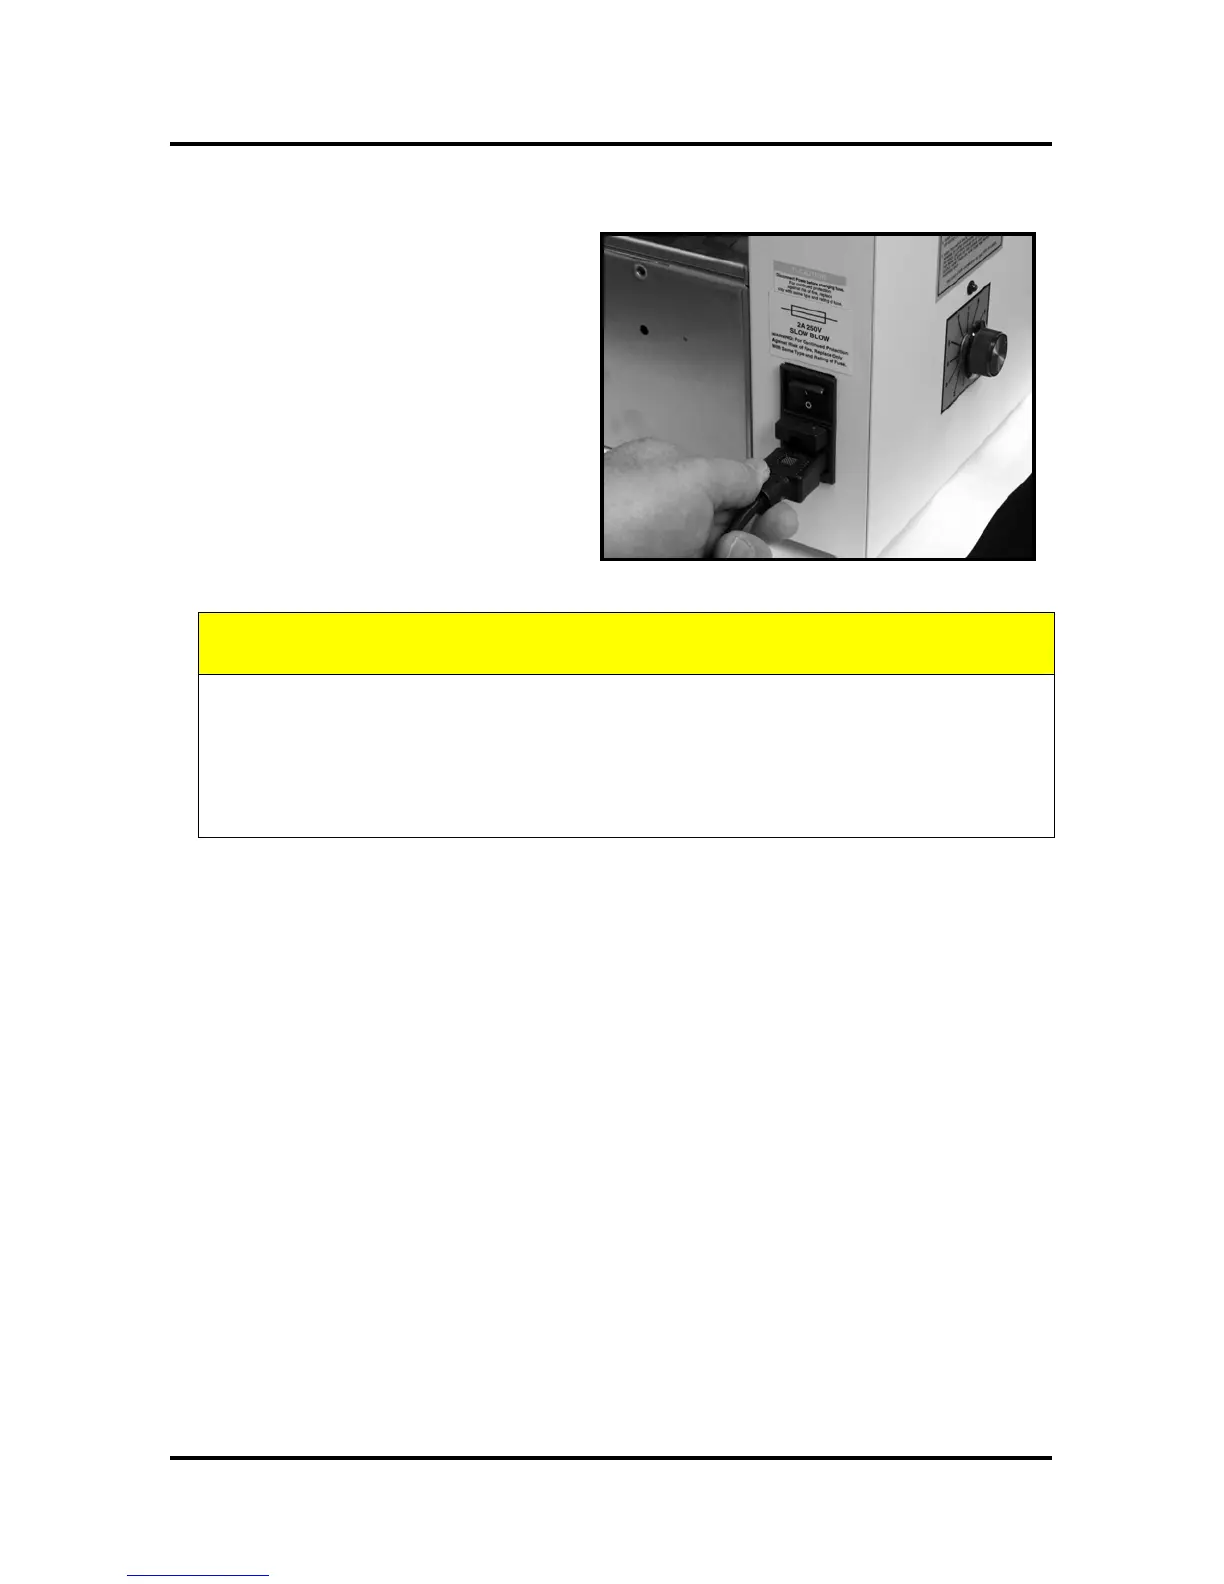
Installation
Place the tabber on a flat surface away
from windows or heat sources and near
an electrical outlet. Plug the power cord
into the receptacle at the side of the
tabber and then pug it into the wall outlet.
CAUTION
DO NOT USE AN ADAPTER PLUG OR EXTENSION CORD TO CONNECT
THE TABBER TO THE WALL RECEPTACLE.
DO NOT USE OUTLETS CONTROLLED BY WALL SWITCHES.
DO NOT USE AN OUTLET THAT SHARES THE SAME CIRCUIT WITH
LARGE ELECTRICAL MACHINES OR APPLIANCES.
Operation
There are six steps required to set-up the T-250 Tabber to apply tabs to your media:
Step 1: Load a roll of tabs on the tabber. (Page 5)
Step 2: Set the sensitivity of the Tab Sensor. (Page 6)
Step 3: Adjust the Metering Bracket Assembly to the media. (Page 7)
Step 4: Adjust the Media Supports and Media Side guides to the media. (Page 8)
Step 5: Adjust Tab Position. (Page 9)
Step 6: Load the media on the tabber and turn on the main power switch. Activate the
Tab switch, and then press the Feed switch to start the feed rollers.