• Press [Scan Settings], and then press [Full Colour: Text / Photo] in the [Original Type] tab.
• Press [PDF] under [Send File Type / Name].
5. If necessary, press [Next Original Wait].
6. Specify the destination.
You can specify multiple destinations.
7. To specify the e-mail sender, press [Sender Name].
8. To use Message Disposition Notification, press [Recept. Notice].
If you select [Recept. Notice], the selected e-mail sender will receive e-mail notification when the e-
mail recipient has opened the e-mail.
9. Place originals.
If scanning does not start automatically, press the [Start] key.
Registering an E-mail Destination
1. Press the [User Tools/Counter] key.
2. Press [Address Book Mangmnt].
3. Check that [Program / Change] is selected.
4. Press [New Program].
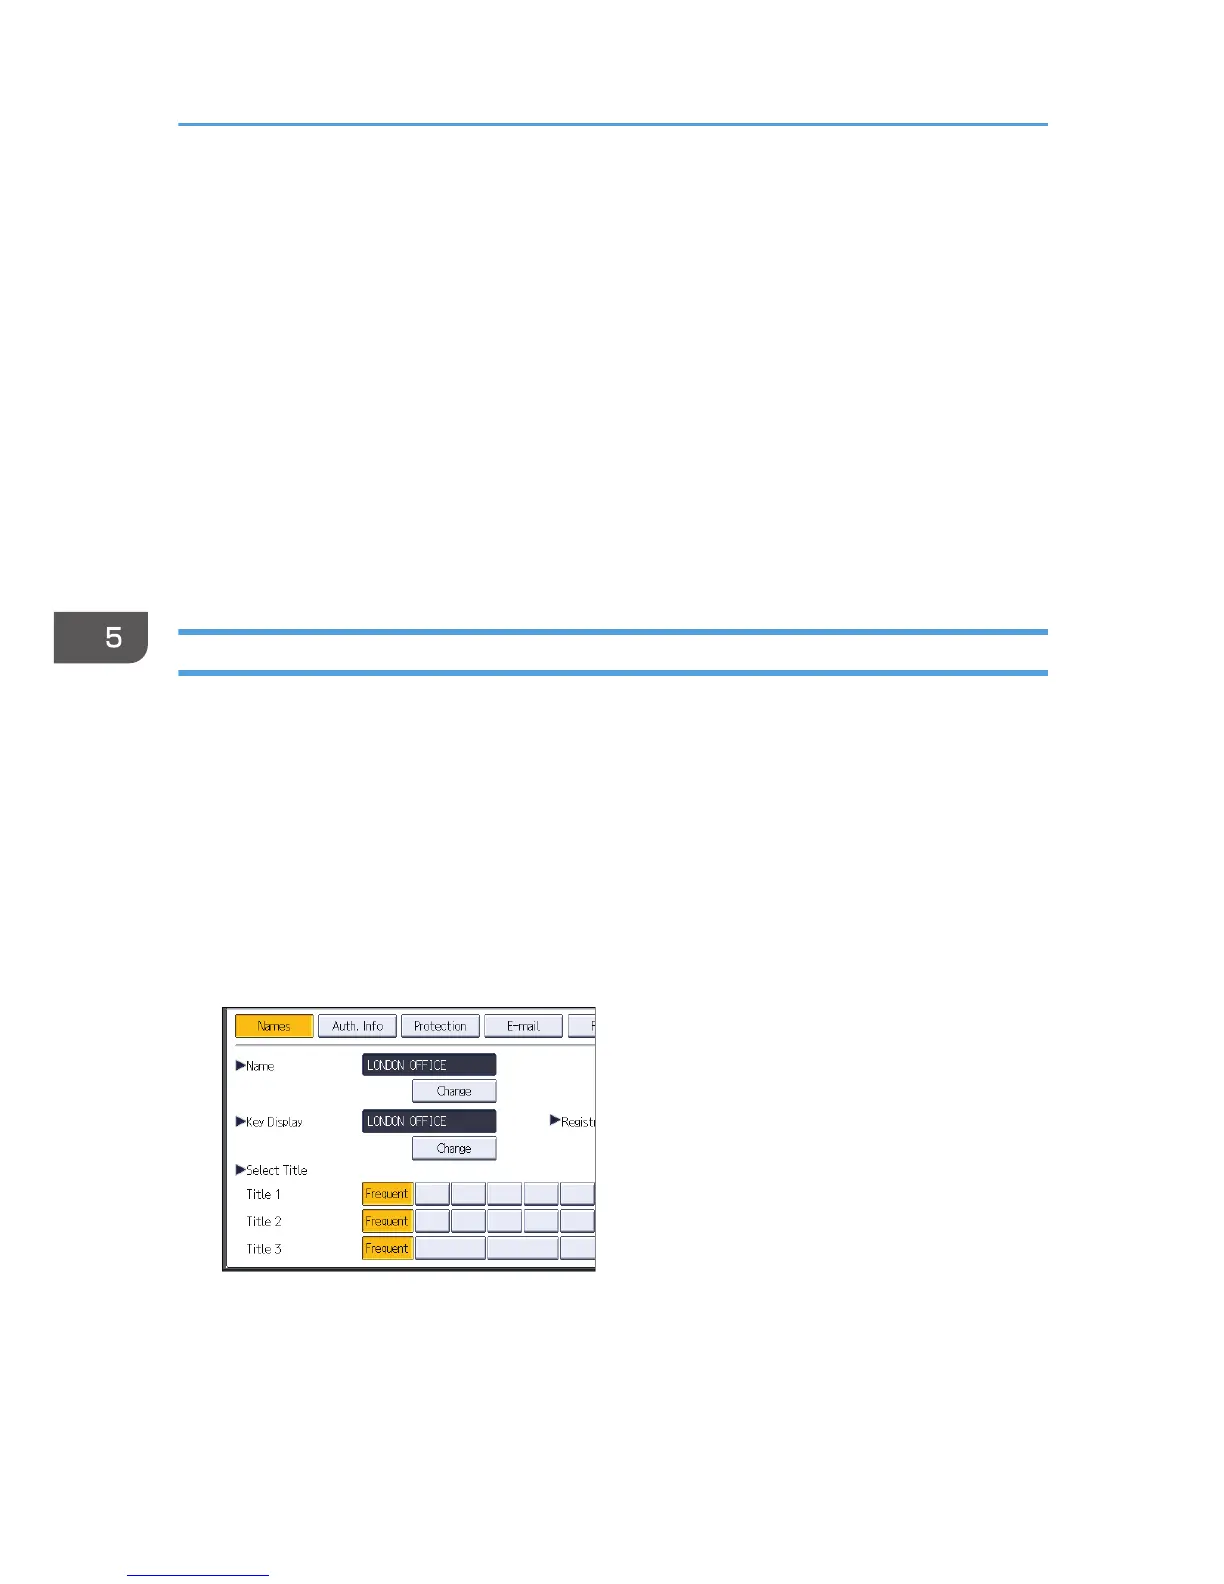
5. Press [Change] under "Name".
The name entry display appears.
6. Enter the name, and then press [OK].
7. Press the key for the classification you want to use under "Select Title".
The keys you can select are as follows:
• [Frequent]: Added to the page that is displayed first.
• [AB], [CD], [EF], [GH], [IJK], [LMN], [OPQ], [RST], [UVW], [XYZ], [1] to [10]: Added to the
list of items in the selected title.
5. Scan
90

 Loading...


