Basic Operation
Scanning using the control panel allows you to send scanned files via e-mail (Scan to E-mail), to an FTP
server (Scan to FTP), to the shared folder of a computer on a network (Scan to Folder), or to a USB flash
disk (Scan to USB).
The Scan to E-mail, Scan to FTP, and Scan to Folder functions are available only through a network
connection. No network connection is required for the Scan to USB function; you can send scanned files
directly to a USB flash disk inserted into the front of the machine.
Scan to E-mail/FTP/Folder
• When using the Scan to E-mail, Scan to FTP or Scan to Folder function, you must first register the
destination.
• To use the Scan to E-mail function, it is necessary to specify [Server Properties...] in Smart
Organizing Monitor. For details, see the Smart Organizing Monitor Help.
• Mac OS X 10.7 does not support the Scan to Folder function. Also, Mac OS X does not support
the function that is used in an IPv6 environment.
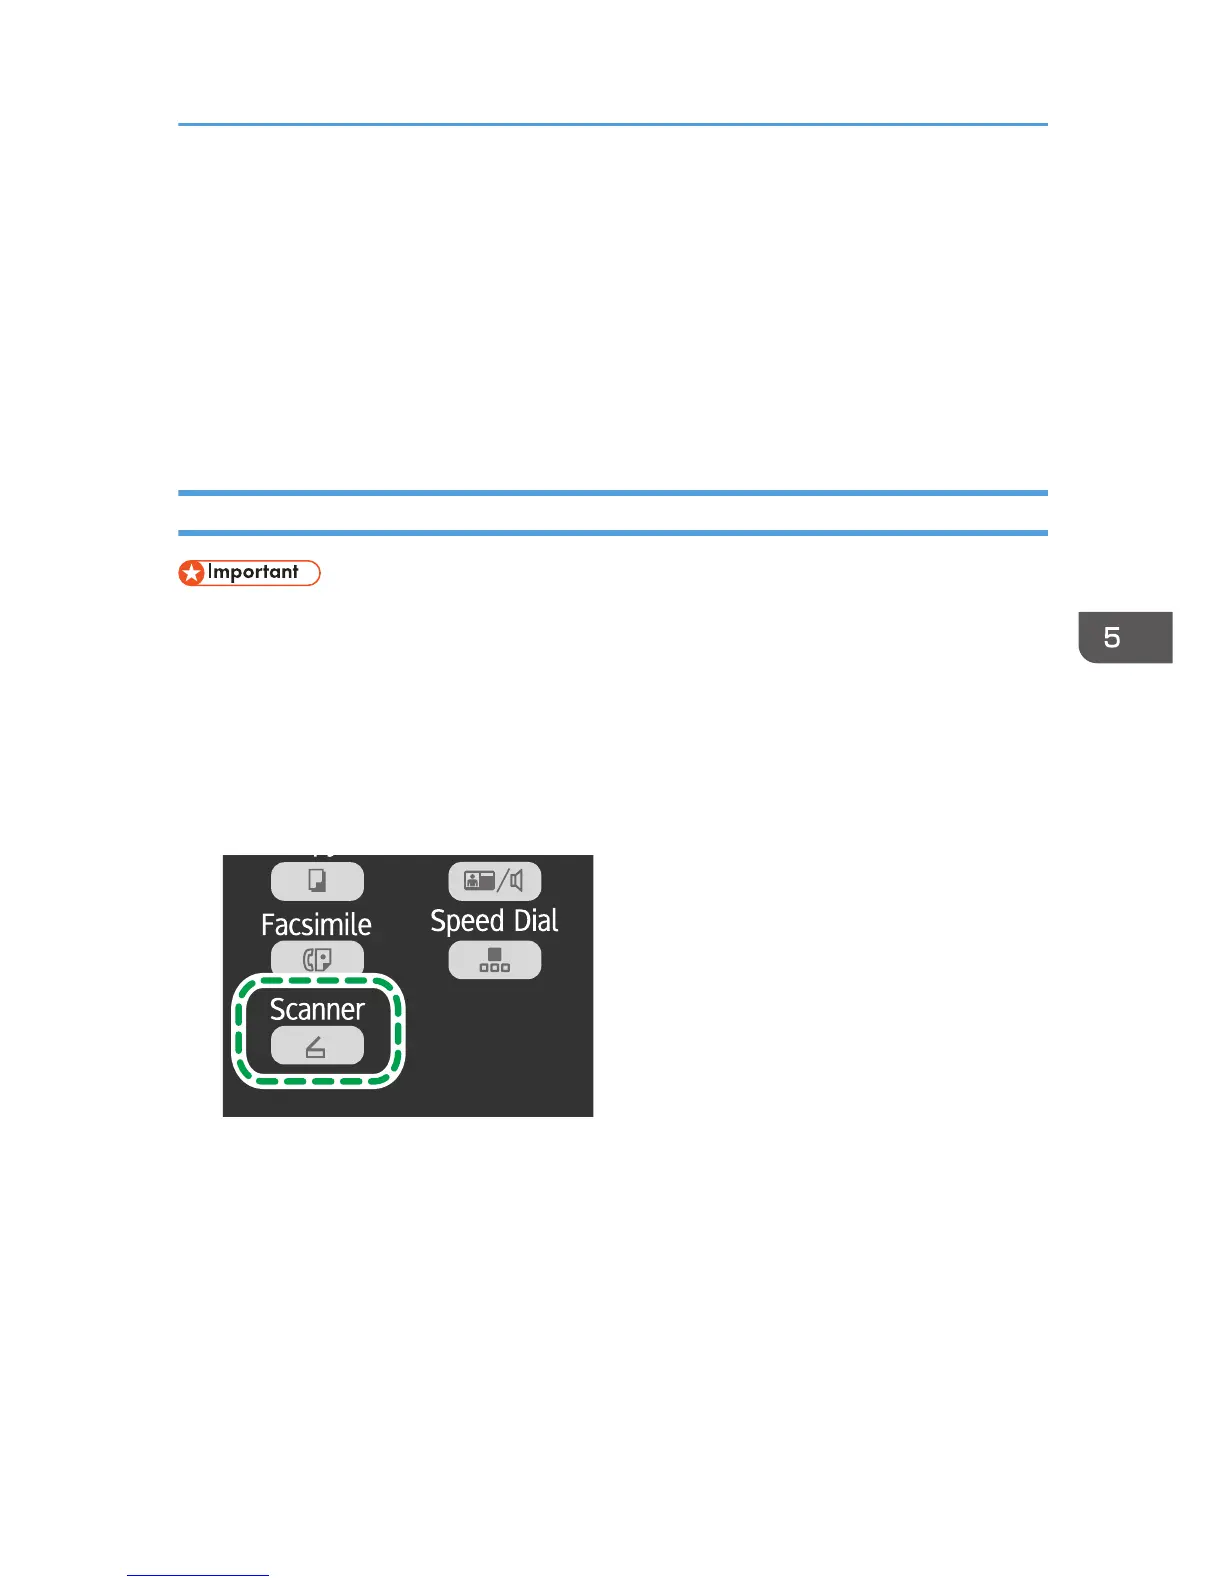
1. Press the [Scanner] key.
2. Place the original on the exposure glass or in the ADF.
3. Using the number keys, enter the number of a registered scan destination.
For details, see page 72 "Registering the Scan Destination".
4. Press the [OK] key.
5. Press the [Start] key.
• When using the exposure glass, place the next original on the exposure glass, and then press
the [1] key. Repeat this step until all originals are scanned.
When all originals have been scanned, press the [2] key to start sending the scanned file.
Basic Operation
75
 Loading...