ProSYS Quick Programming Setup 15
3. Using the numeric keys, enter the desired zone number and press .
Note:
You can select any zone number that is not defined on a Wireless Zone Expander or a BUS Zone
Expander.
4. Press to access the Partitions category.
5. Define Partitions, Groups, Zone Type and Zone Sound.
6. In the Termination category select BUS Zone and press
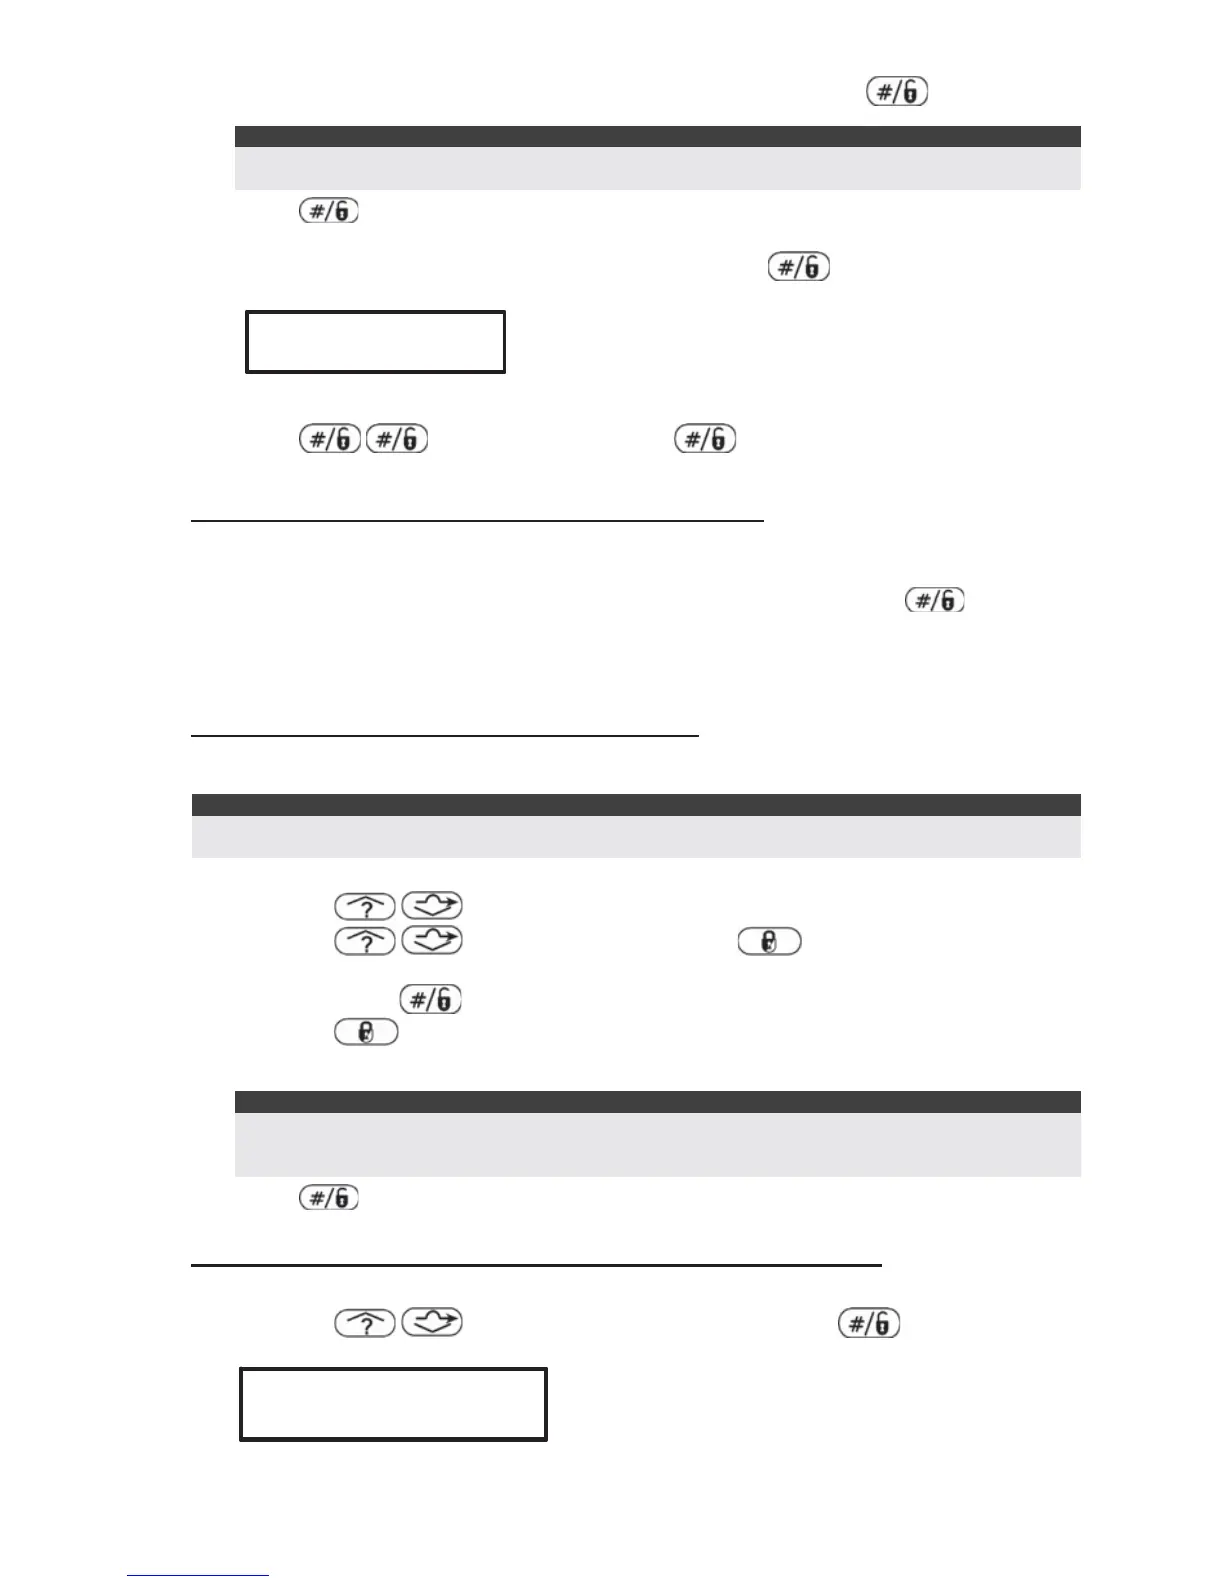
. The following is
displayed:
Z:001 LINK TO:
(0:yy) TYPE:NONE
Z:001 LINK TO:
(0:yy) TYPE:NONE
7. Select the BUS zone number (designated by yy) to assign to the programmed zone. The
TYPE field will be updated automatically when selecting the zone.
8. Press
. Define a label and press to confirm.
9. Repeat steps 3-8 for all required BUS zones.
Step 3: Programming the BUS Detectors Full Parameters
1. From the main Installer menu select [2] Zones > [0] Miscellaneous > [3] BUS Zone
Parameters.
2. Select the zone number that the BUS zone was assigned to and press
.
3. Configure the parameters for the relevant BUS detector
Programming BUS Detectors on a BUS Zone Expander
Step 1: Adding the BUS Zone Expander to ProSYS
QUICK KEYS = [7][1][2]:
Note:
If you already performed Auto Settings skip to Step 2 below: Assign BUS Detectors to a Zone ID and set
basic parameters.
1. From the main installer menu press [7][1][2] to enter the add BUS zone expander menu.
2. Using the
/ keys select a BUS Zone Expander ID.
3. Using the
/ keys move to Type. Use the key to select a type (BZE08,
BZE16, BZE24 or BZE32 zone expander) based on the Dipswitches you set on the
expander. Press
.
4. Using the
key, select the detector type of each BUS detector connected to this
BUS zone expander.
Note:
The bottom line in the display shows "(x:yy) Type: None" . In the x:yy designation, the x represents
the BUS Zone Expander ID number and the yy represents the BUS detector ID number that is
connected to the zone expander, as set by the detector's Dipswitches.
5. Press to move to the next BUS detectors.
Step 2: Assign BUS Detectors to a Zone ID and set basic parameters
1. From the main installer menu press [2] to enter the Zones menu.
2. Using the
/ keys, select [ONE BY ONE] and press . The following is
displayed:
ZONE ONE BY ONE:
ZONE=001 (X:YY)
ZONE ONE BY ONE:
ZONE=001 (X:YY)