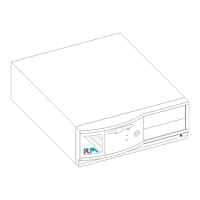
3: Fitting Hardware Options
2. In the drive panel remove the blanking panel for the required
drive.
3. Both the floppy disk and optical disc sit in a caddy. Remove
this caddy from the drive bay by removing the two screws at
either side of the drive bay.
4. Fit the floppy or optical drive into the caddy.
5. Offer the drive into the drive bay and fit the power and data
cables, which have been conveniently taped to the inside of
the drive bay.
6. Slide the drive into the bay and replace the two screws.
7. Replace the drive panel by offering the front edge first then
‘folding’ around the exposed drive.
8. Replace the three screws to secure the drive panel
9. Replace the rear cover.
Specific fitting instructions are provided with all drive upgrades.
z An optical drive upgrade may need extra software installed in the
form of a drivers disk.
z A floppy drive or hard disk drive upgrade may need to be set up in
the CMOS Setup program.
40