40
EZ connector 791121 4-40 Threaded Rod End 791144
Crossing Arm metal bracket 930402 Crossing Arm with Ball and Pivot Rod 500405
Crossing Arm Gate Plastic Only 700409
Crossing Arm
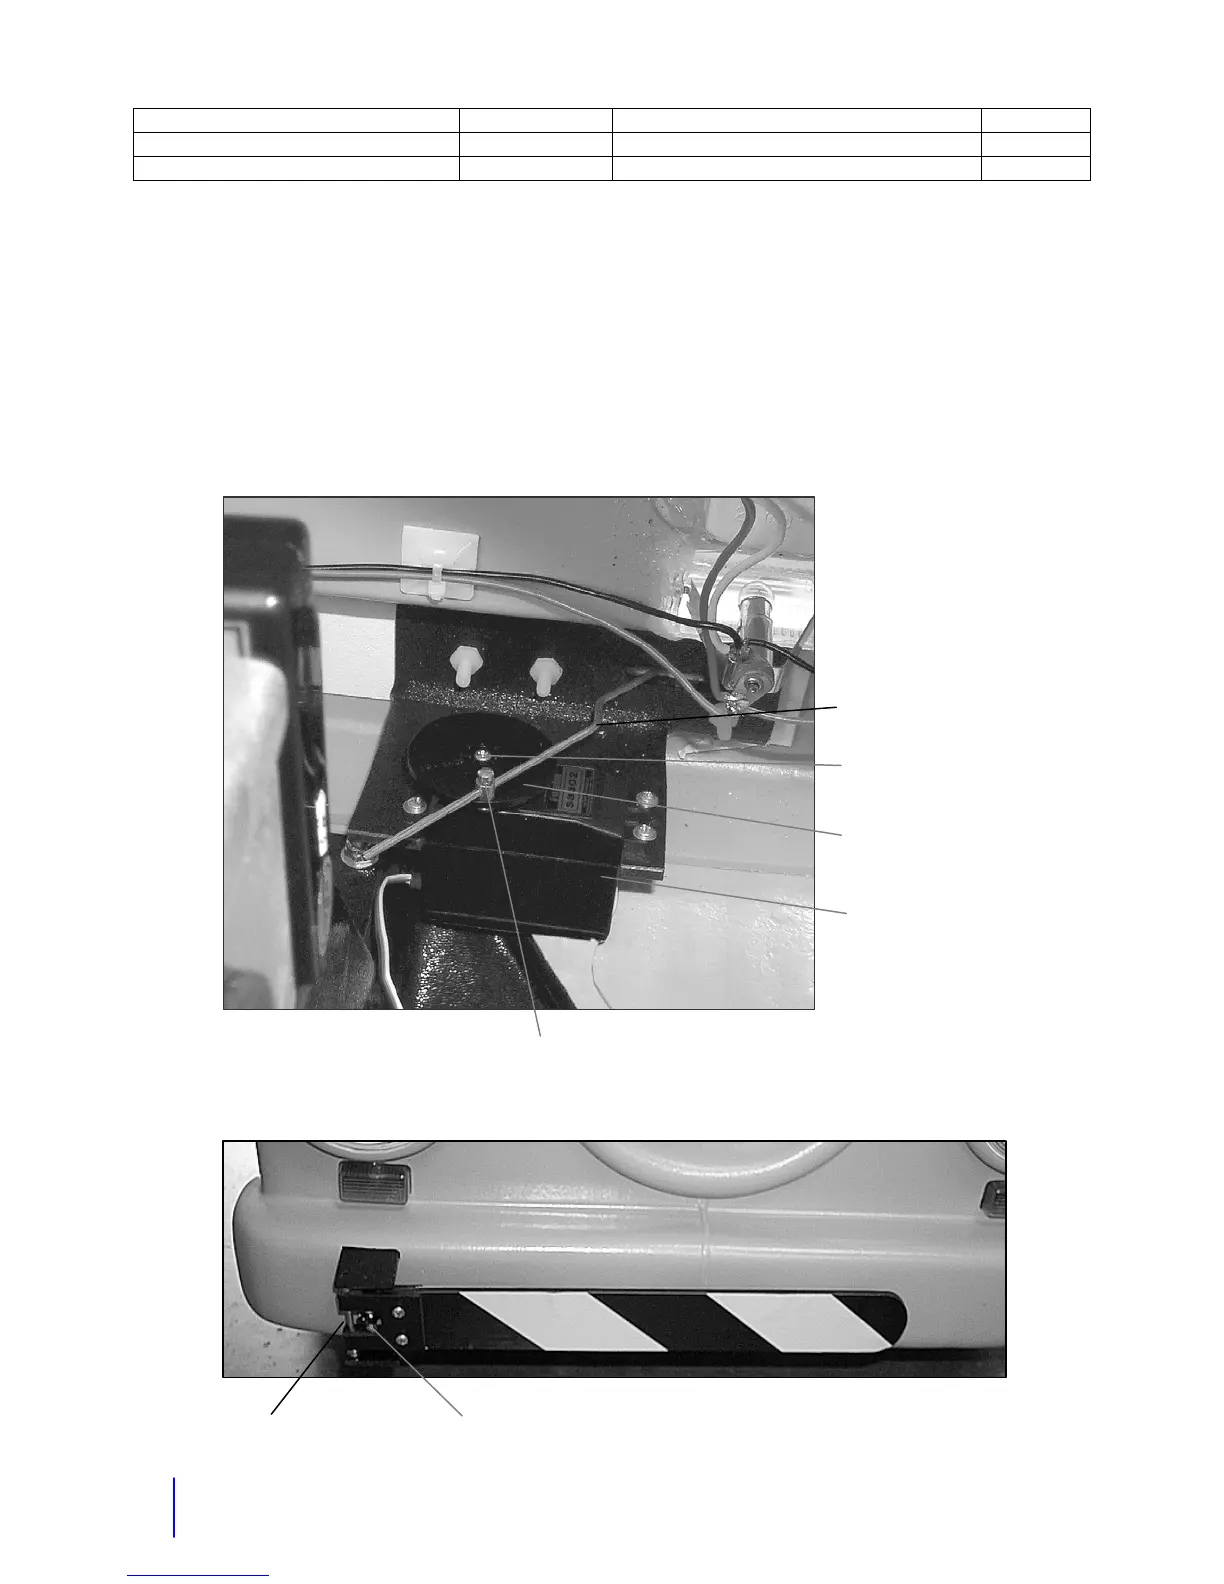
The same servo signal that opens the stop arm will open the crossing arm. The signal comes
from the same place on the main board and then continues on to the 5 Volt Isolation board
before it goes to the servos. The crossing arm mechanical parts include the bracket, servo arm,
rod, ball links, and set screw as shown in the diagram below. To adjust the pull in tension and
the out position of the arm, loosen the set- screw on the rod and move the position of the arm
accordingly. Make sure that the arm does pull in tightly against the bumper, so that it does not
move out at all when driving the robot.
Caution: Do not move the robot when the crossing arm is in the open position.
4-40 Threaded Rod End
Servo Arm
Servo Arm Set Screw
(M2.5 x 0.45 x 6mm Phillips
Pan Head Machine Screw)
Crossing Arm Servo
E-Z connector/set screw
Loosen this set screw to
change how tight arm pulls in.
Pivot rod
4-40 Ball Link