33
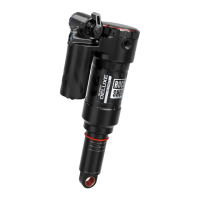
ButterCup Installation - Air Spring Shaft
200 Hour Service ButterCup Installation - Air Spring Shaft
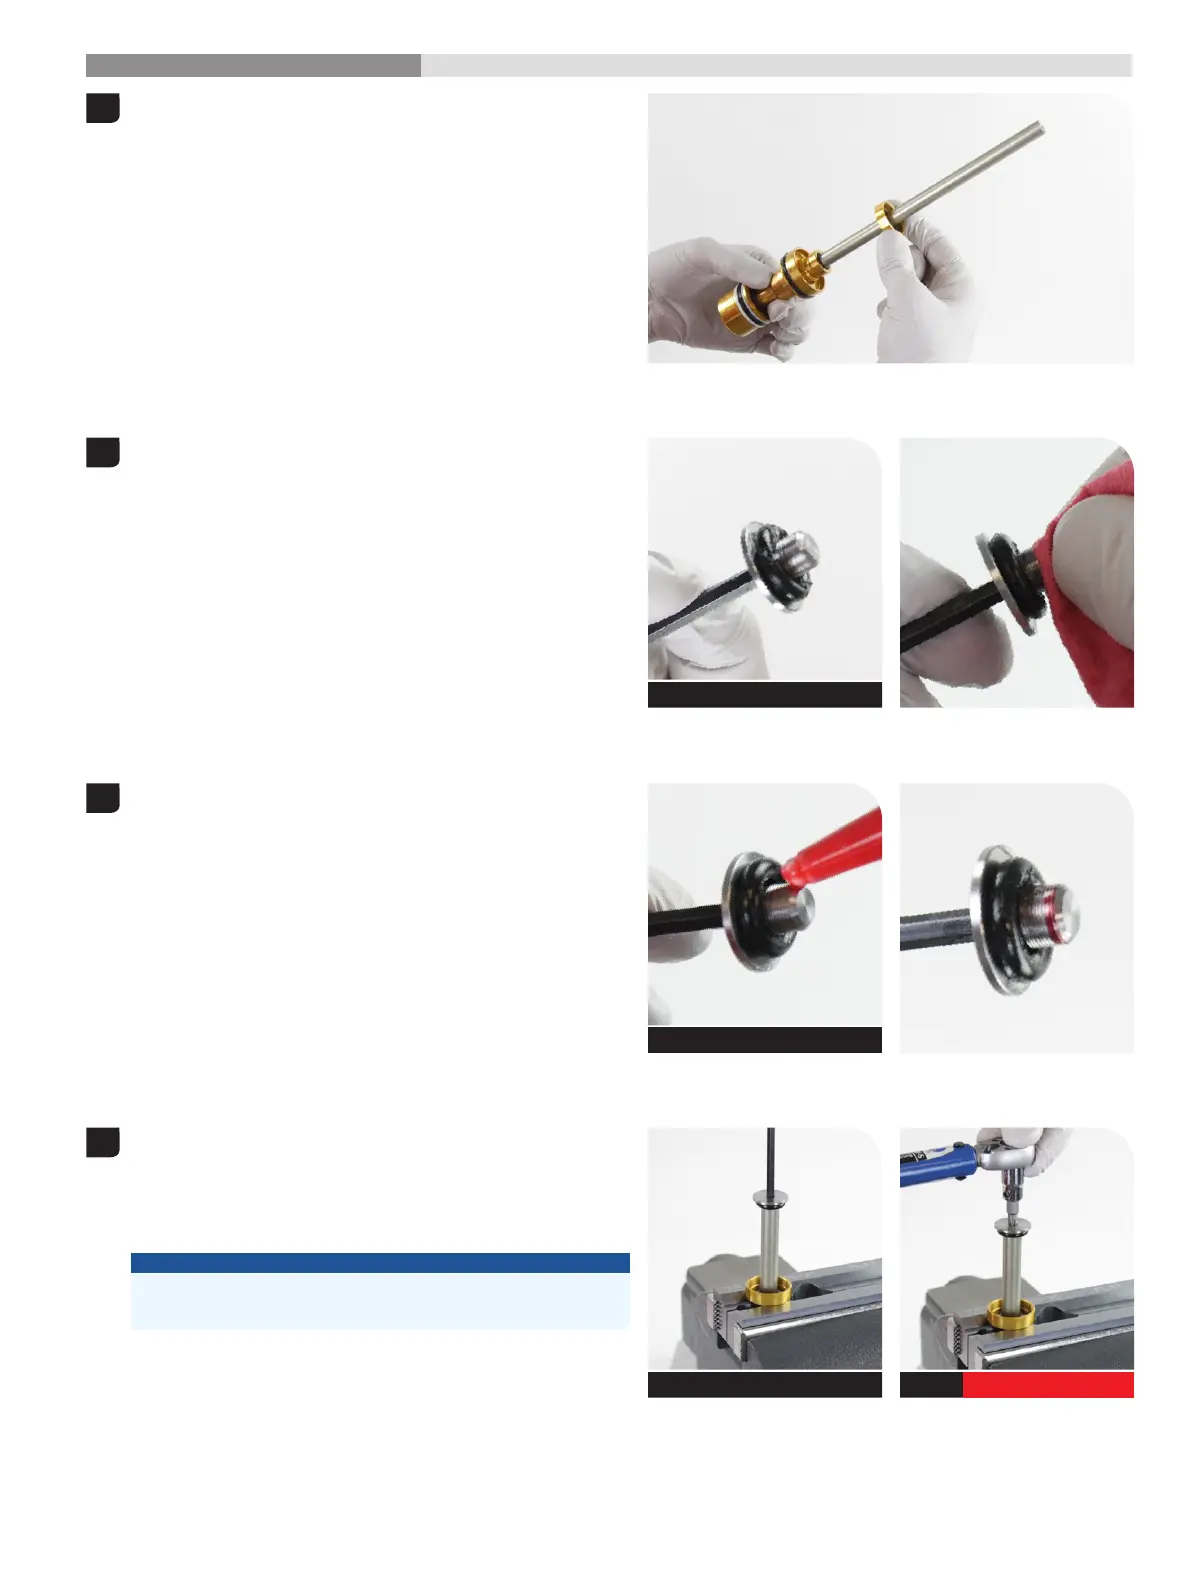
Install the ButterCup upper housing and bushing assembly onto the air Install the ButterCup upper housing and bushing assembly onto the air
spring shaft. spring shaft.
Apply grease to a new o-ring and install it onto the ButterCup shaft end Apply grease to a new o-ring and install it onto the ButterCup shaft end
plate, over the threads. plate, over the threads.
Clean all grease from the threads.Clean all grease from the threads.
Apply Loctite Threadlocker 2760 (red), or equivalent, to the first two to Apply Loctite Threadlocker 2760 (red), or equivalent, to the first two to
three full threads of the ButterCup shaft end plate.three full threads of the ButterCup shaft end plate.
Position the upper ButterCup housing above the vise blocks. Position the upper ButterCup housing above the vise blocks.
Clamp the air shaft into the 10 mm slot of the RockShox Reverb Vise Clamp the air shaft into the 10 mm slot of the RockShox Reverb Vise
Blocks or RockShox Rear Shock Vise Blocks.Blocks or RockShox Rear Shock Vise Blocks.
Clamp the air shaft only tight enough so it does not spin when the Clamp the air shaft only tight enough so it does not spin when the
ButterCup is tightened.ButterCup is tightened.
NOTICE
Scratches on the air spring shaft can cause air to leak. If a scratch is
visible the air spring assembly may need to be replaced.
Thread the ButterCup shaft end plate into the air shaft and tighten it.Thread the ButterCup shaft end plate into the air shaft and tighten it.
1
2
SRAM Butter Grease
3
Threadlocker Loctite 2760 - Red
4
T25 RockShox Vise Blocks 10 mm T25 3.3 Nm (29 in-lb)