60
Control Module Installation
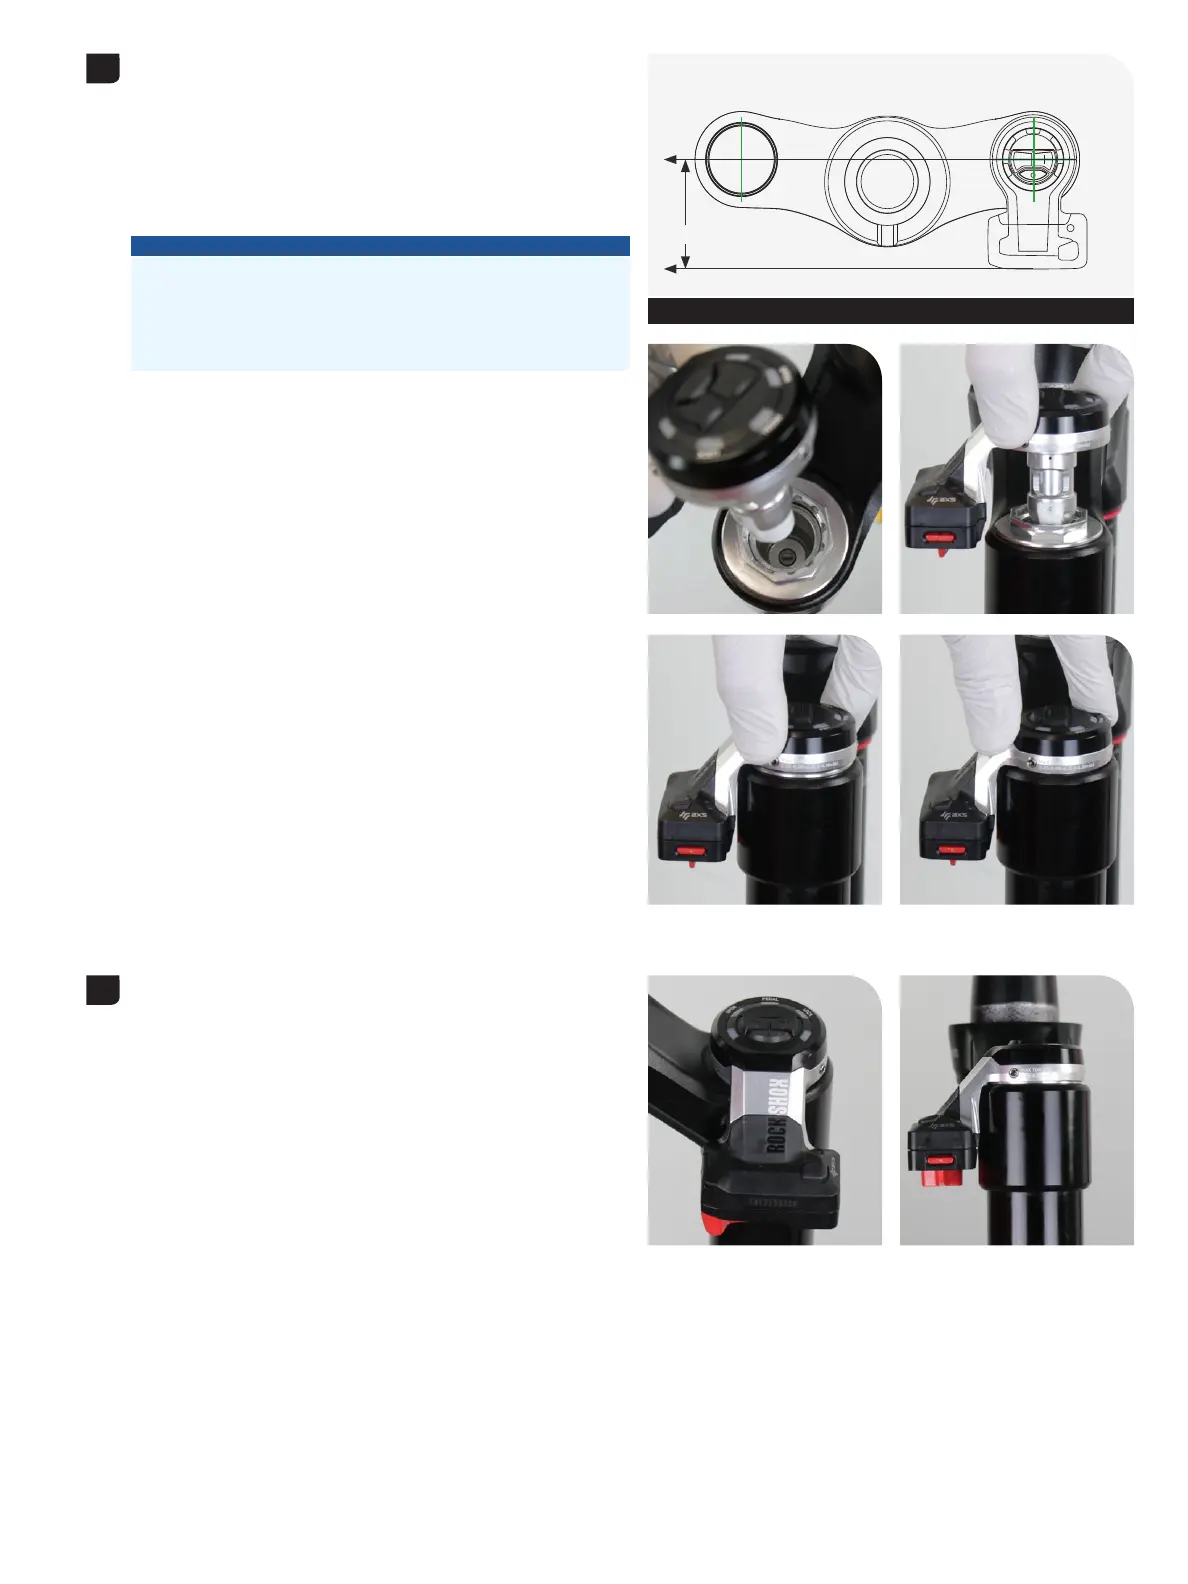
Position the back of the Control Module parallel with the crown, and Position the back of the Control Module parallel with the crown, and
install the Control Module into the compression damper. install the Control Module into the compression damper.
With the keyed ends of the Control Module output driver and With the keyed ends of the Control Module output driver and
compression damper adjuster aligned, press the Control Module firmly compression damper adjuster aligned, press the Control Module firmly
into the damper and onto the top cap squarely.into the damper and onto the top cap squarely.
If the keyed ends are not aligned the Control Module will not snap If the keyed ends are not aligned the Control Module will not snap
into place inside the compression damper. If this occurs, remove the into place inside the compression damper. If this occurs, remove the
Control Module, align the keyed ends, and reinstall the Control Module.Control Module, align the keyed ends, and reinstall the Control Module.
NOTICE
For proper clearance and function, the Flight Attendant Control
Module must be installed with the battery oriented to the BACK of
the crown only, and parallel with the fork crown. Installation of the
Control Module with the battery oriented to the side or front of the
crown will cause permanent damage.
Check and confirm the Control Module does not contact any part of Check and confirm the Control Module does not contact any part of
the fork crown. Remove the Control Module, realign, and reinstall if the fork crown. Remove the Control Module, realign, and reinstall if
needed.needed.
2
Control Module parallel with crown
Parallel
3