13
Auto Accompaniment
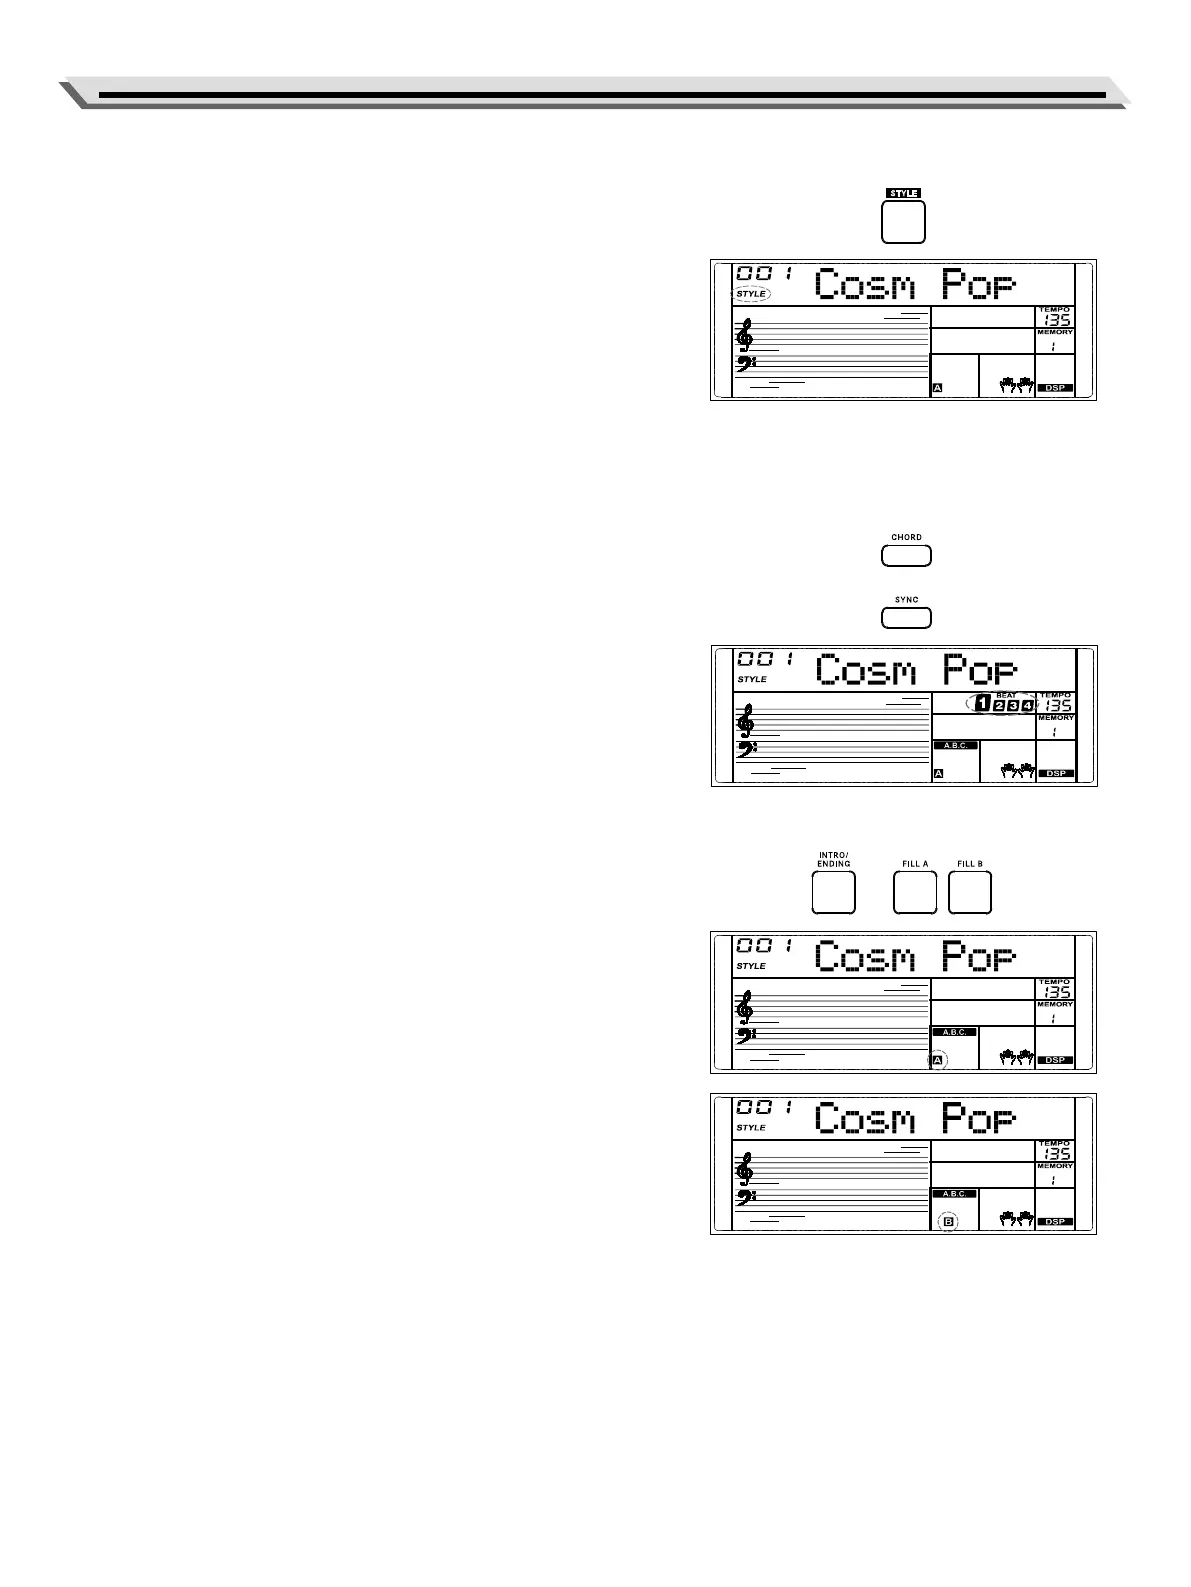
Playing Auto Accompaniment (Rhythm Track)
1. Press the [STYLE] button to enter Style mode.
The “STYLE” icon on LCD lights up. The LCD displays the current style
name and number.
2. Use the numeric buttons or [<]/[>] buttons to select a style.
3. Press the [START/STOP] button to start playing the rhythm tracks.
4. Or you can press the [SYNC] button to turn on the Sync function. The
beats on LCD blink. The Sync function puts the playback on standby.
You can press any key on the keyboard to start the rhythm tracks.
Note:
You can play back the rhythm tracks while Chord mode is on or o.
Playing Auto Accompaniment (All Tracks)
1. Press the [CHORD] button to enter Chord mode.
2. Press the [SYNC] button to turn on the Sync function.
The beats on LCD blink. The Sync function puts the playback on stand-
by. You can play a chord in the chord section to start playing all tracks.
3. Or you can press the [START/STOP] button to start the rhythm tracks.
Then play a chord in the chord section to start all tracks.
Accompaniment Sections
There are various types of accompaniment sections. They are Intro, Main
(A, B), Fill (A, B), and Ending.
1. Press the [STYLE] button.
2. Use the numeric buttons or [<]/[>] buttons to select a style.
3. Press the [CHORD] button to enter A.B.C. mode. The “A.B.C.” icon on
LCD lights up.
4. Press the [SYNC] button to enter Sync Start status.
5. Press the [FILL A]/[FILL B] button to select Main A or Main B.
6. Press the [INTRO/ENDING] button. The icon “A” or “B” on LCD will
blink, indicating playback is on standby.
7. Now if you play a chord in the left hand chord section, the auto accom-
paniment will start. When the Intro section is nished, it will automati-
cally lead into the Main section.
8. Press the [FILL A]/[FILL B] button. It will play ll A or ll B, then auto-
matically lead to the corresponding Main section.
9. Press the [INTRO/ENDING] button. The icon “A” or “B” on LCD will
blink. It will play the Ending section. When the Ending is nished, the
playback will stop.
Note:
If you press the [FILL A]/[FILL B] button before the Ending is nished, it will
play the selected ll then lead to the corresponding Main
 Loading...