DK00029.fm
REPAIR MANUAL
BRP-Powertrain
Effectivity: 125 MAX/125 Junior MAX/125 Mini
MAX/125 Micro MAX
Edition 2 / Rev. 0
Chapter 7
Page 26
December 01/2010
4.3.2) Installing sprocket
Special tools The following special tools and equipment are required:
Instructions See Figure 16.
Proceed as follows to install the sprocket:
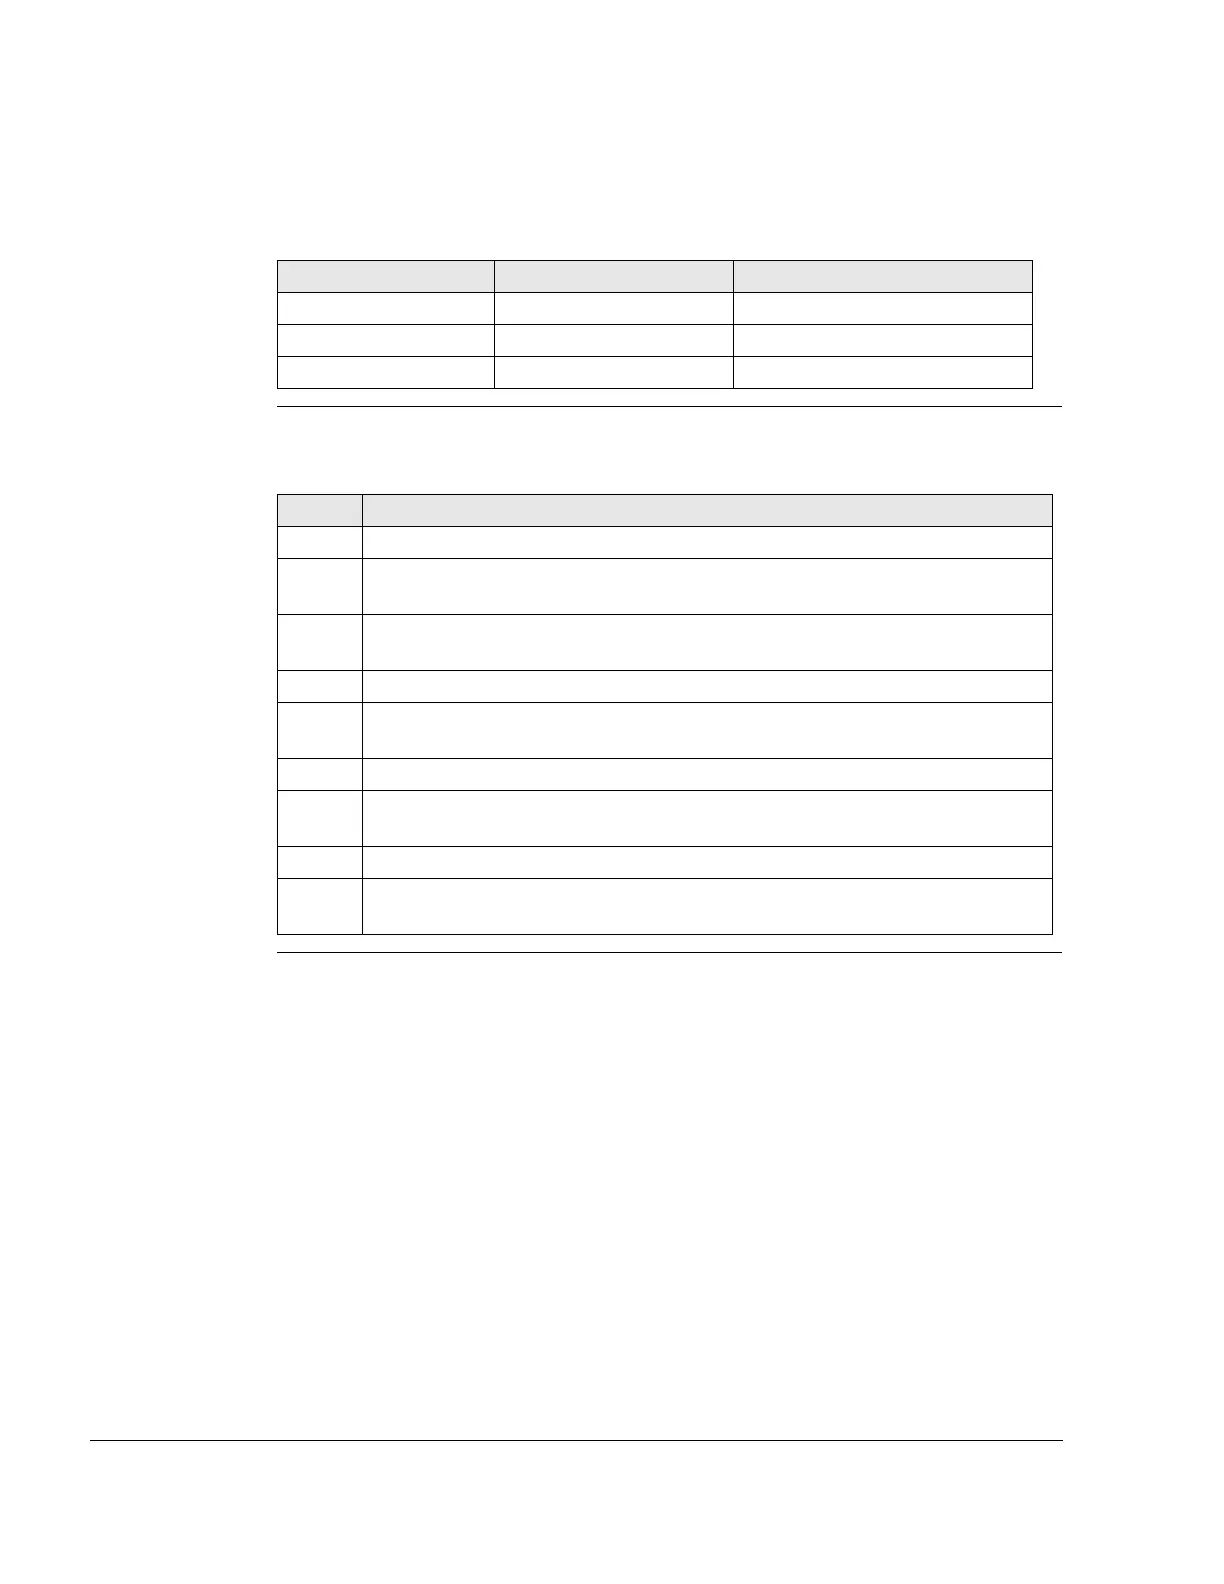
Part number Description Use
Part no. 944231 Locating/locking device Clutch drum
Part no. 277362 Locating/locking device Clutch drum
Part no. 899788 LOCTITE 648 Hex nut
Step Procedure
1 Method 1: fix fixation tool for sprocket (1) in a vise in the area of the flat iron.
2 Remove LOCTITE residue from the clutch drum (3) and the hex nut (4) and
degrease.
3 Position new sprocket (5) on the corresponding centering mandrel of the
fixation tool for sprocket.
4 Position clutch drum (3) on the sprocket.
5 Secure hex nut (4) with LOCTITE 648 and tighten. Tightening torque 100 Nm
(74 ft.lb).
6 Method 2: fix fixation tool for sprocket (2) in a vise.
7 Remove LOCTITE residue from the clutch drum (3) and the hex nut (4) and
degrease.
8 Position clutch drum (6) on the sprocket.
9 Secure hex nut (4) with LOCTITE 648 and tighten. Tightening torque 100 Nm
(74 ft.lb).

 Loading...


