Do you have a question about the Ruckus Wireless ZoneFlex 7762 and is the answer not in the manual?
Lists related documents for the Ruckus Wireless ZoneFlex 7762 Access Point.
Guide on managing the Access Point with ZoneDirector or FlexMaster.
Details the items included in the Access Point package.
Lists the components of the mounting kit.
Lists necessary hardware, tools, and equipment for installation.
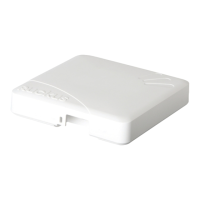
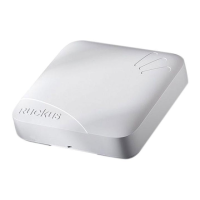
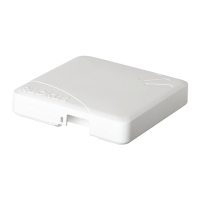
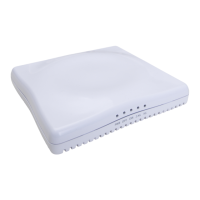
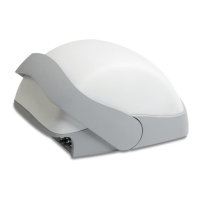
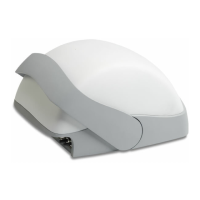
Introduces the Access Point's features relevant to installation.
Guidance on conducting a site survey for optimal placement.
Recommendations for selecting the best mounting location and orientation.
Overview of components for typical indoor and outdoor installations.
Determining the power source (PoE or DC) for the Access Point.
Steps to configure the Access Point for ZoneDirector management.
Steps for standalone or FlexMaster management configuration.
Procedure to set the FlexMaster server URL for management.
Enabling the PoE OUT port functionality on the Access Point.
Steps to connect the Access Point to the live network for verification.
Verifying Access Point status using the Power and Status LEDs.
Testing wireless client association with the Access Point.
Verifying communication with FlexMaster server via TR069 status.
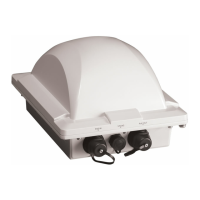
Connecting and waterproofing the RJ-45 Ethernet cable to the Access Point.
Finalizing power connections for the Access Point, supporting PoE and DC.
Connecting the deployed Access Point to the network infrastructure.
Lists the necessary items for attaching mounting brackets.
Procedure for attaching the static mounting bracket to a surface.
Specific steps for mounting the bracket onto a pole.
Attaching the dynamic bracket to the Access Point unit.
Procedure to join the dynamic and static brackets.
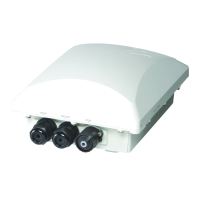
Steps for connecting external 5GHz antennas to the Access Point.
Procedure for resetting the Access Point using an electrical shunt.
Securing the Access Point by changing the default administrative password.
Enabling and configuring wireless security for network protection.
References to additional Ruckus Wireless documentation.
| Bandwidth | 2.4 GHz |
|---|---|
| Cabling technology | 10/100/1000Base-T(X) |
| Throughput data rate | 150 Mbit/s |
| Maximum data transfer rate | 270 Mbit/s |
| Quality of Service (QoS) support | Yes |
| Ethernet LAN (RJ-45) ports | 2 |
| Security features | Lightweight Directory Access Protocol (LDAP) |
| Security algorithms | WEP, WPA-PSK |
| Networking features | Gigabit Ethernet |
| Transmit power range | 27 dBm dBmW |
| Maximum operating distance | 300 m |
| Operating temperature (T-T) | -40 - 149 °F |
| Compliance industry standards | IEEE 802.11a, IEEE 802.11b, IEEE 802.11g, IEEE 802.11n, IEEE 802.1Q, IEEE 802.3af, IEEE 802.3at, IEEE 802.11e, IEEE 802.11i, IEEE 802.1X |
| Supported data transfer rates | 130/54/48/36/24/18/12/11/9/6.5/6/5.5/2/1 |
| Power supply type | DC |
| Output power description | 12V |
| Power consumption (typical) | 15 W |
| Supported network protocols | FTP, TFTP |
| Certification | WEEE RoHS |
| Weight | 1900 g |
|---|---|
| Dimensions (WxDxH) | 195.5 x 239.5 x 141 mm |