SERVICE 7
23
7.14 CAMSHAFT ASSEMBLY
1. Slide camshaft into camcase from left side, adding
cams and spacers to shaft as it is being installed. See
assembly diagram on page 24 for proper cam and
spacer sequence.
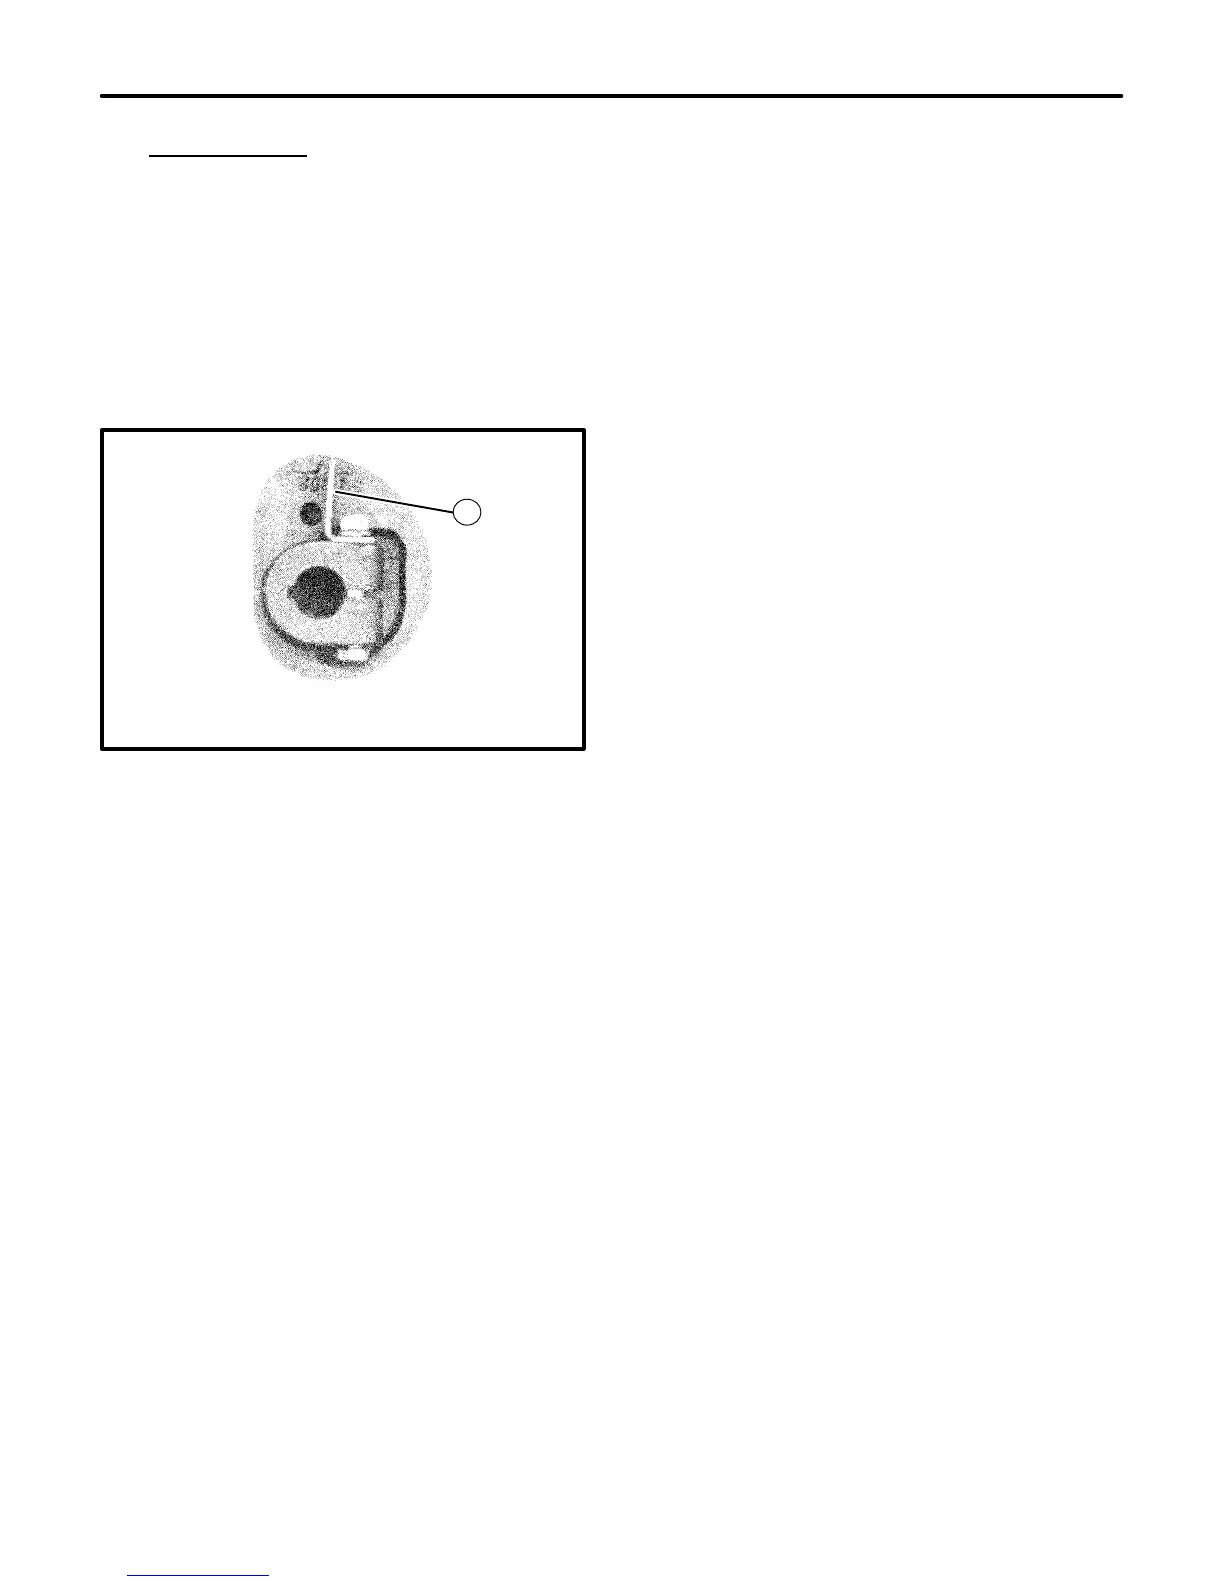
NOTE: Be sure all cams are installed with screws and oil
slingers to the right side. Oil slingers MUST be
installed in line with high point of cam as shown in
FIGURE 40 or damage may occur to slide roller.
2721
1
FIGURE 40
1. Oil Slinger
(Install so that it does not stick up above cam surface)
2. Install inner snap rings on both ends of camshaft.
Sharp edge of ring toward the cams and the rounded
edge toward the bearings.
3. Assemble washers, thrust bearings, bearing races
and spiral lock rings on both ends of camshaft.
4. Reinstall shims and bearing cage to left side of unit
and then to right side.
5. Check end play with dial indicator. Shims can be
added or removed (equally on both sides) to obtain
end play of .005” to .015”(.15 to .35mm).
6. Remove bearing cages and apply 3M Sealer
#EC847 or equivalent for final installation.
7. Reinstall slides and align cams following steps 14
through 19 of the “Guide Repair” section on page 12.
8. Reassemble dog clutch and sprockets on both ends
of camshaft.
9. Time unit according to timing instructions starting on
page ??, and reinstall chains.
10. Replace all shields before operating unit.