-14-
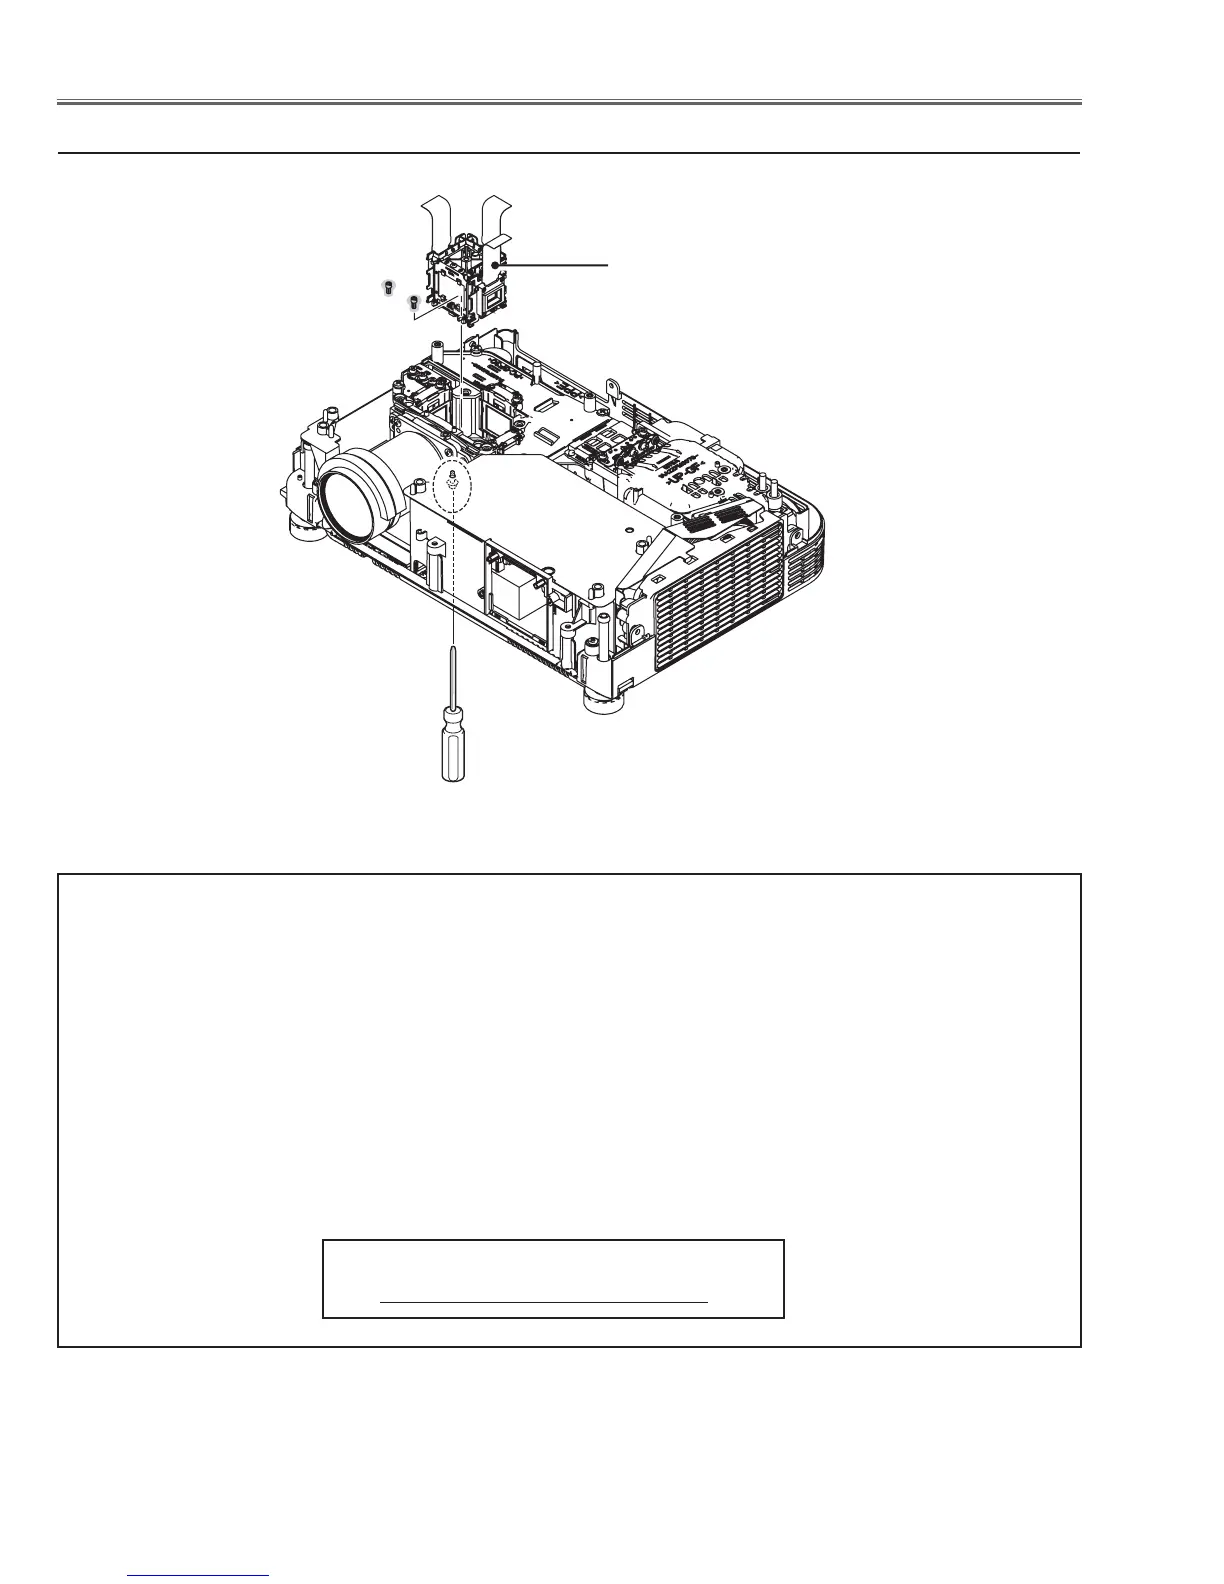
LCD Panel/
Prism Ass’y
Fig.5
b LCD Panel/Prism Ass’y removal
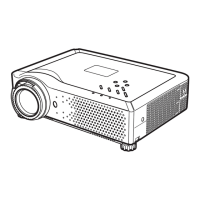
Optical Parts Disassembly
IMPORTANT NOTICE on LCD Panel/Prism Ass'y Replacement
LCD panels used for this model can not be replaced separately. Do not disassemble the LCD Panel/Prism Ass’y.
These LCD panels are installed with precision at the factory. When replacing the LCD panel, should be replaced
whole of the LCD panels and prism ass’y at once.
After replacing LCD Panel/Prism ass’y, please check the following points.
- Check that there is no color shading at the top, bottom, left or right of the screen. If there is, try to remove the
shading following to the chapter “Optical Adjustment”.
- Check the white balance. If it needs the adjustment, adjust the white balance following to the “White Balance Ad-
justment” , “Gamma Adjustment” and “Common Centre Adjustment” in the chapter “Electrical Adjustment”.
- Check the white uniformity on the screen.
If you find the color shading at the some part of the screen, it needs to take the color shading adjustment. This
adjustment should be performed by a computer and it also requires a special software “Color Shading Correction”.
The software will be supplied separately and can be ordered as follows;
COLOR SHADING CORRECTION Ver. 4.00
Service Parts No. 645 075 9611
(M2.5x4)x2
(M3x10)
(Bottom side)

 Loading...